Home›Free Printable Coloring Pages
By: Papaya Ink Team · Last updated: October 17, 2026
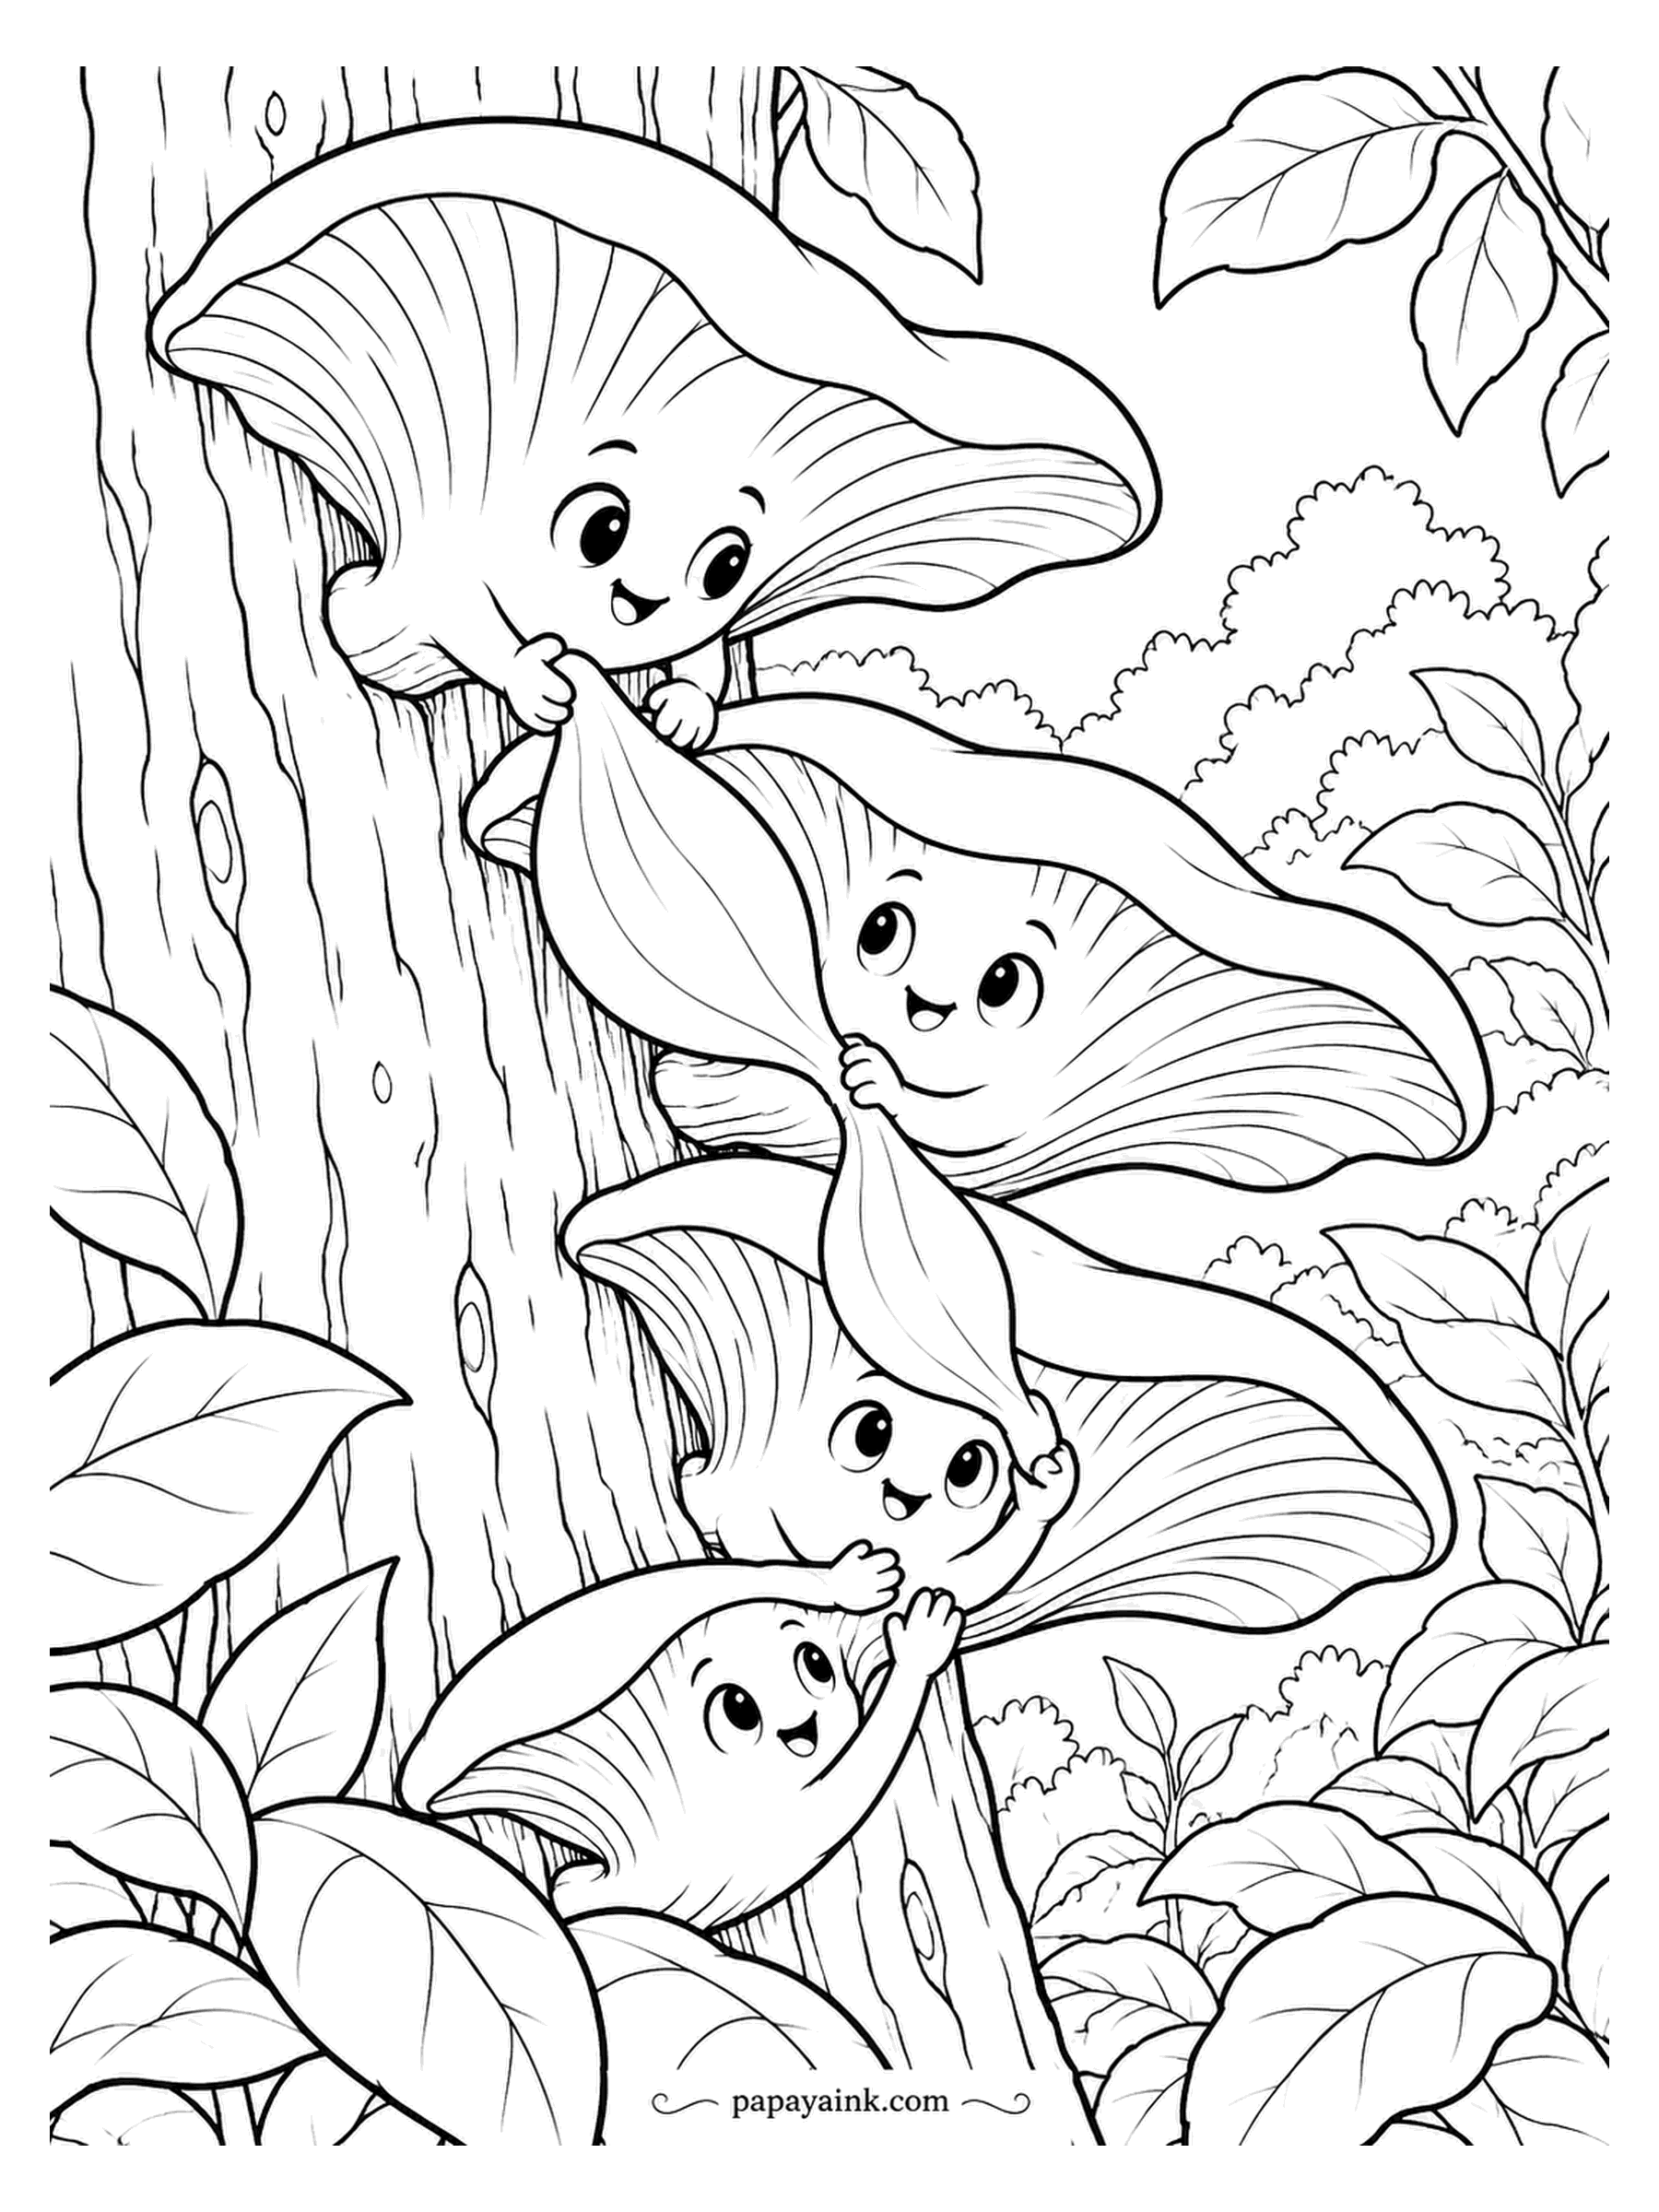
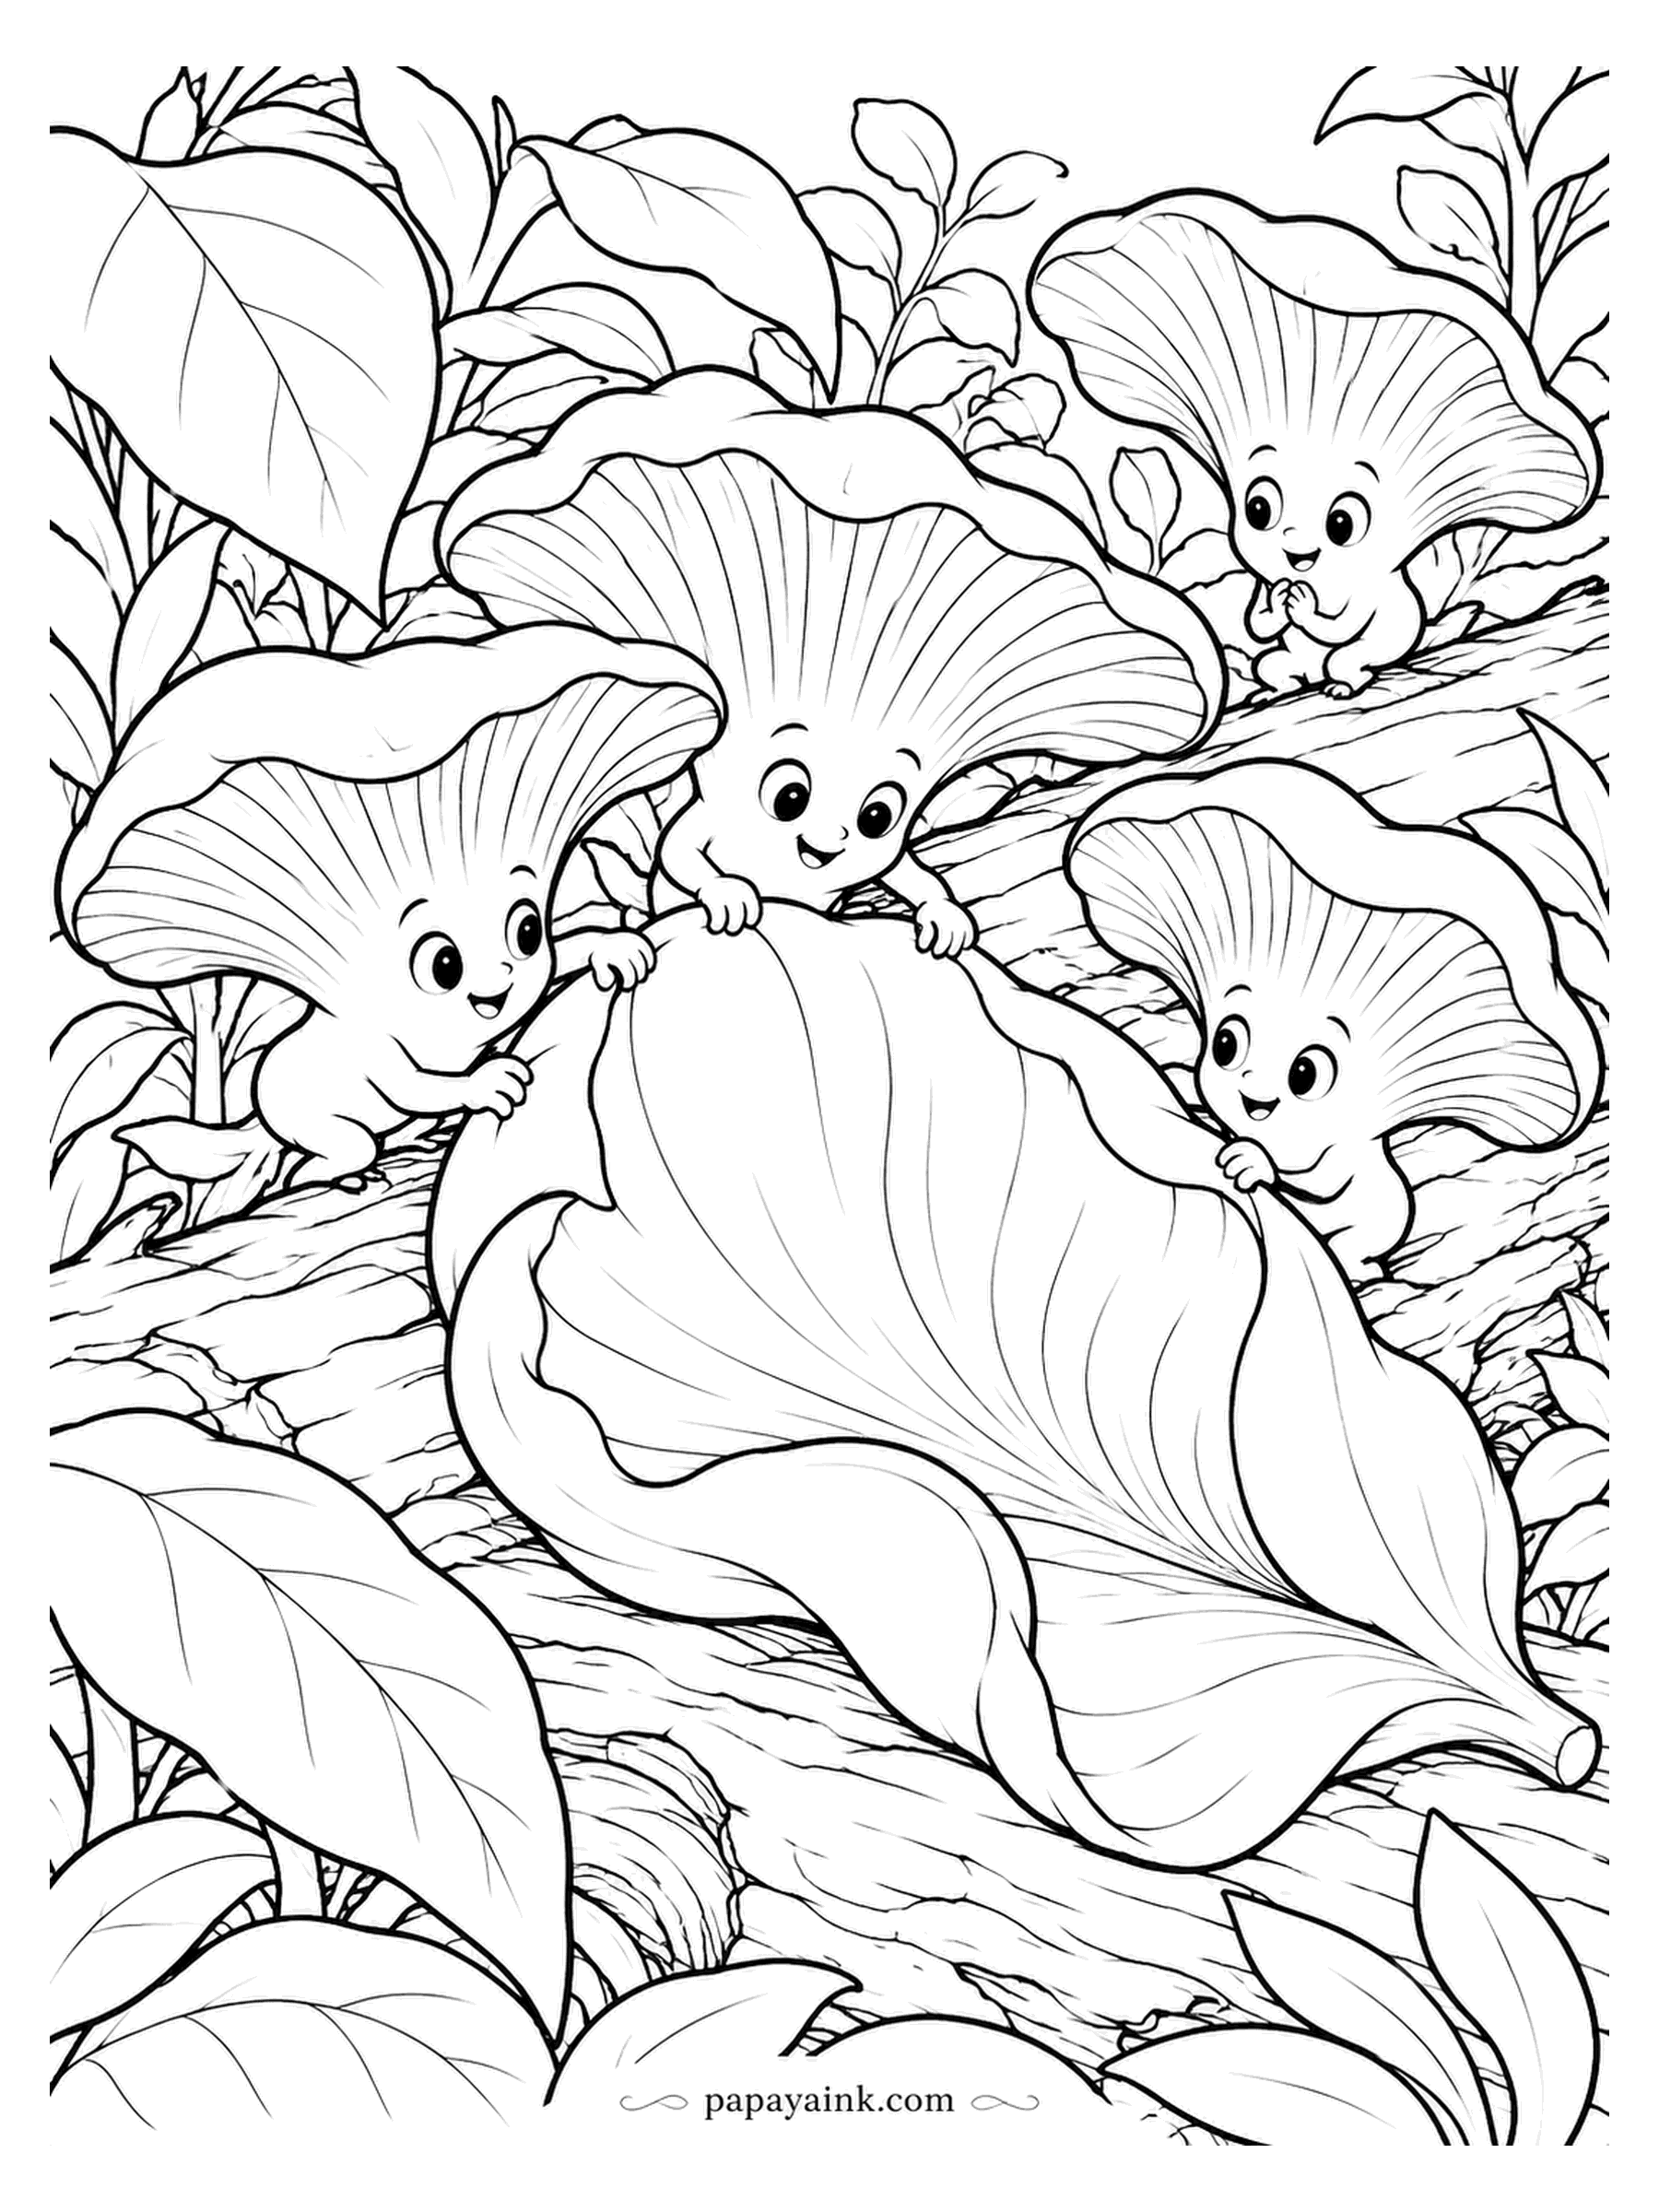
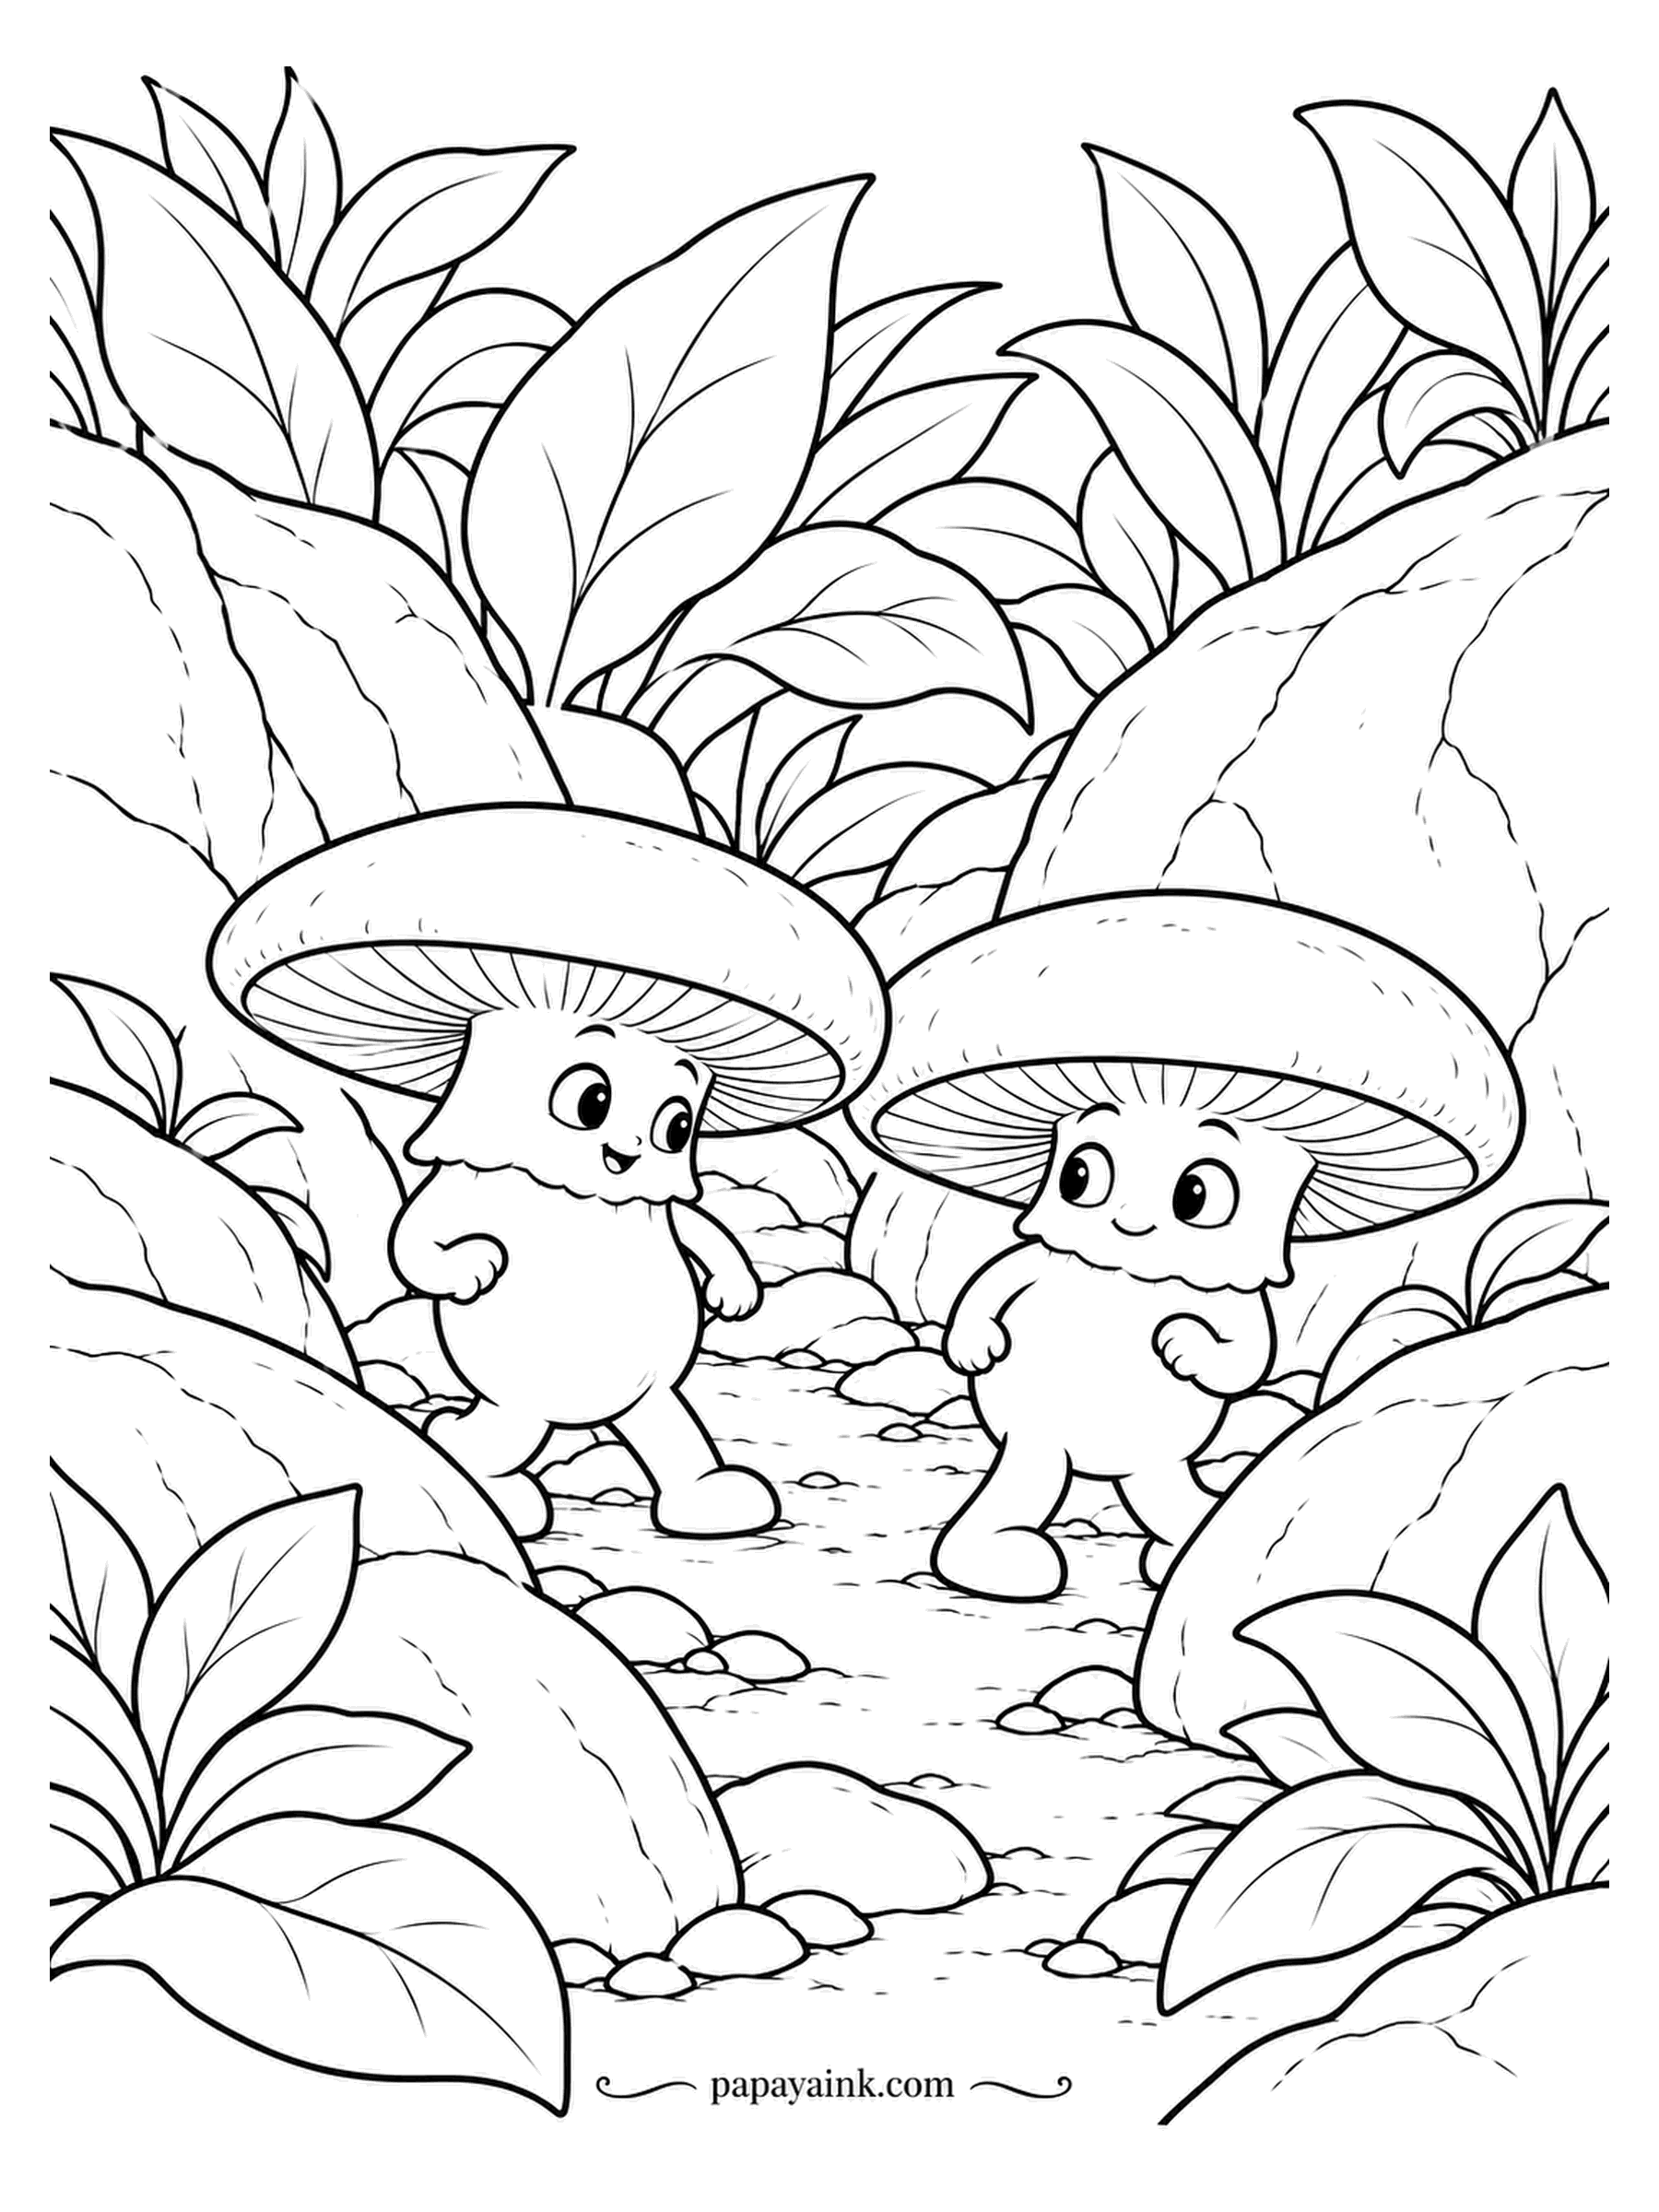
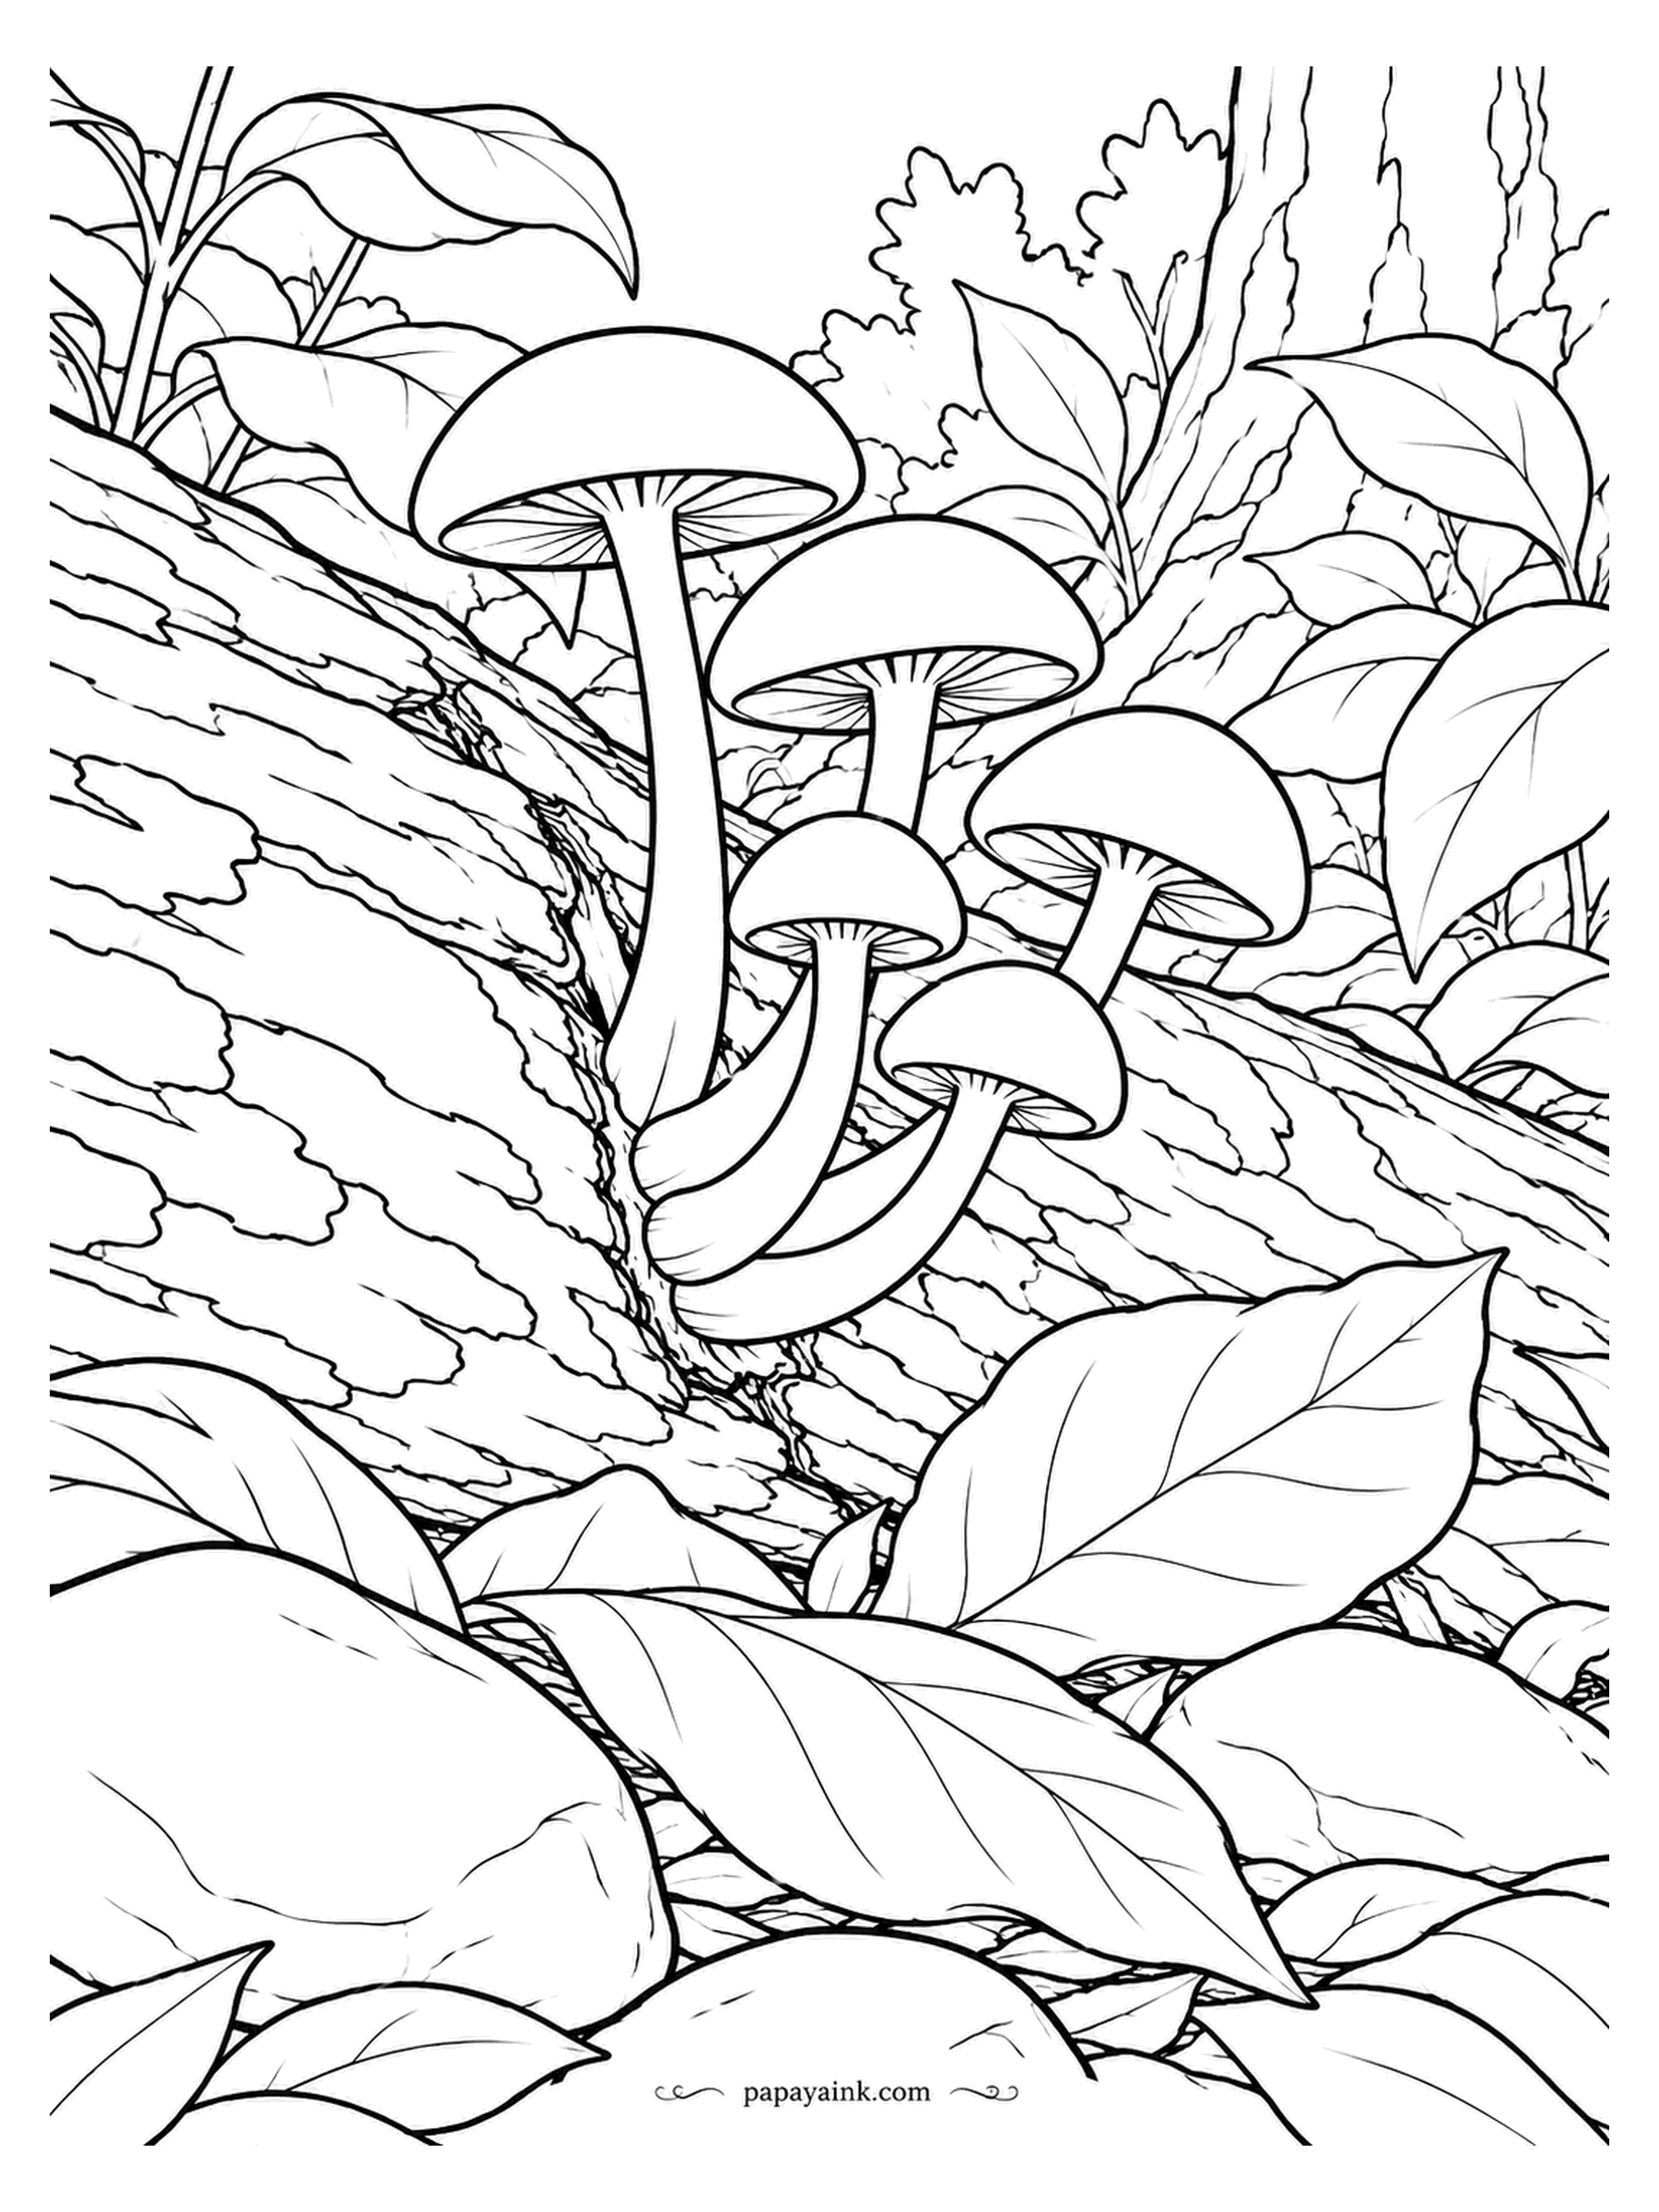
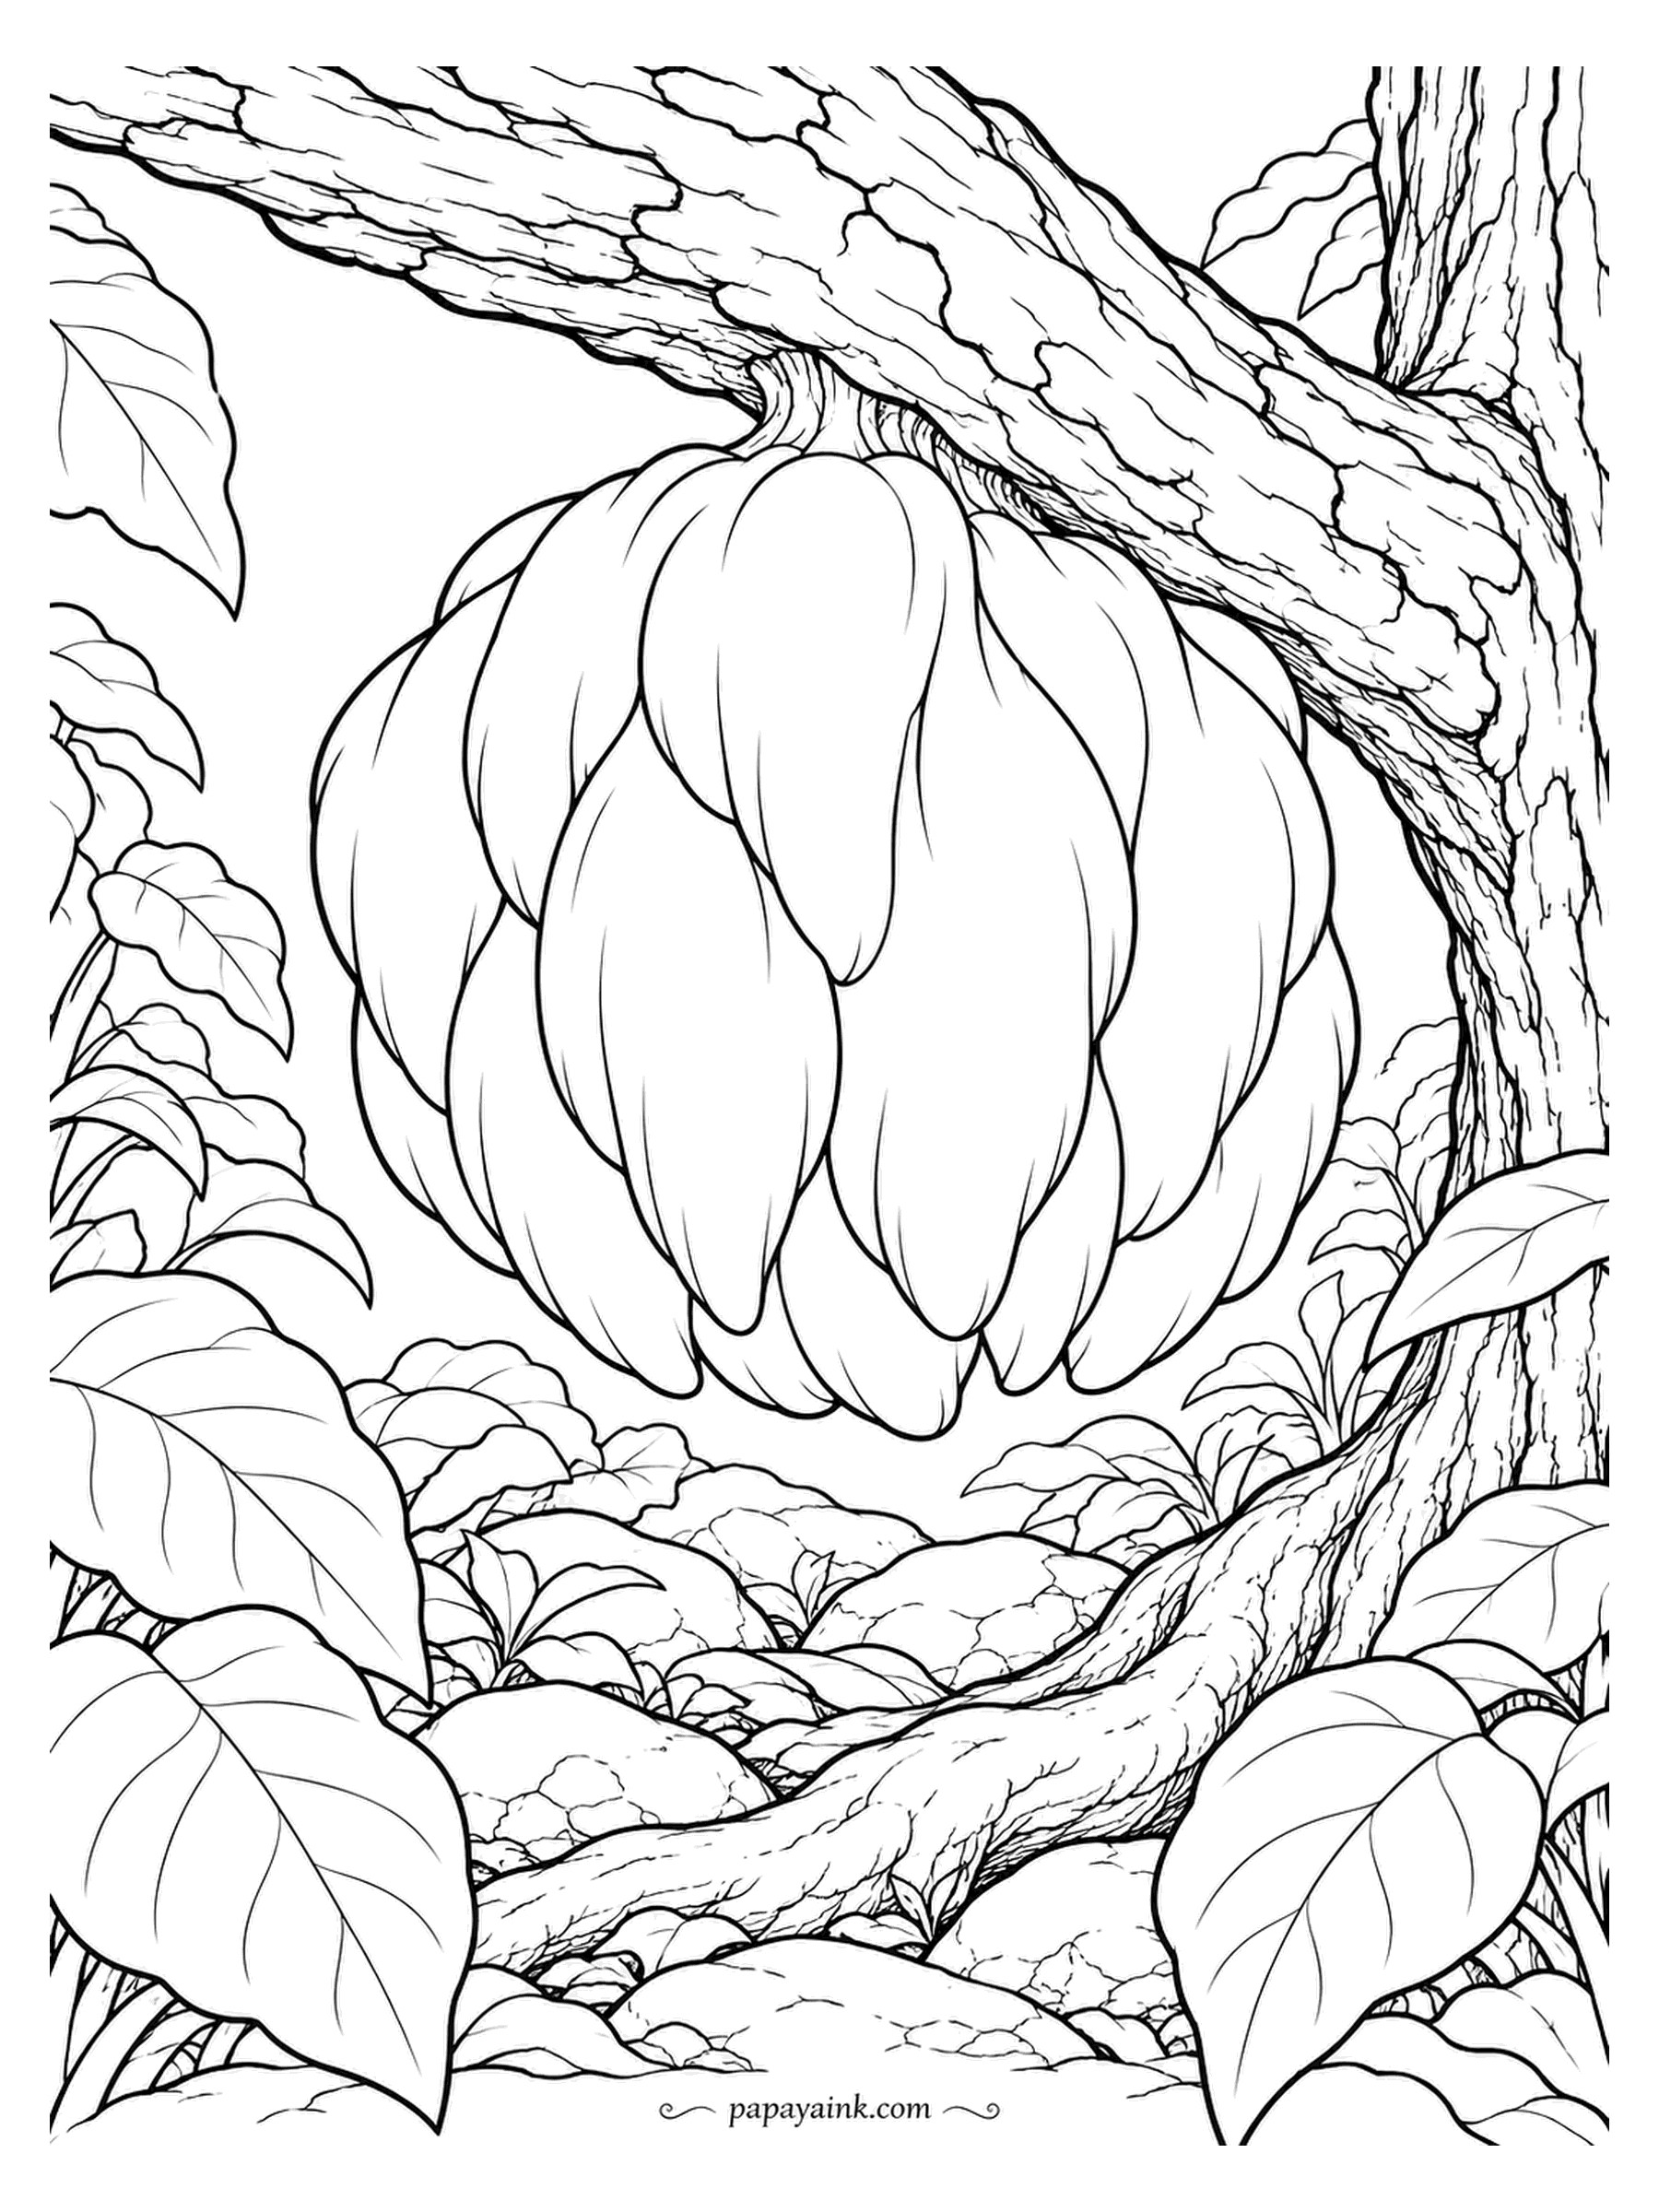
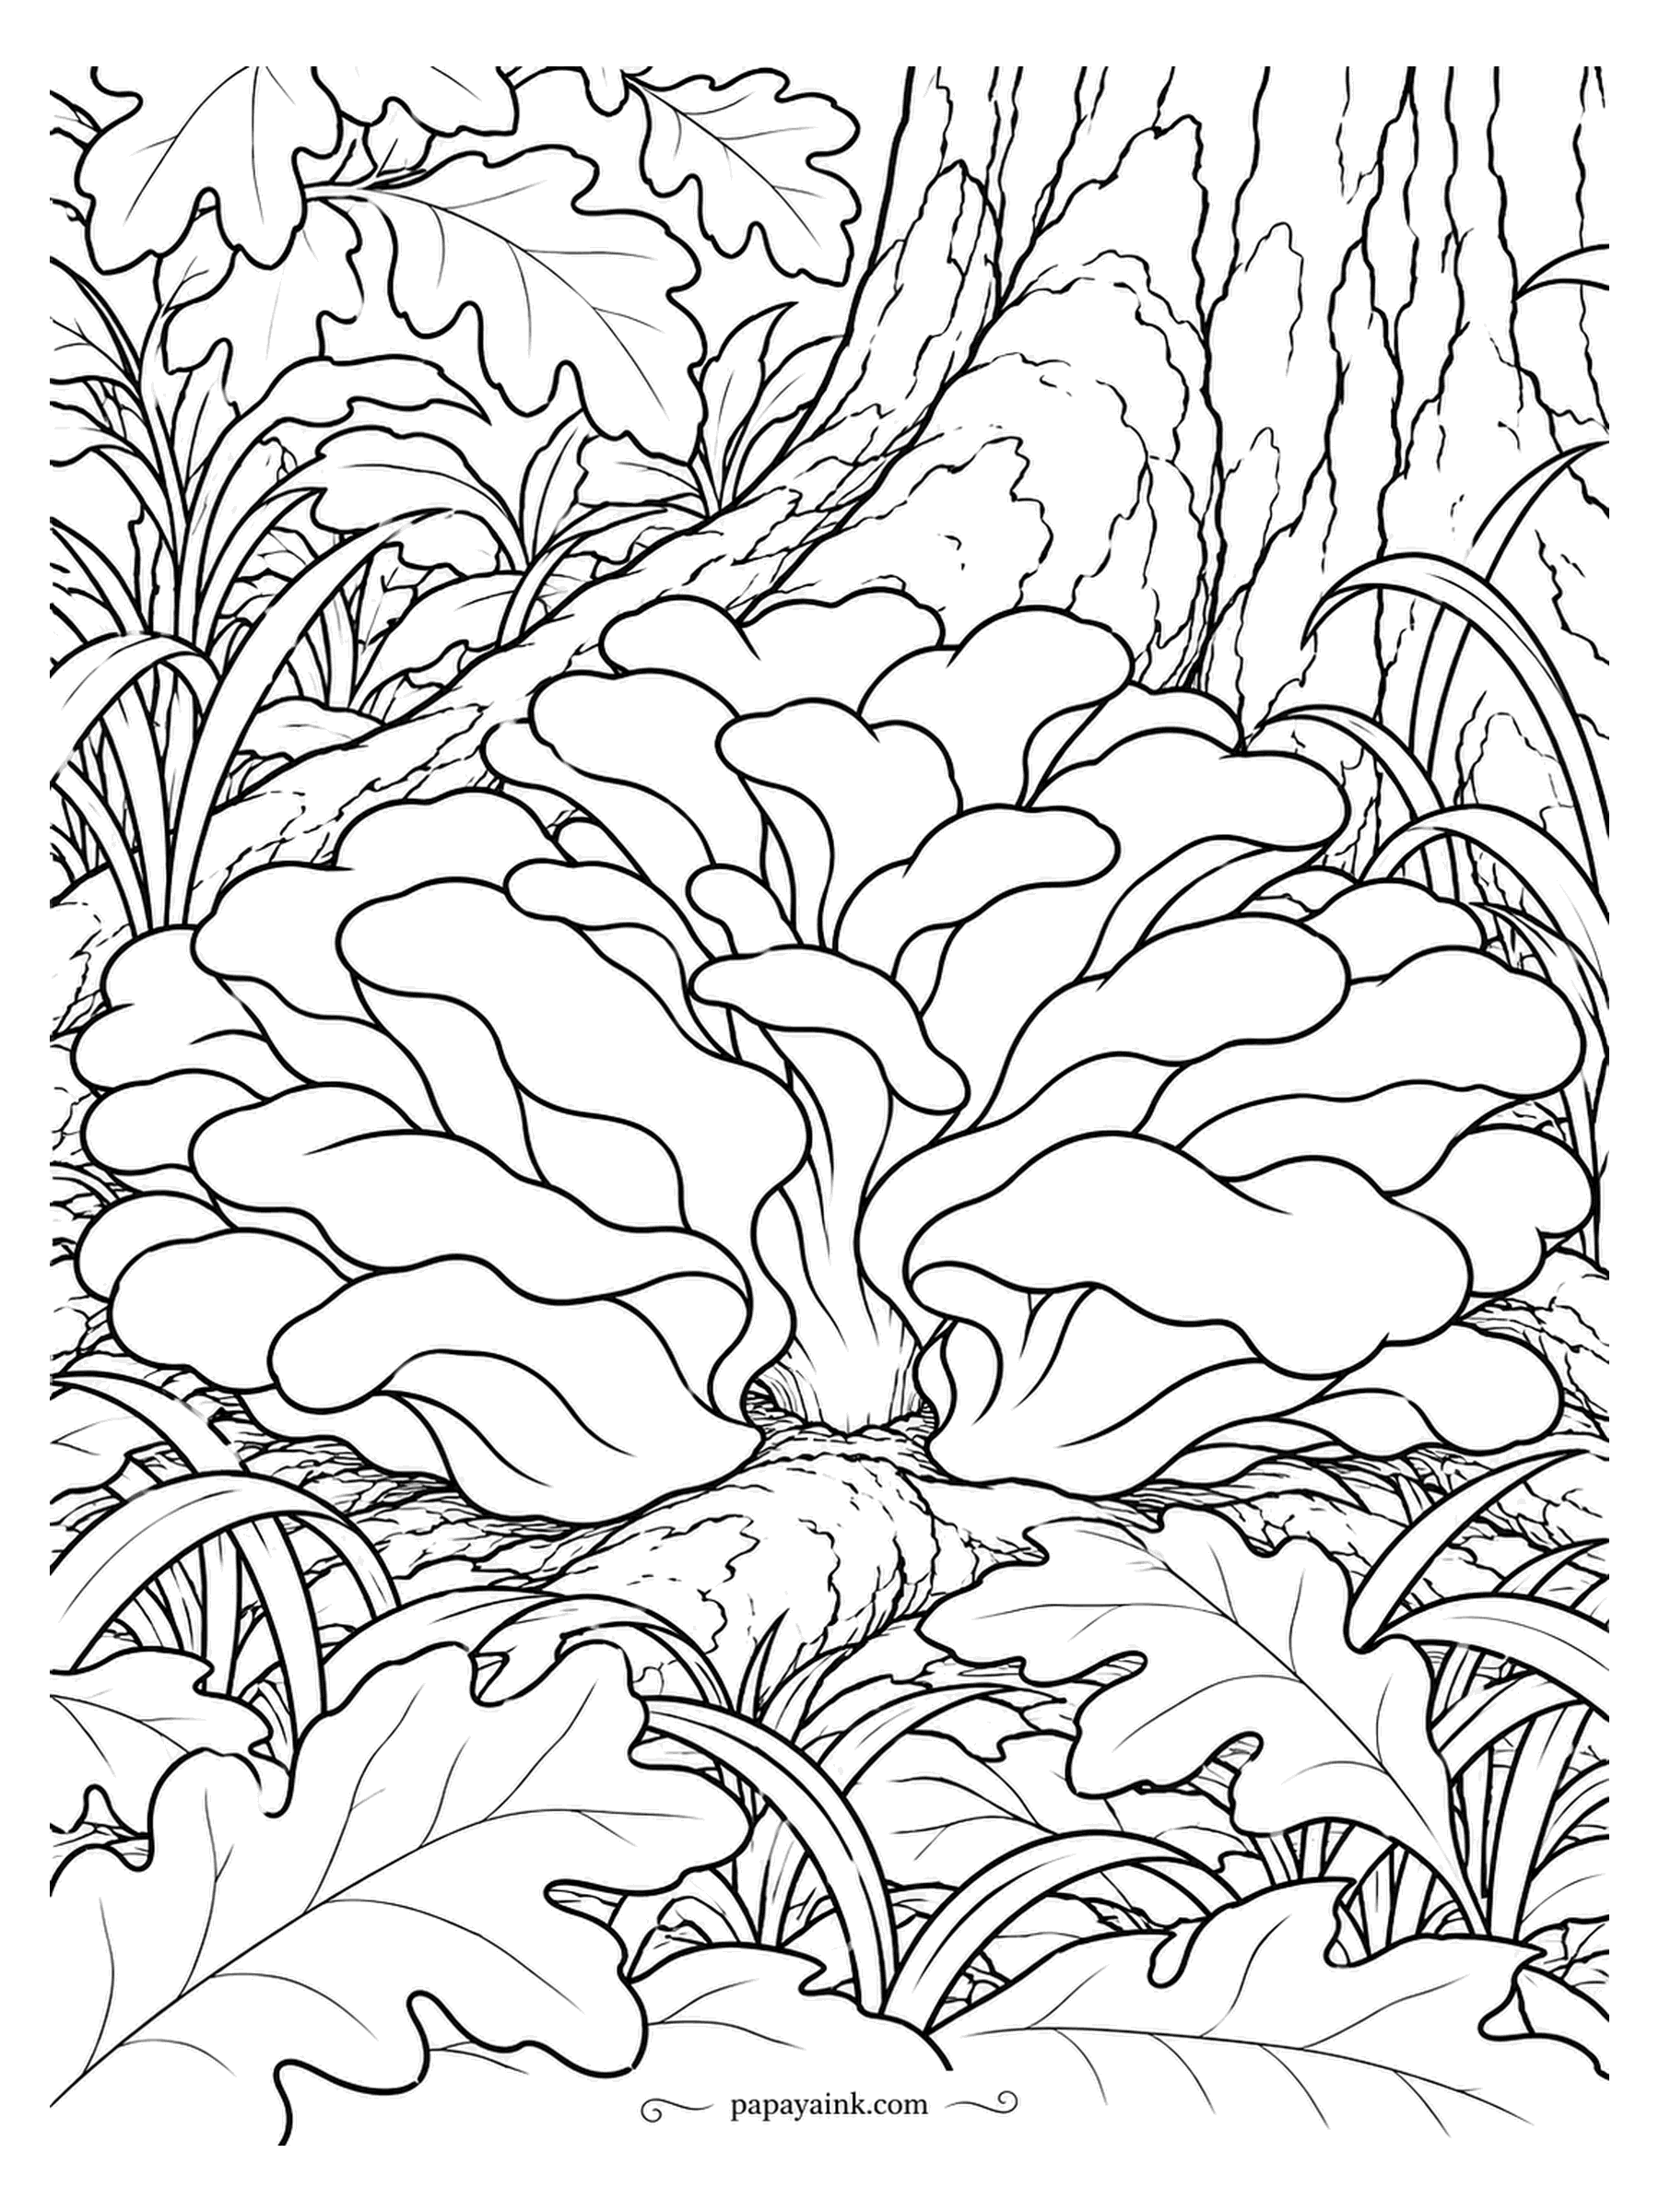
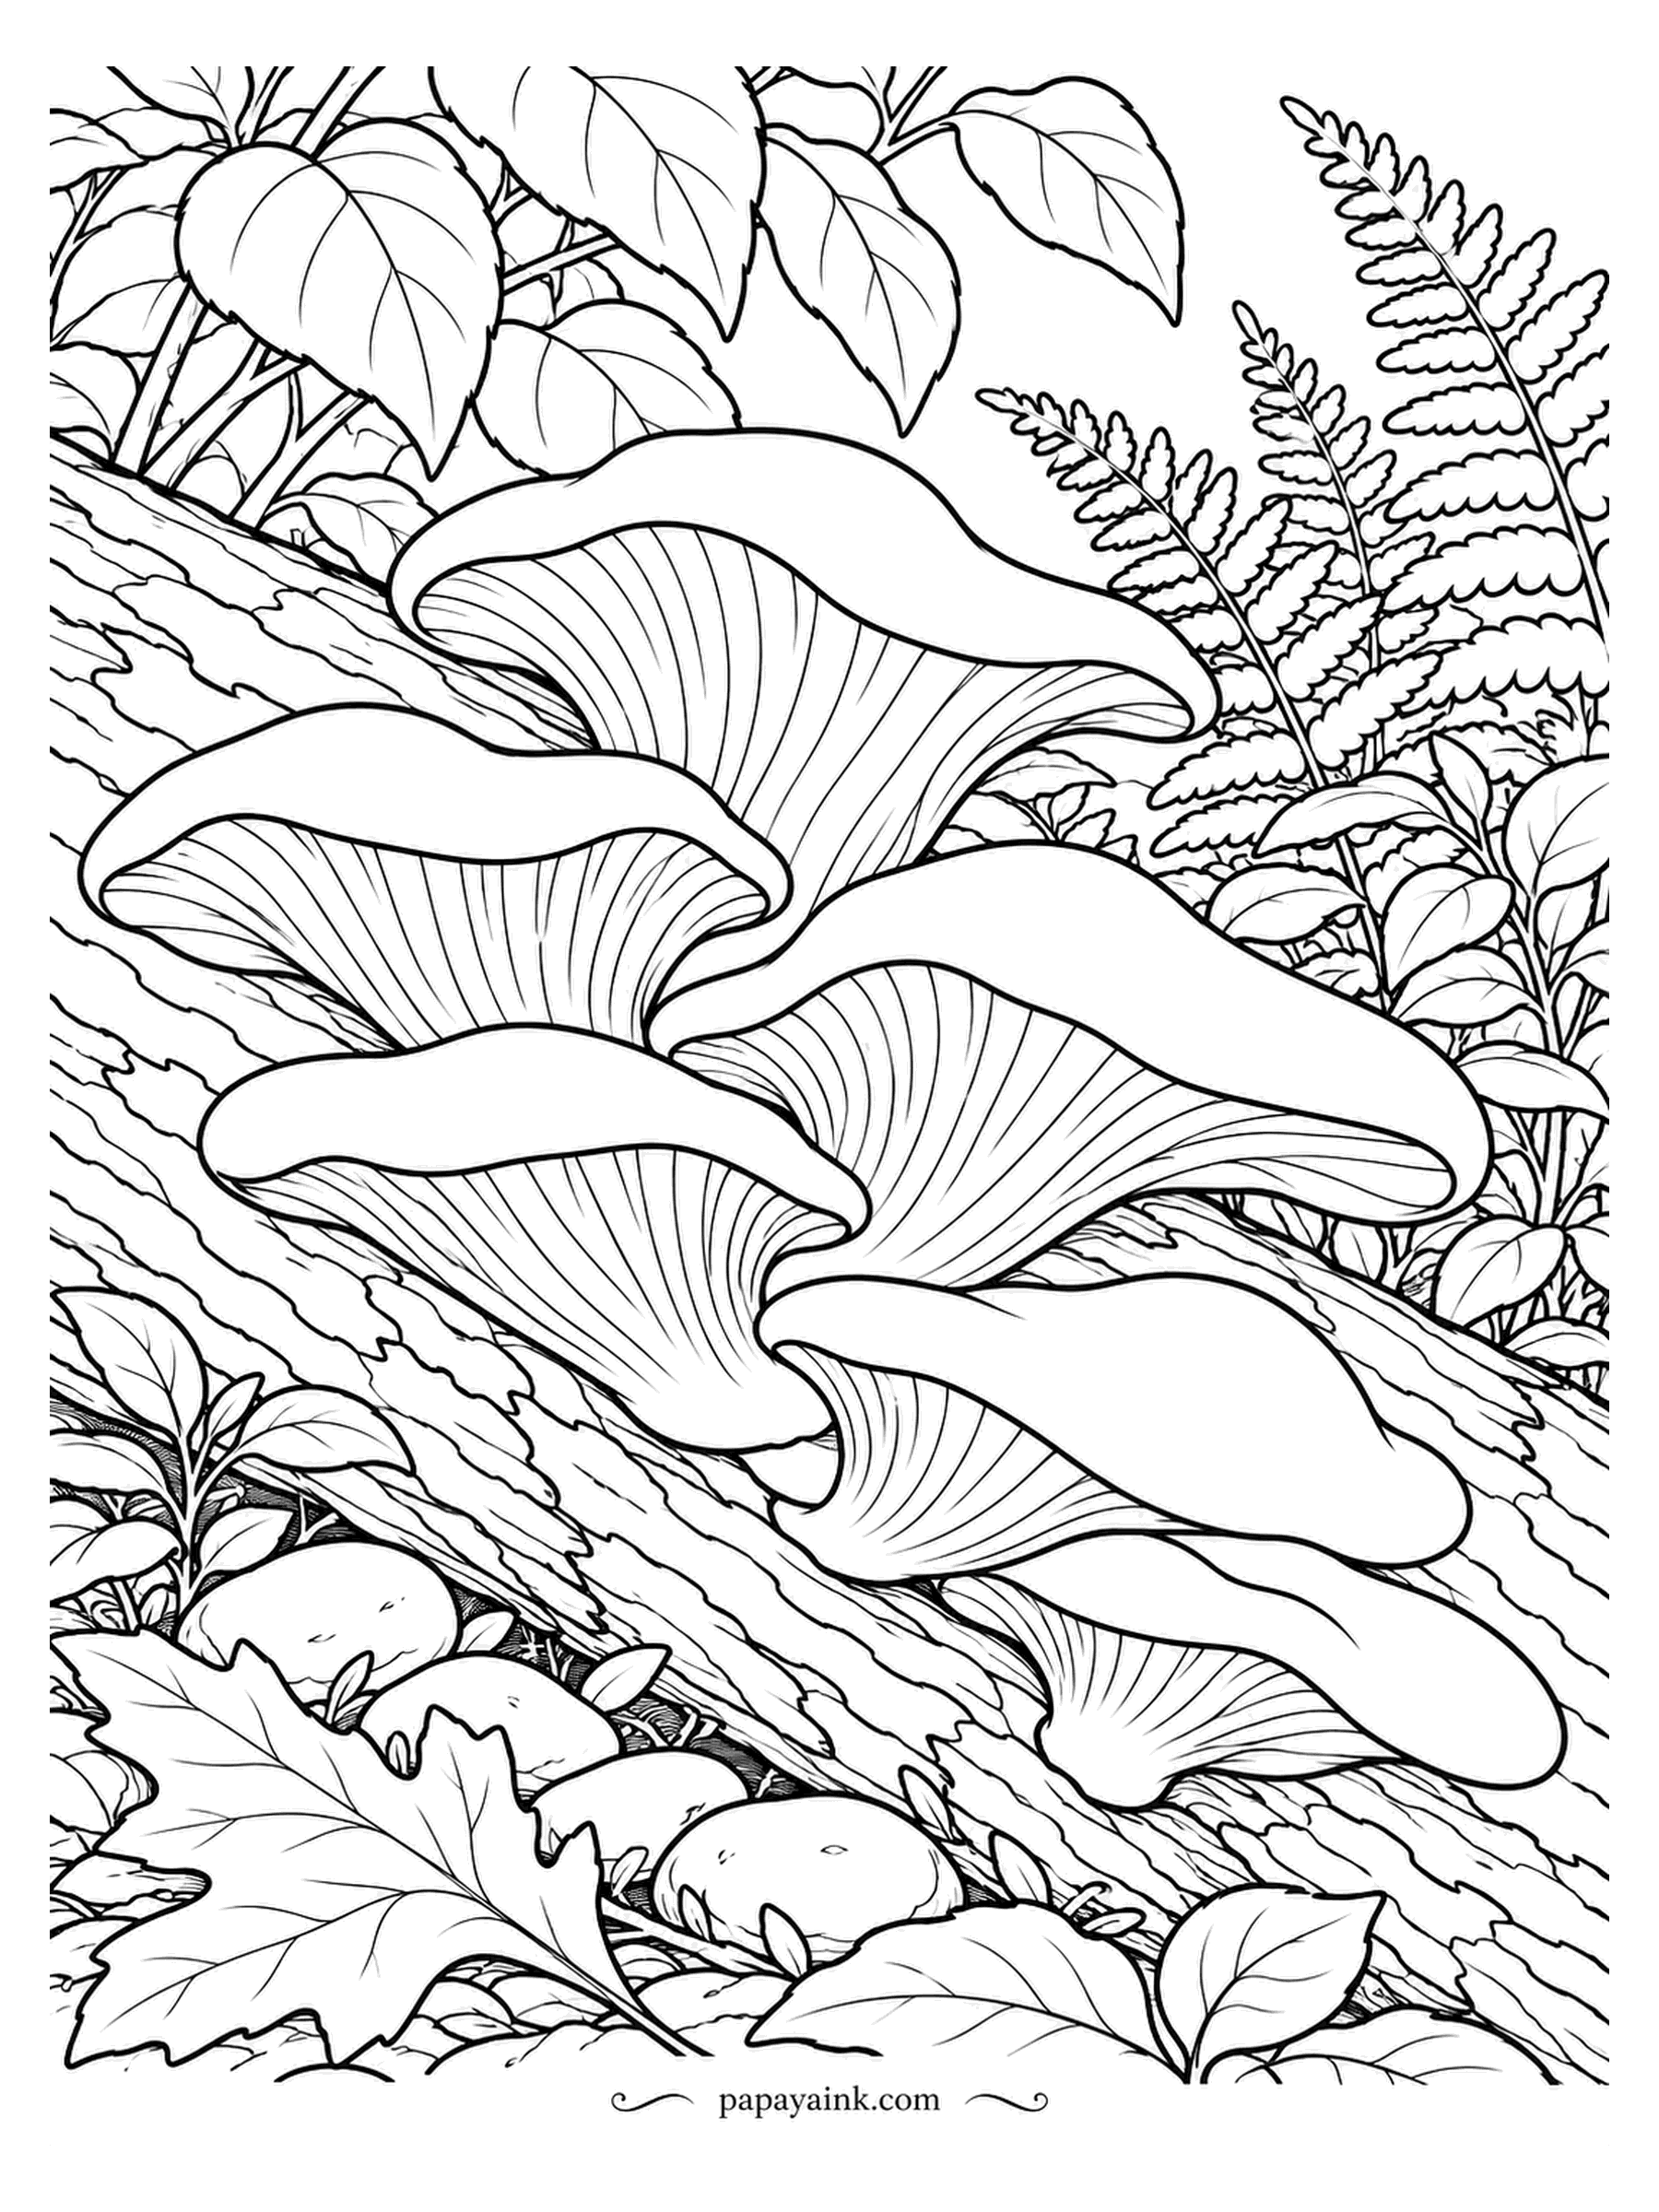
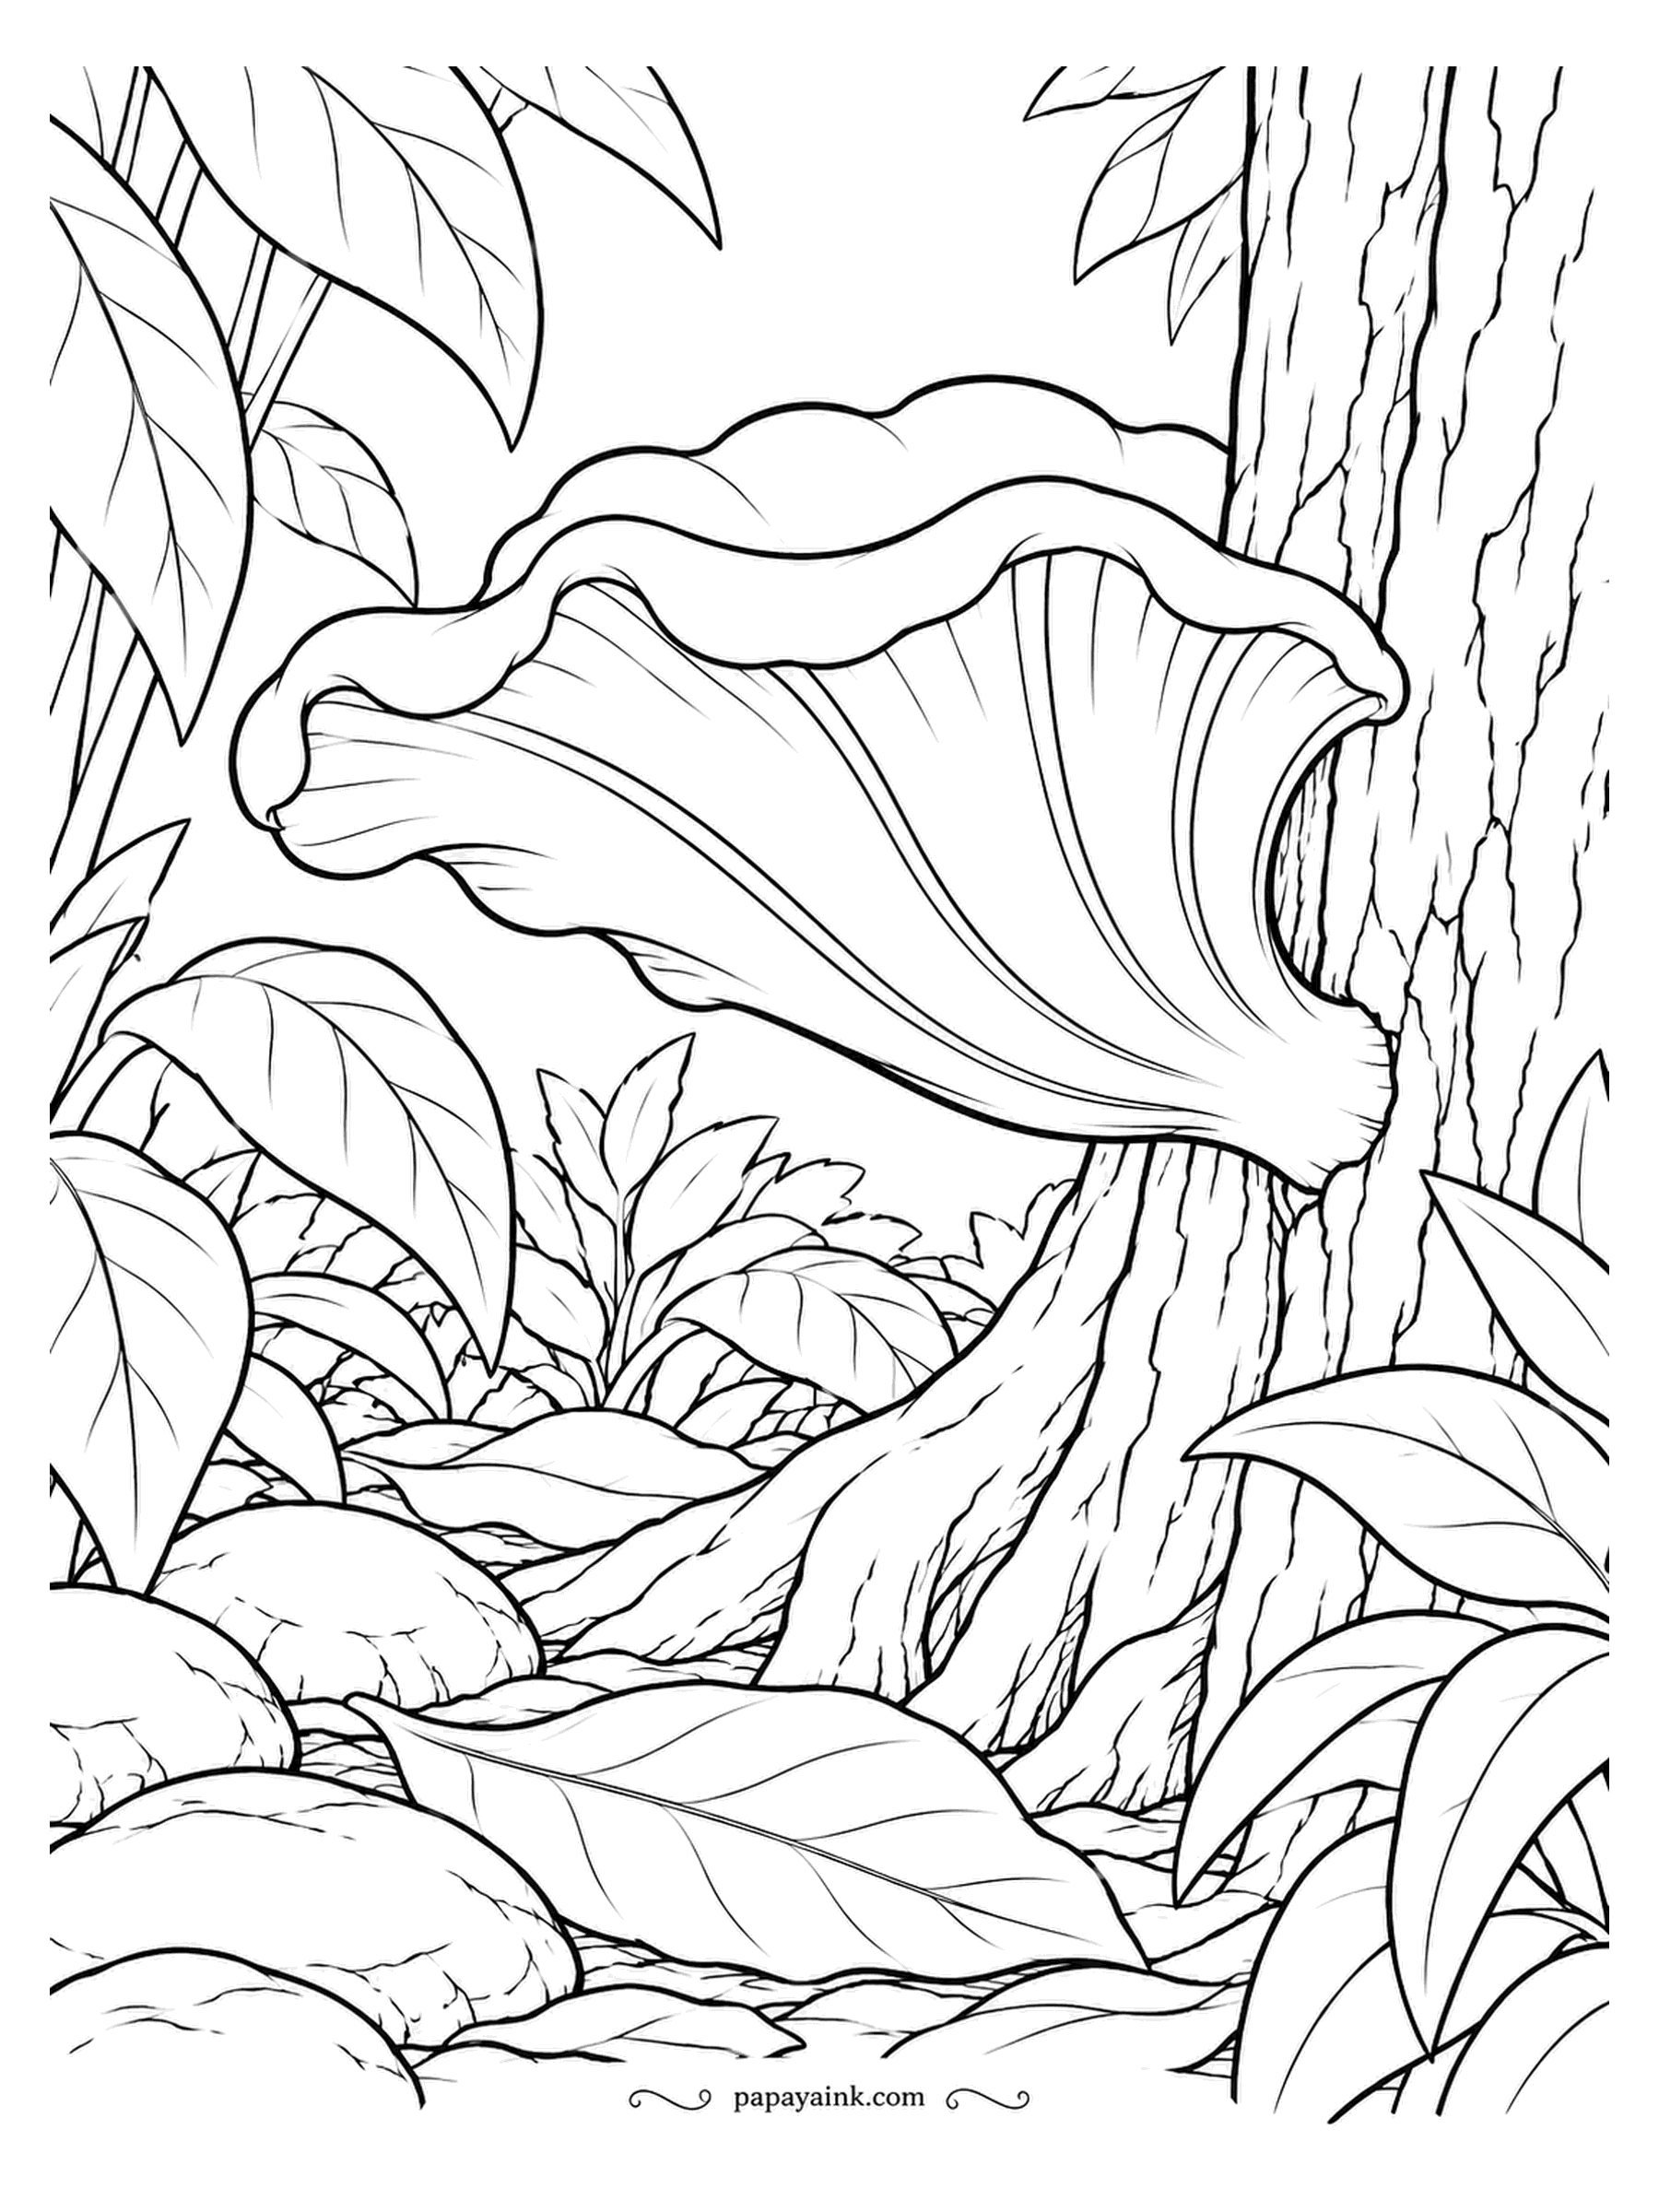
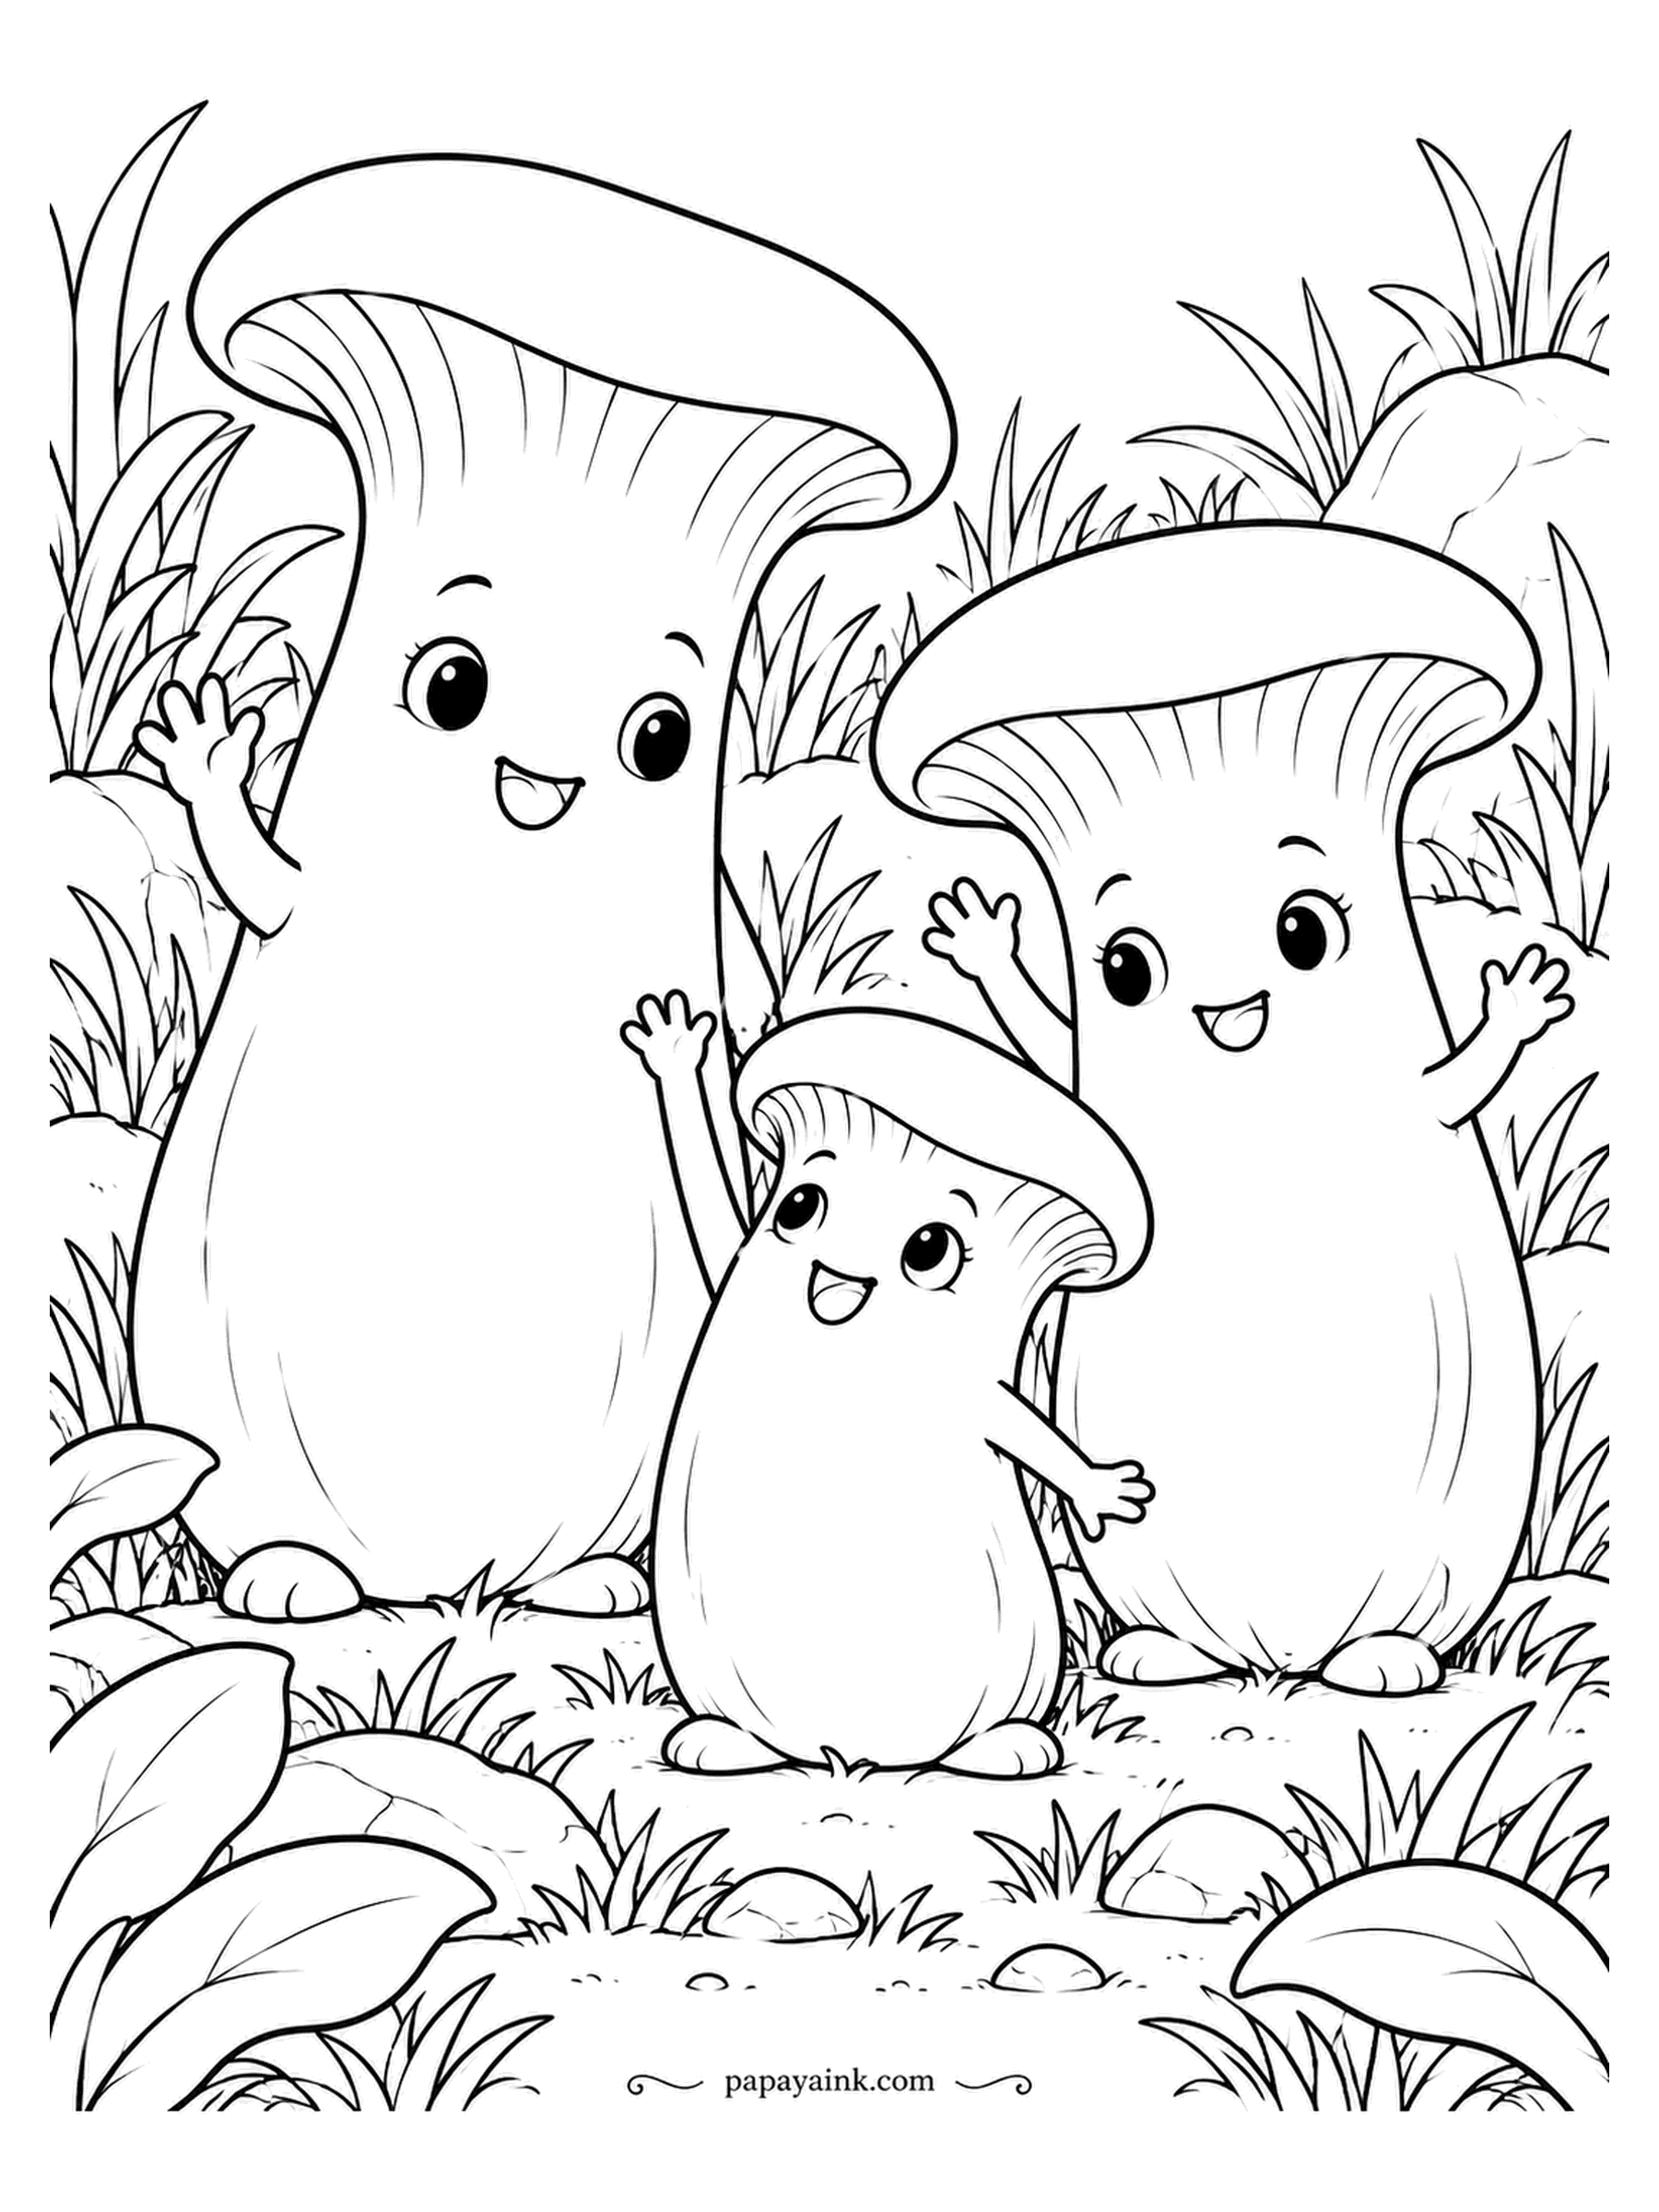
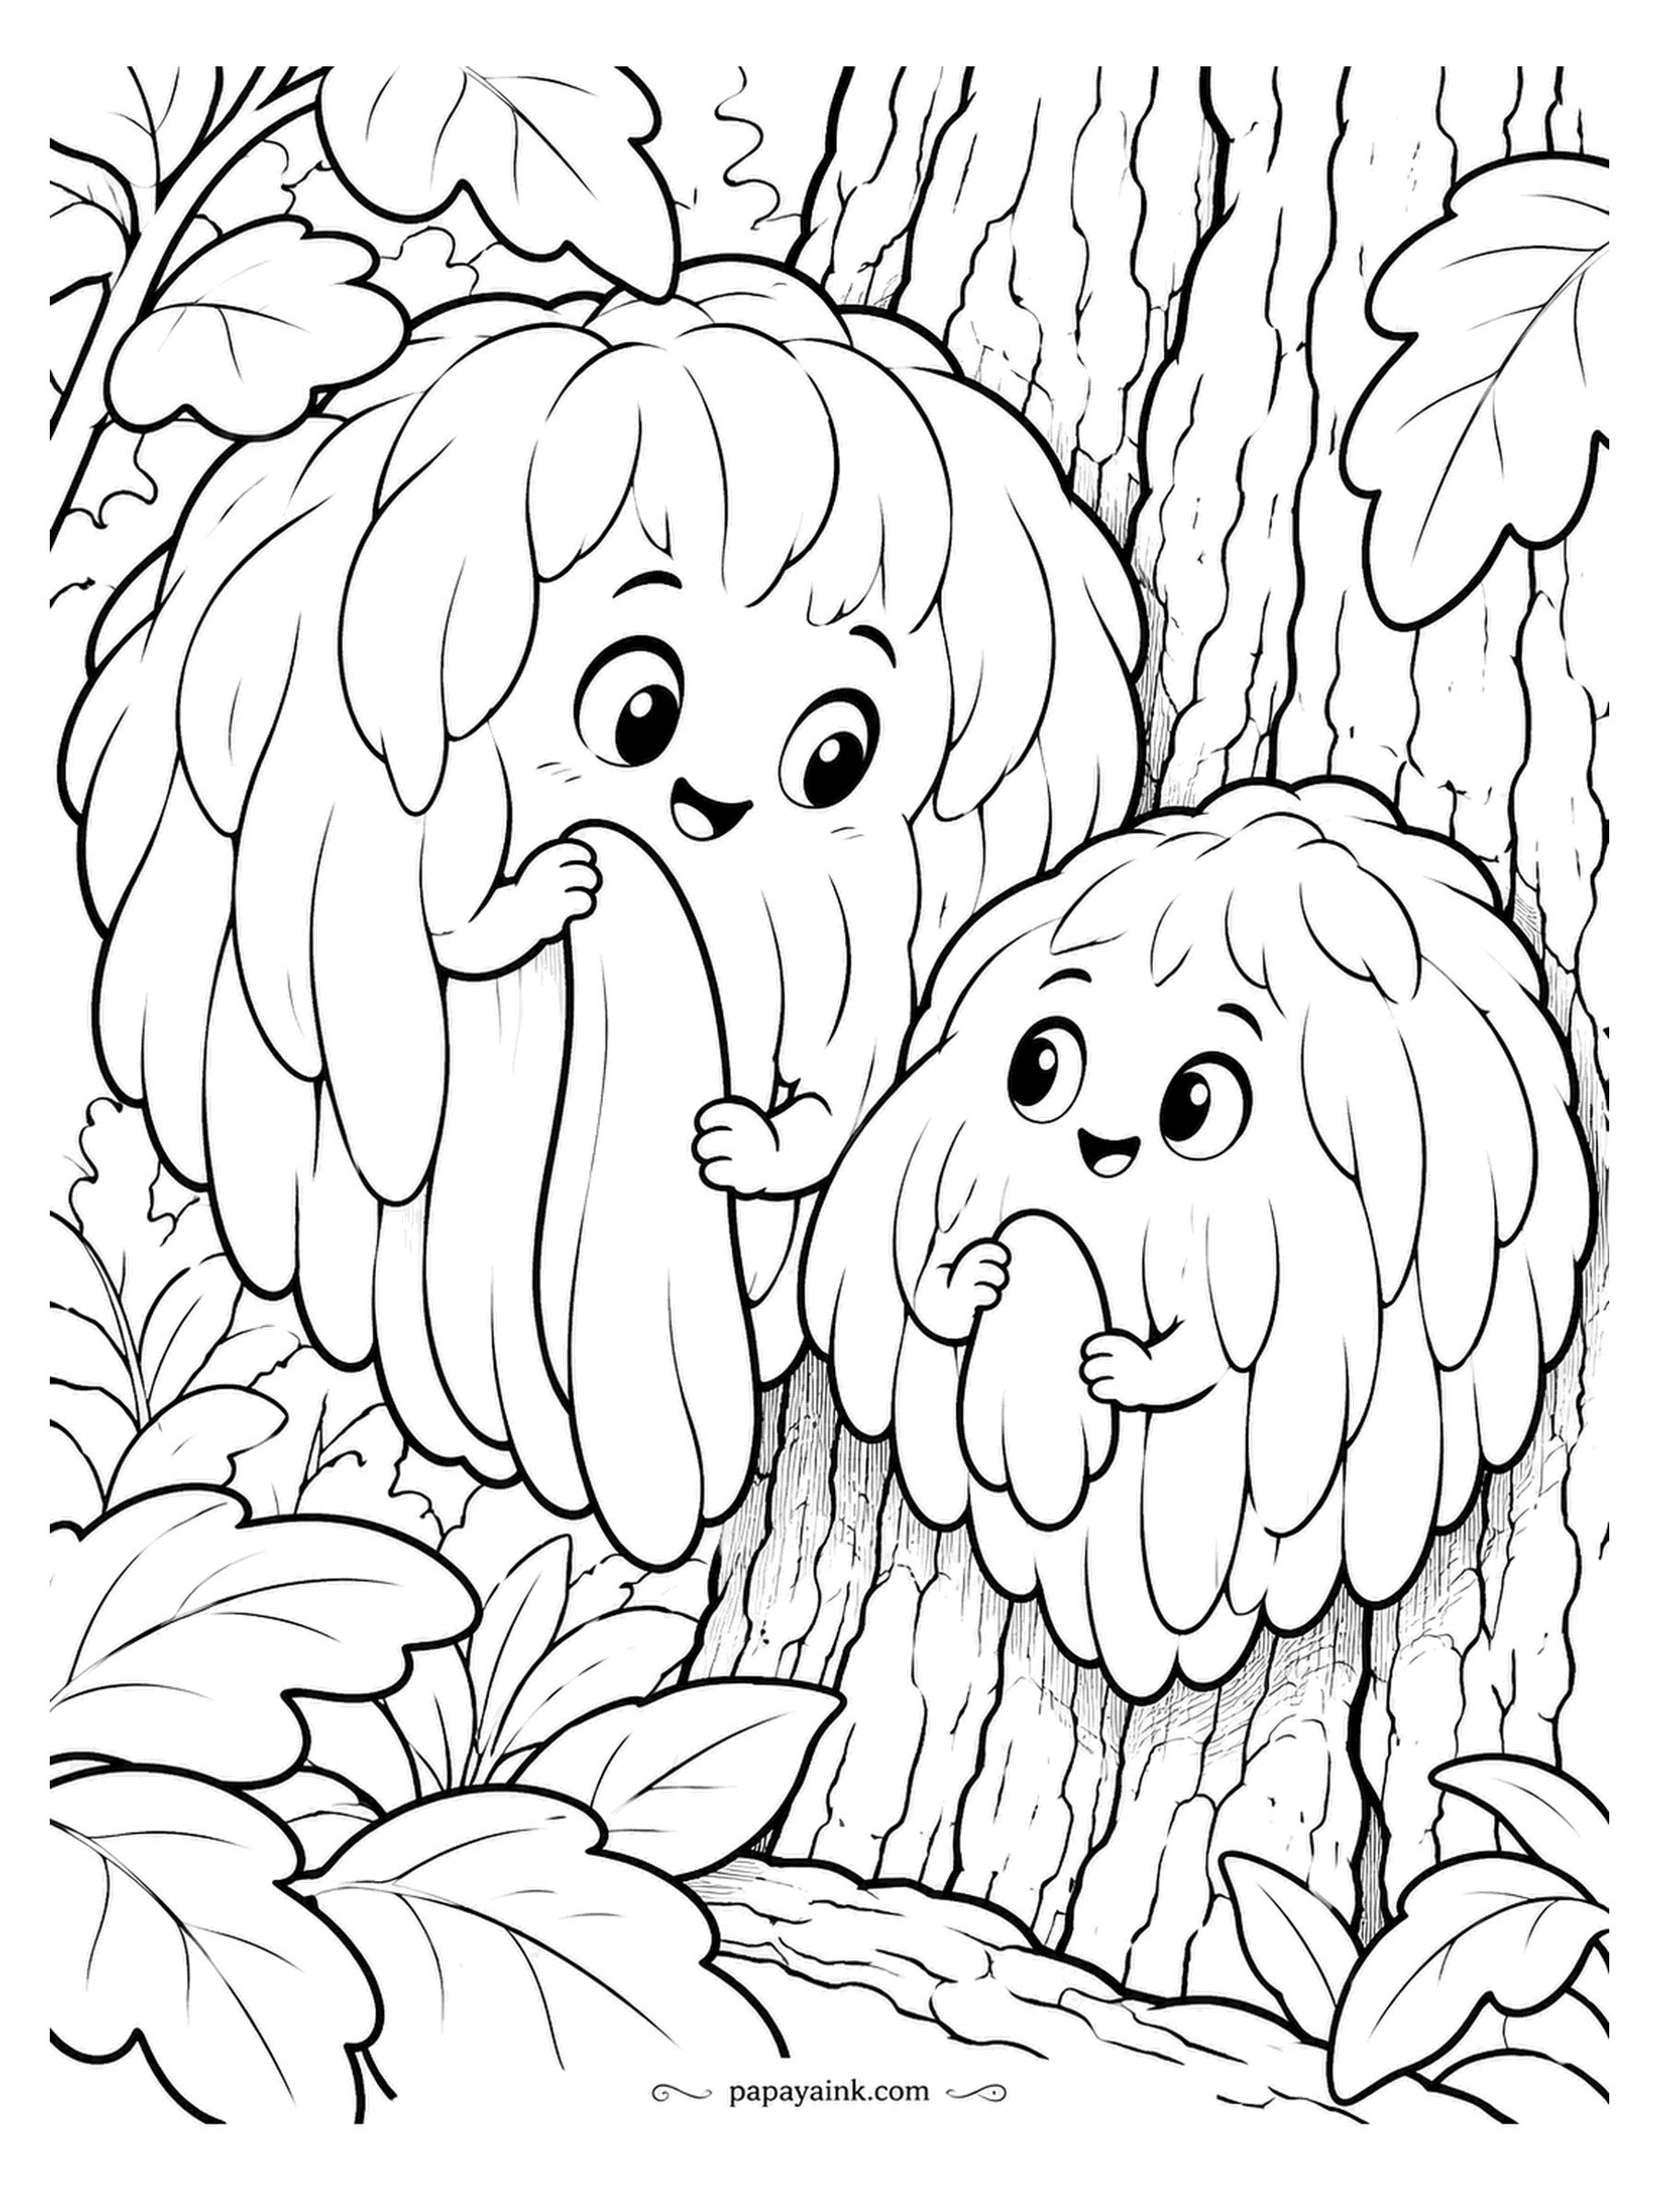
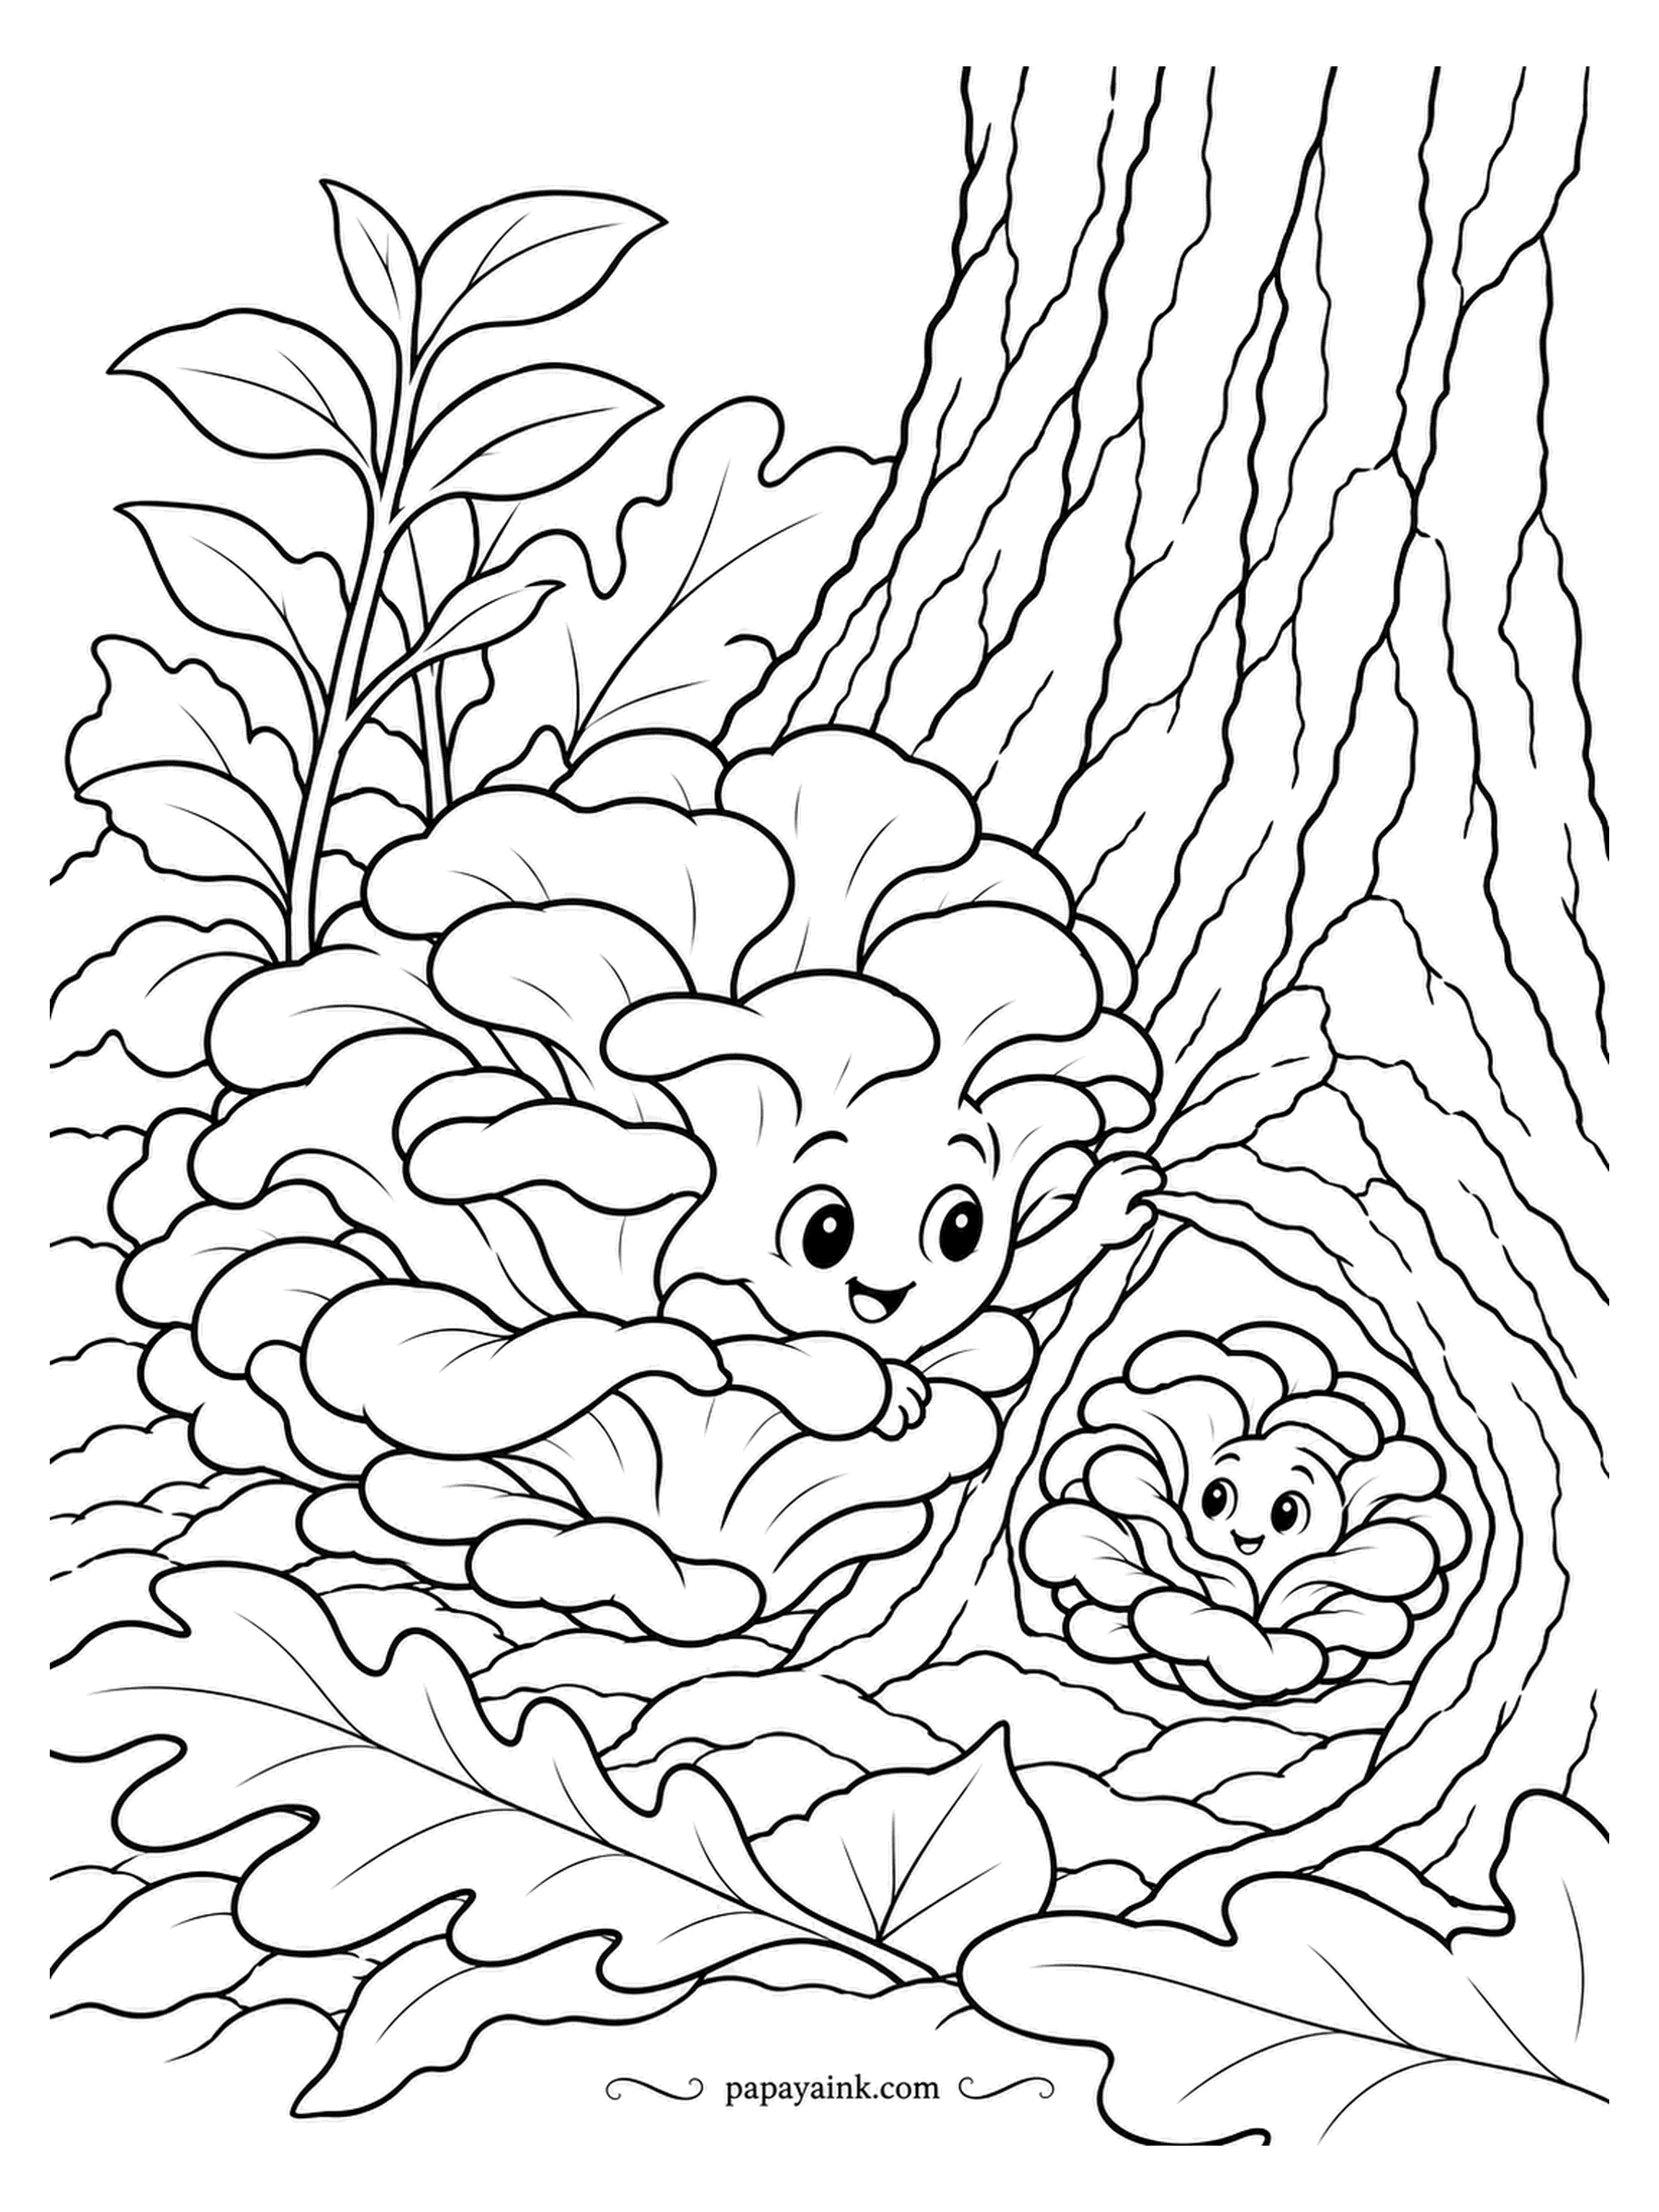
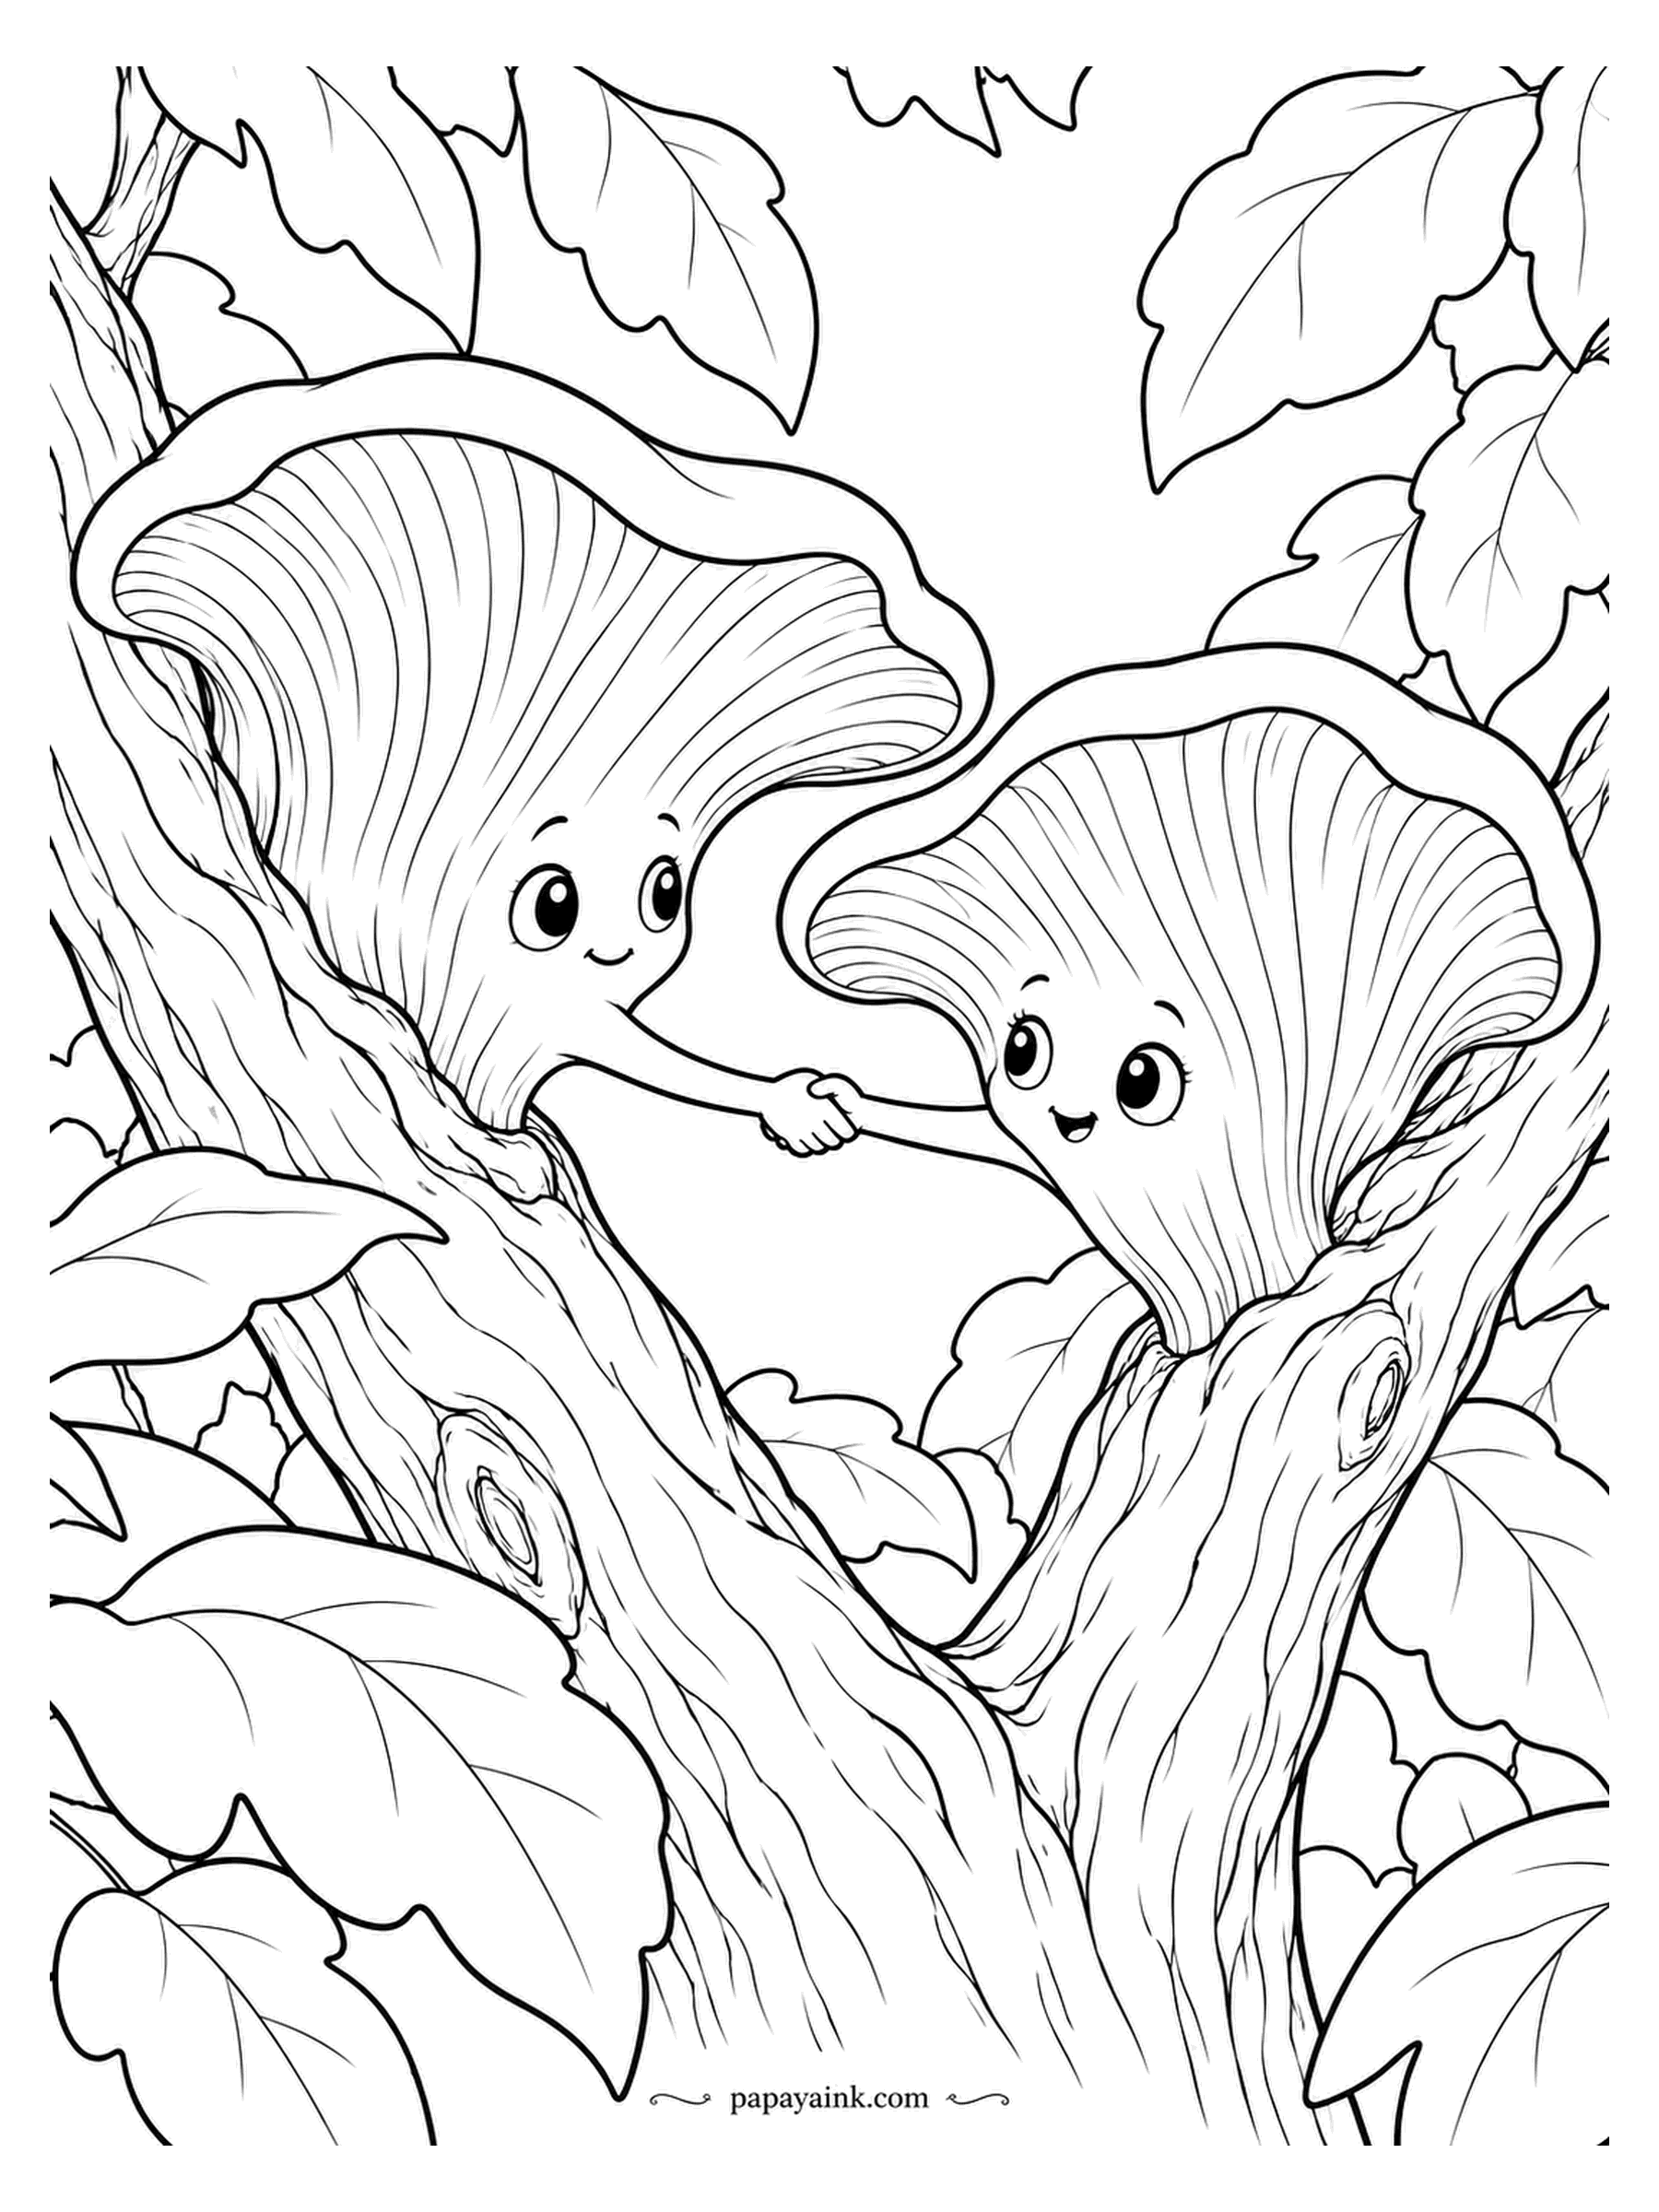
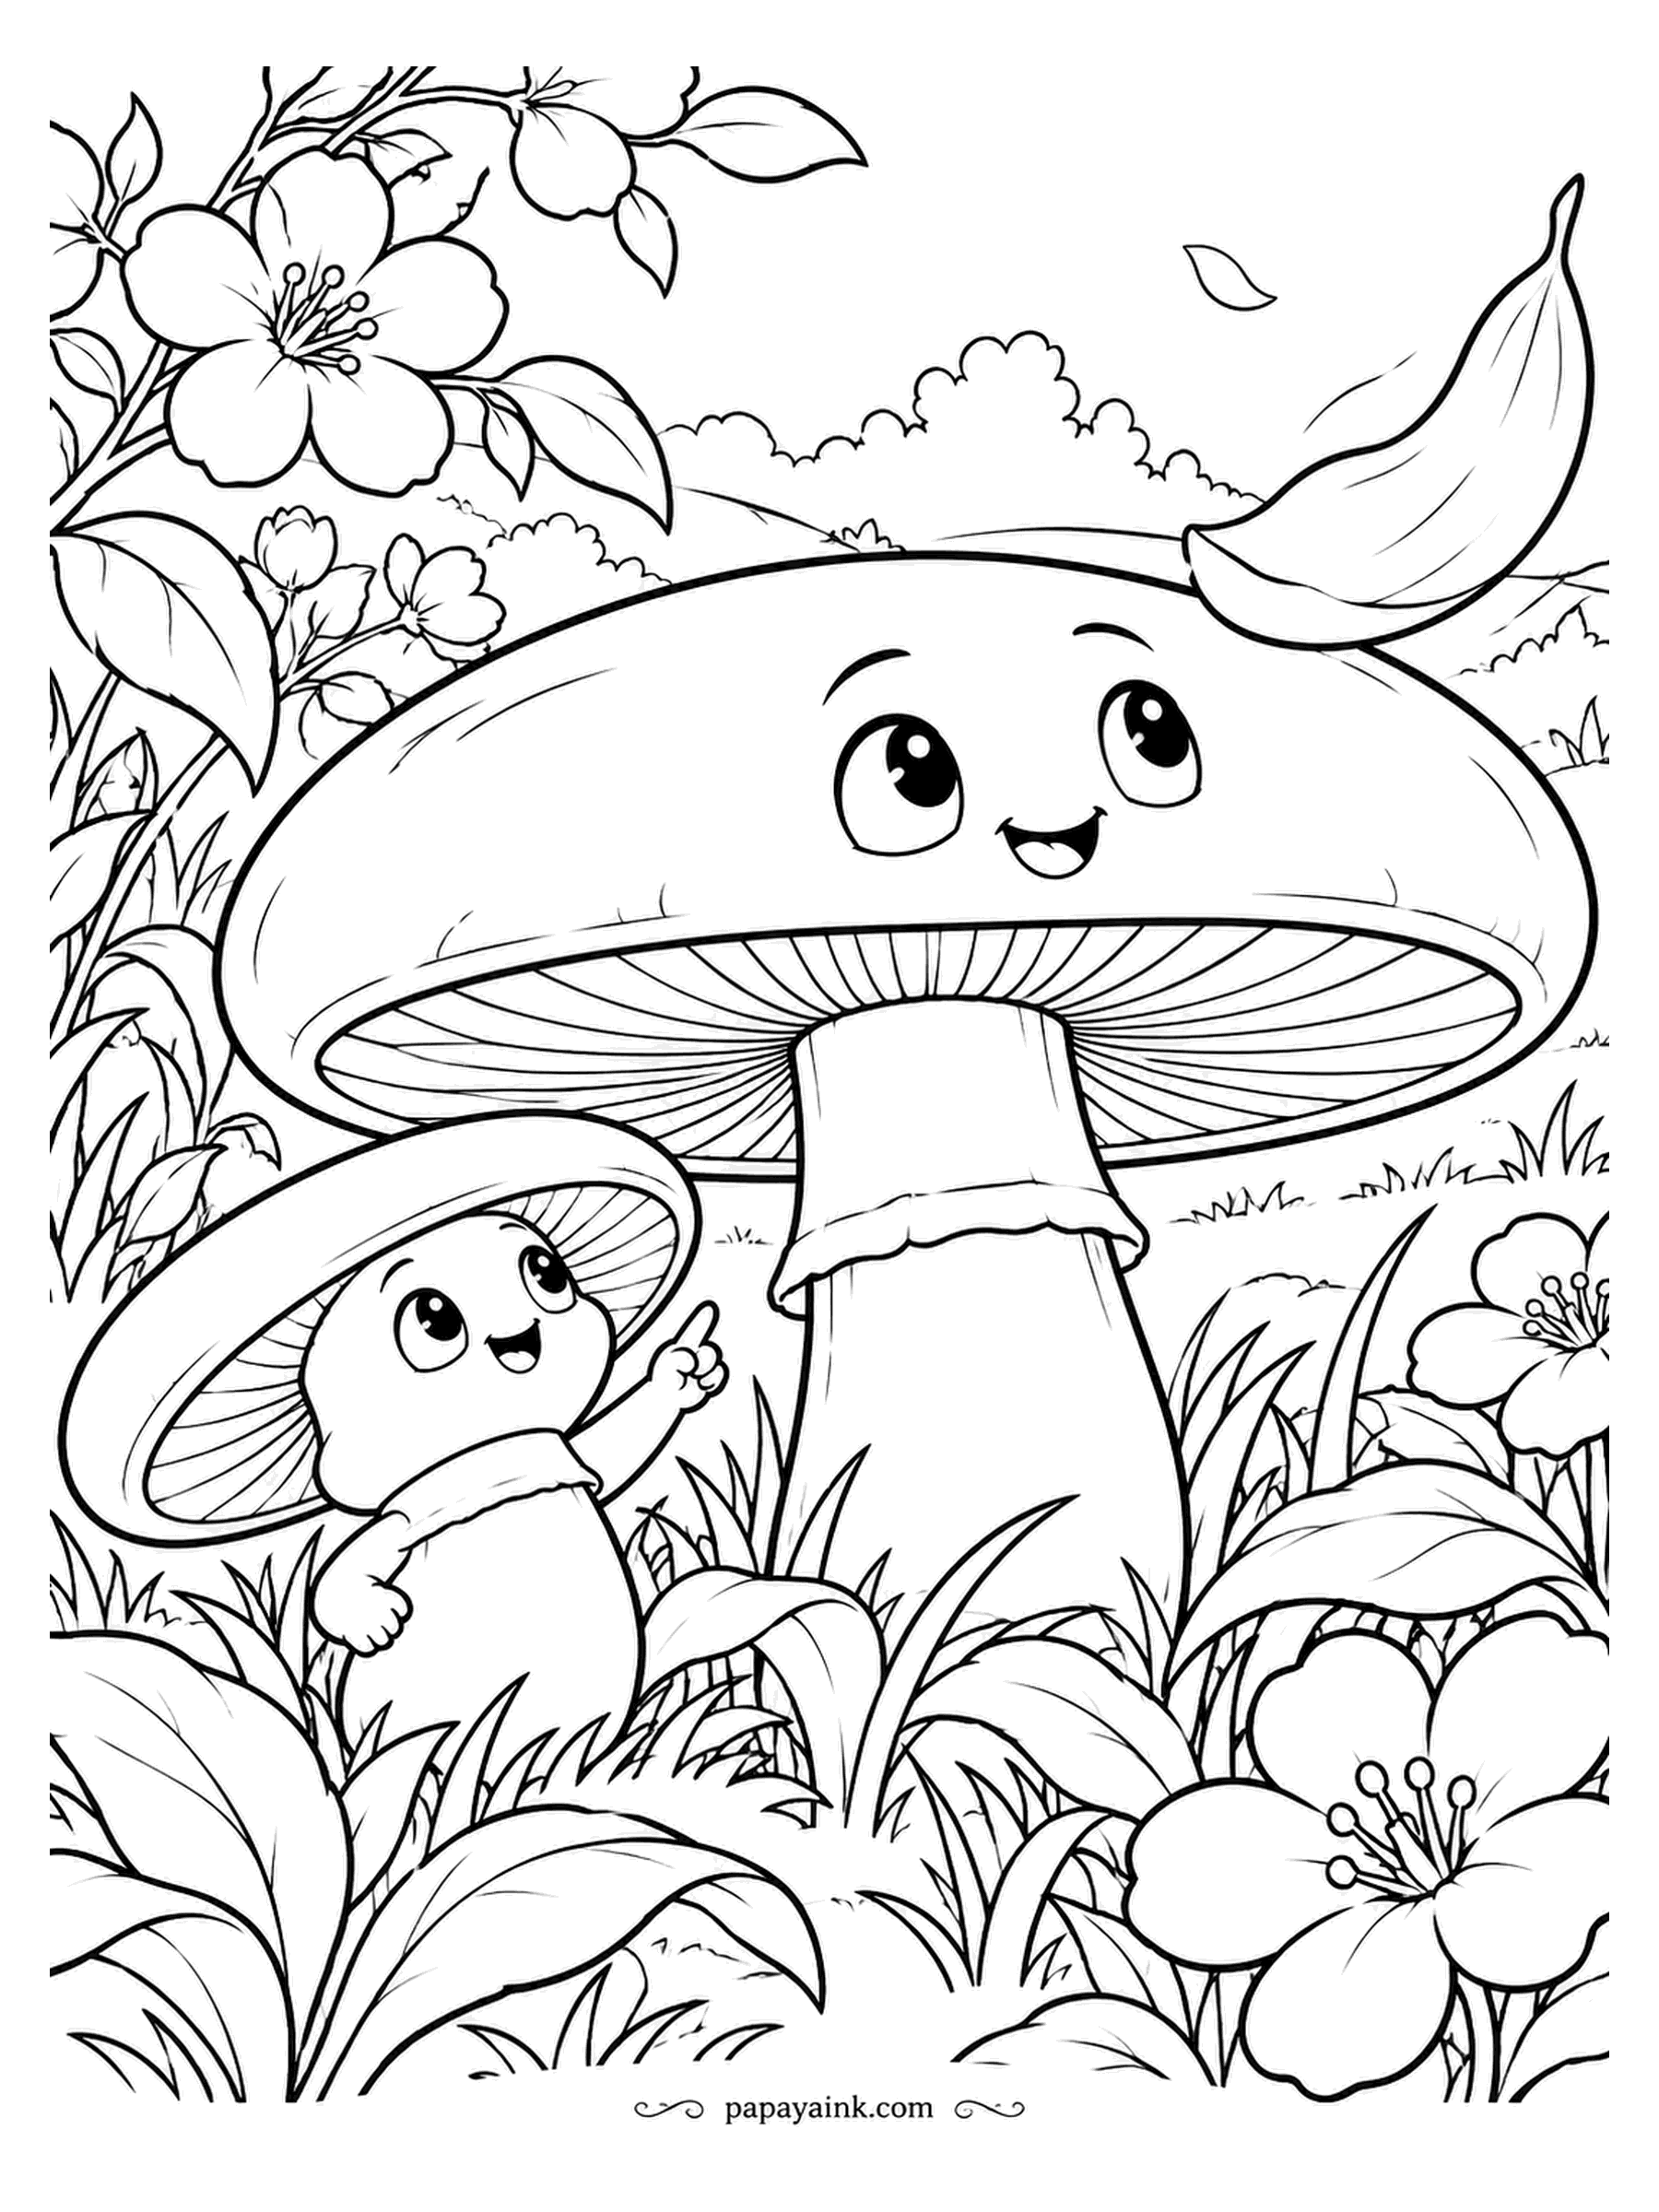
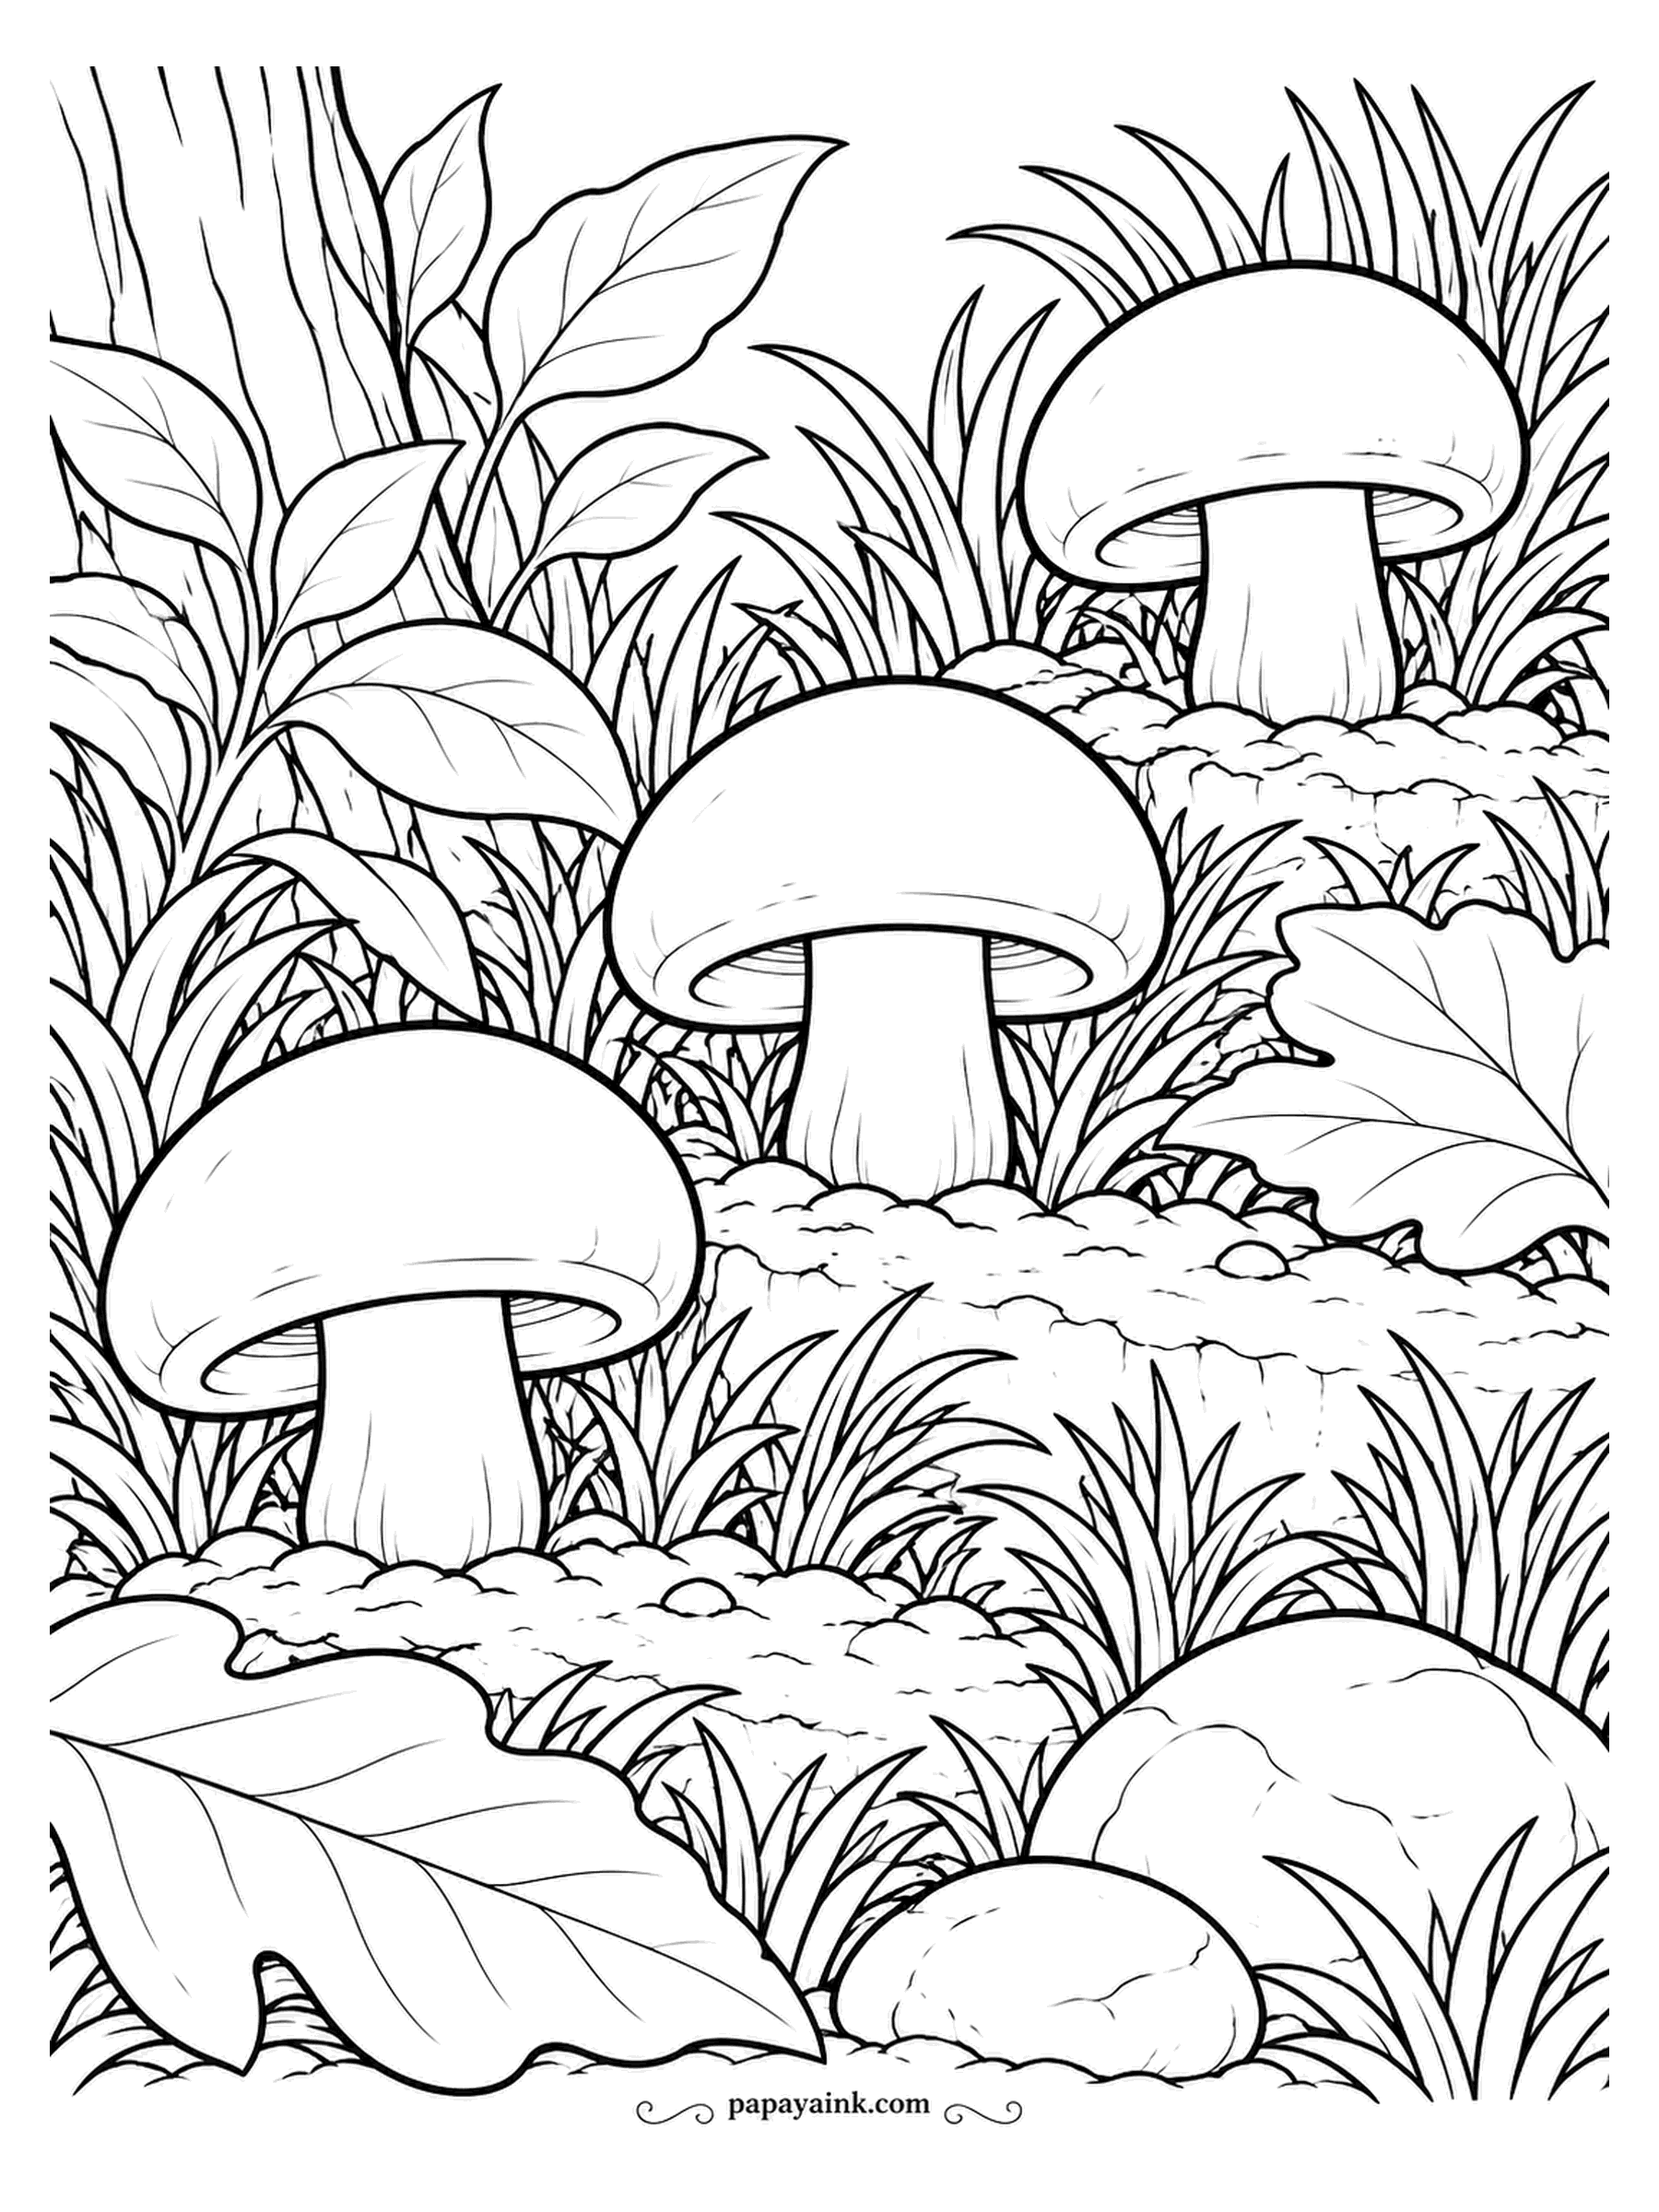
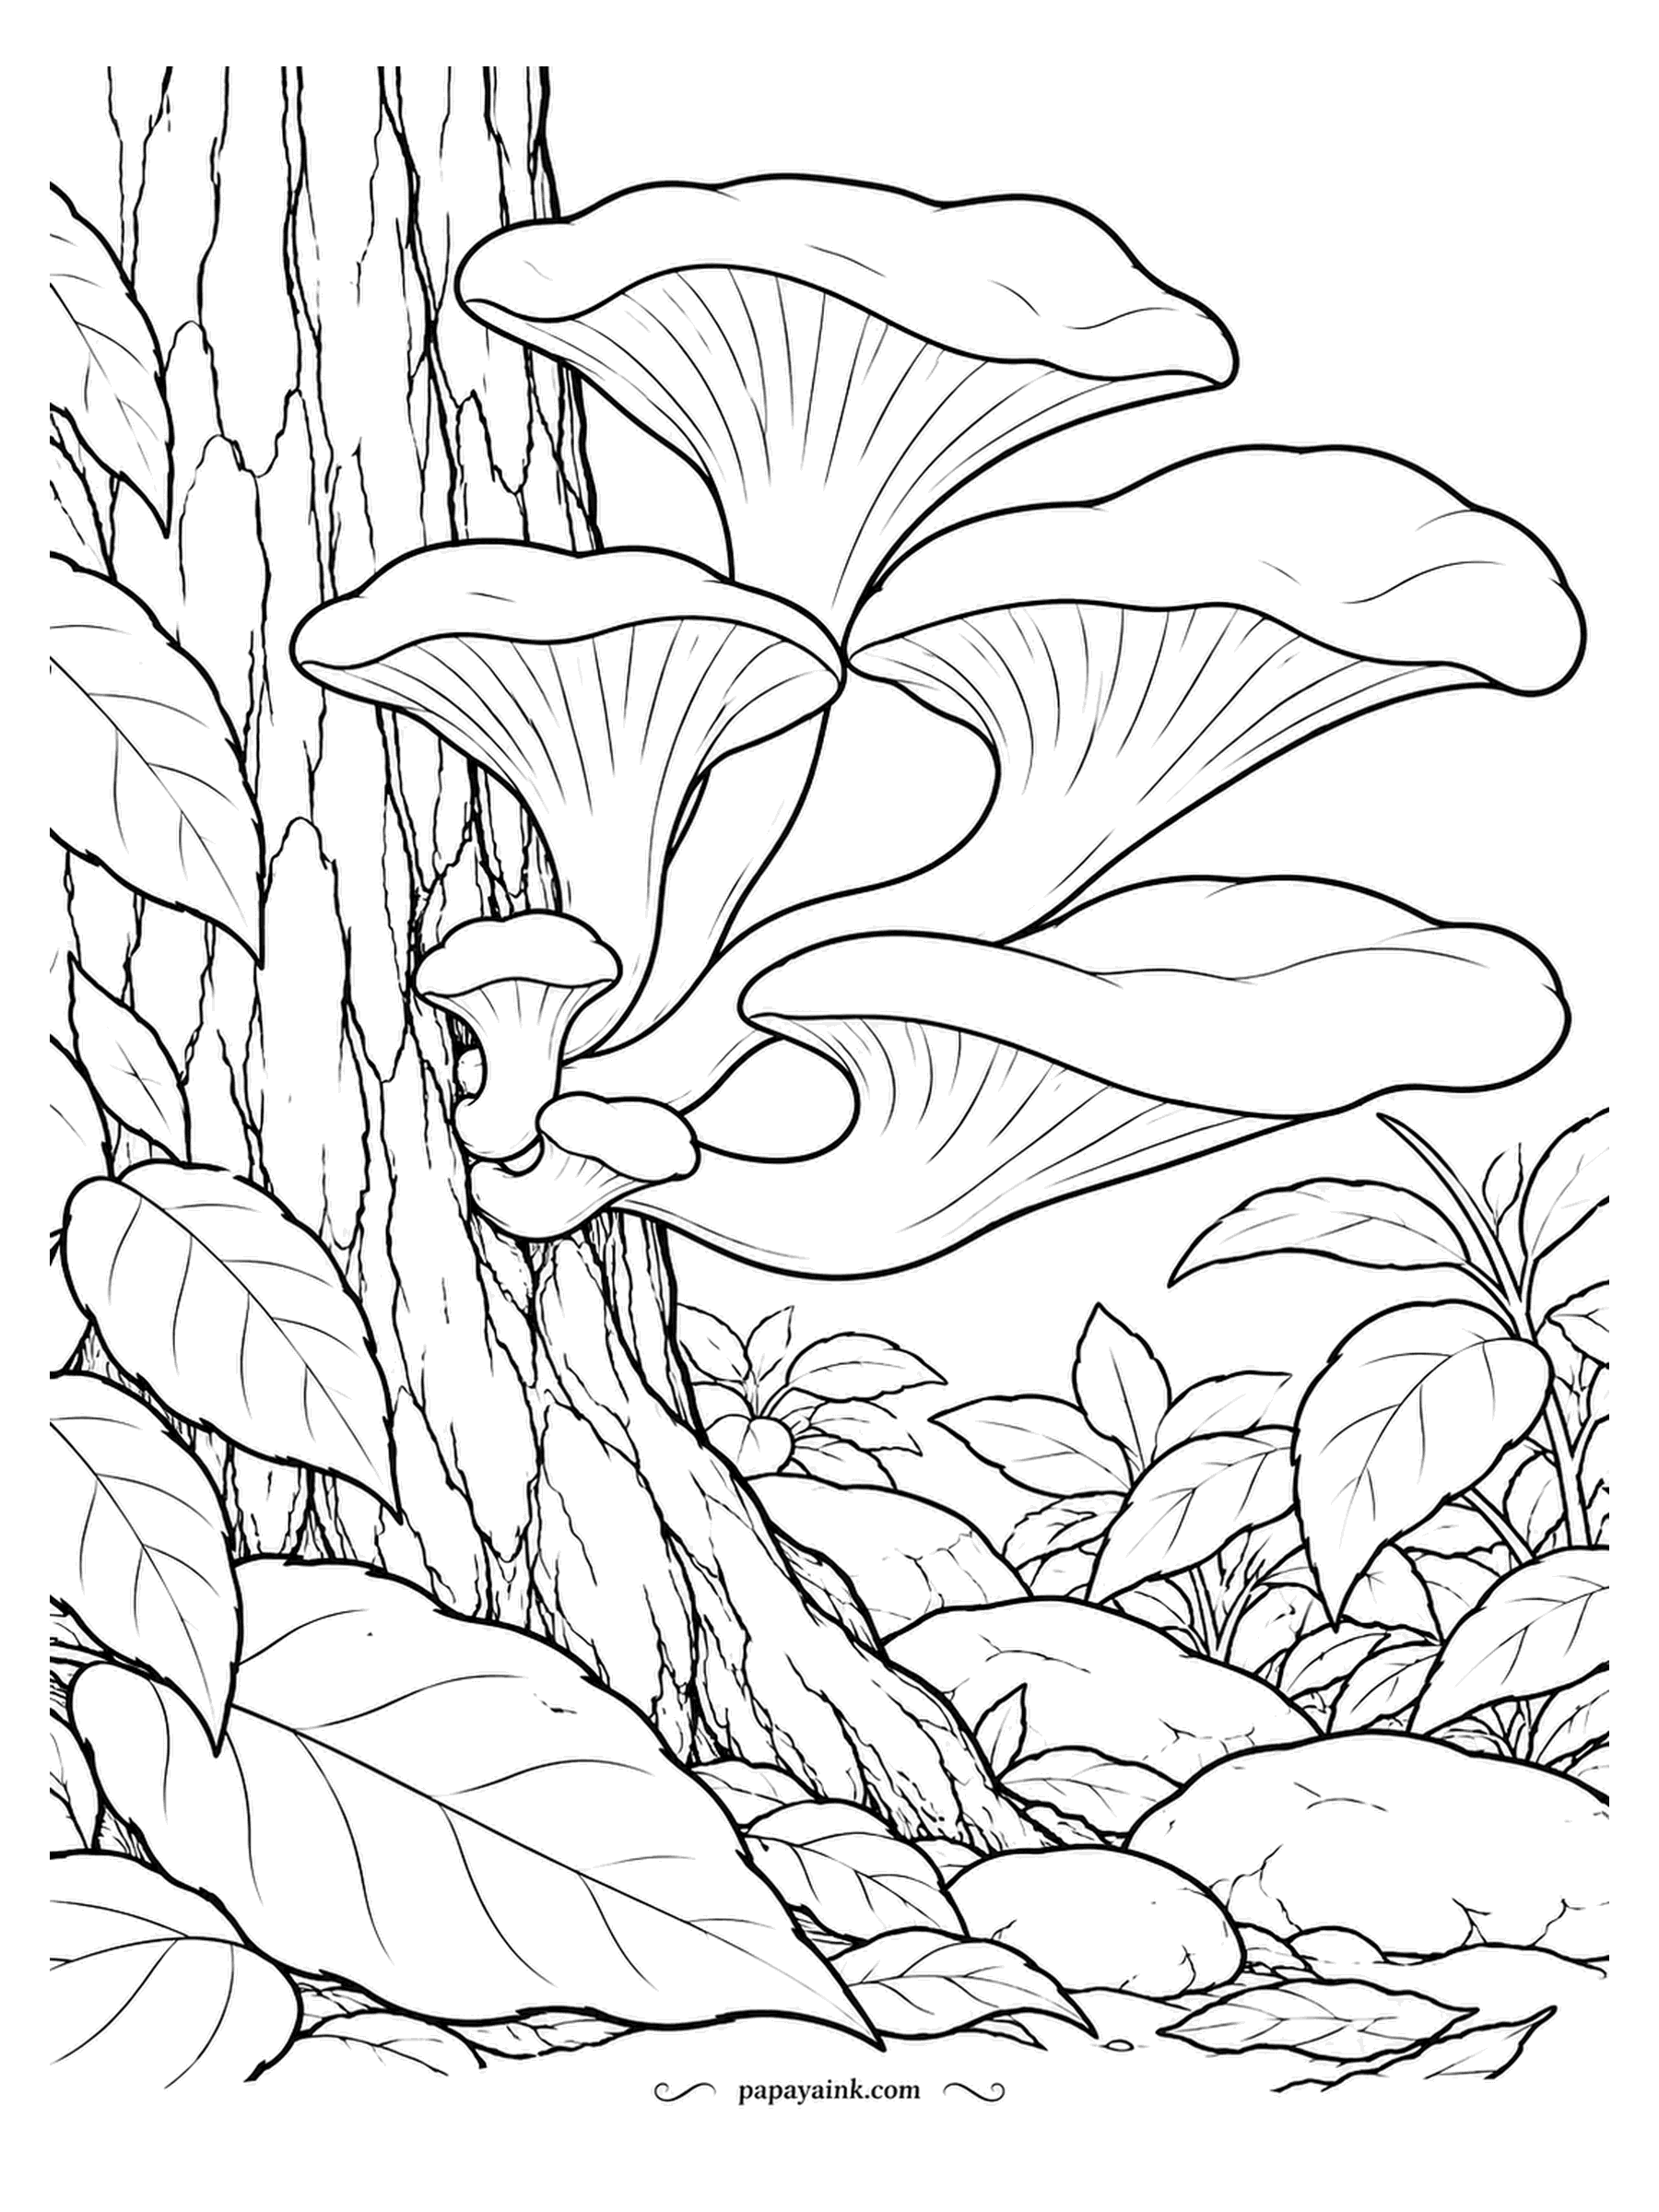
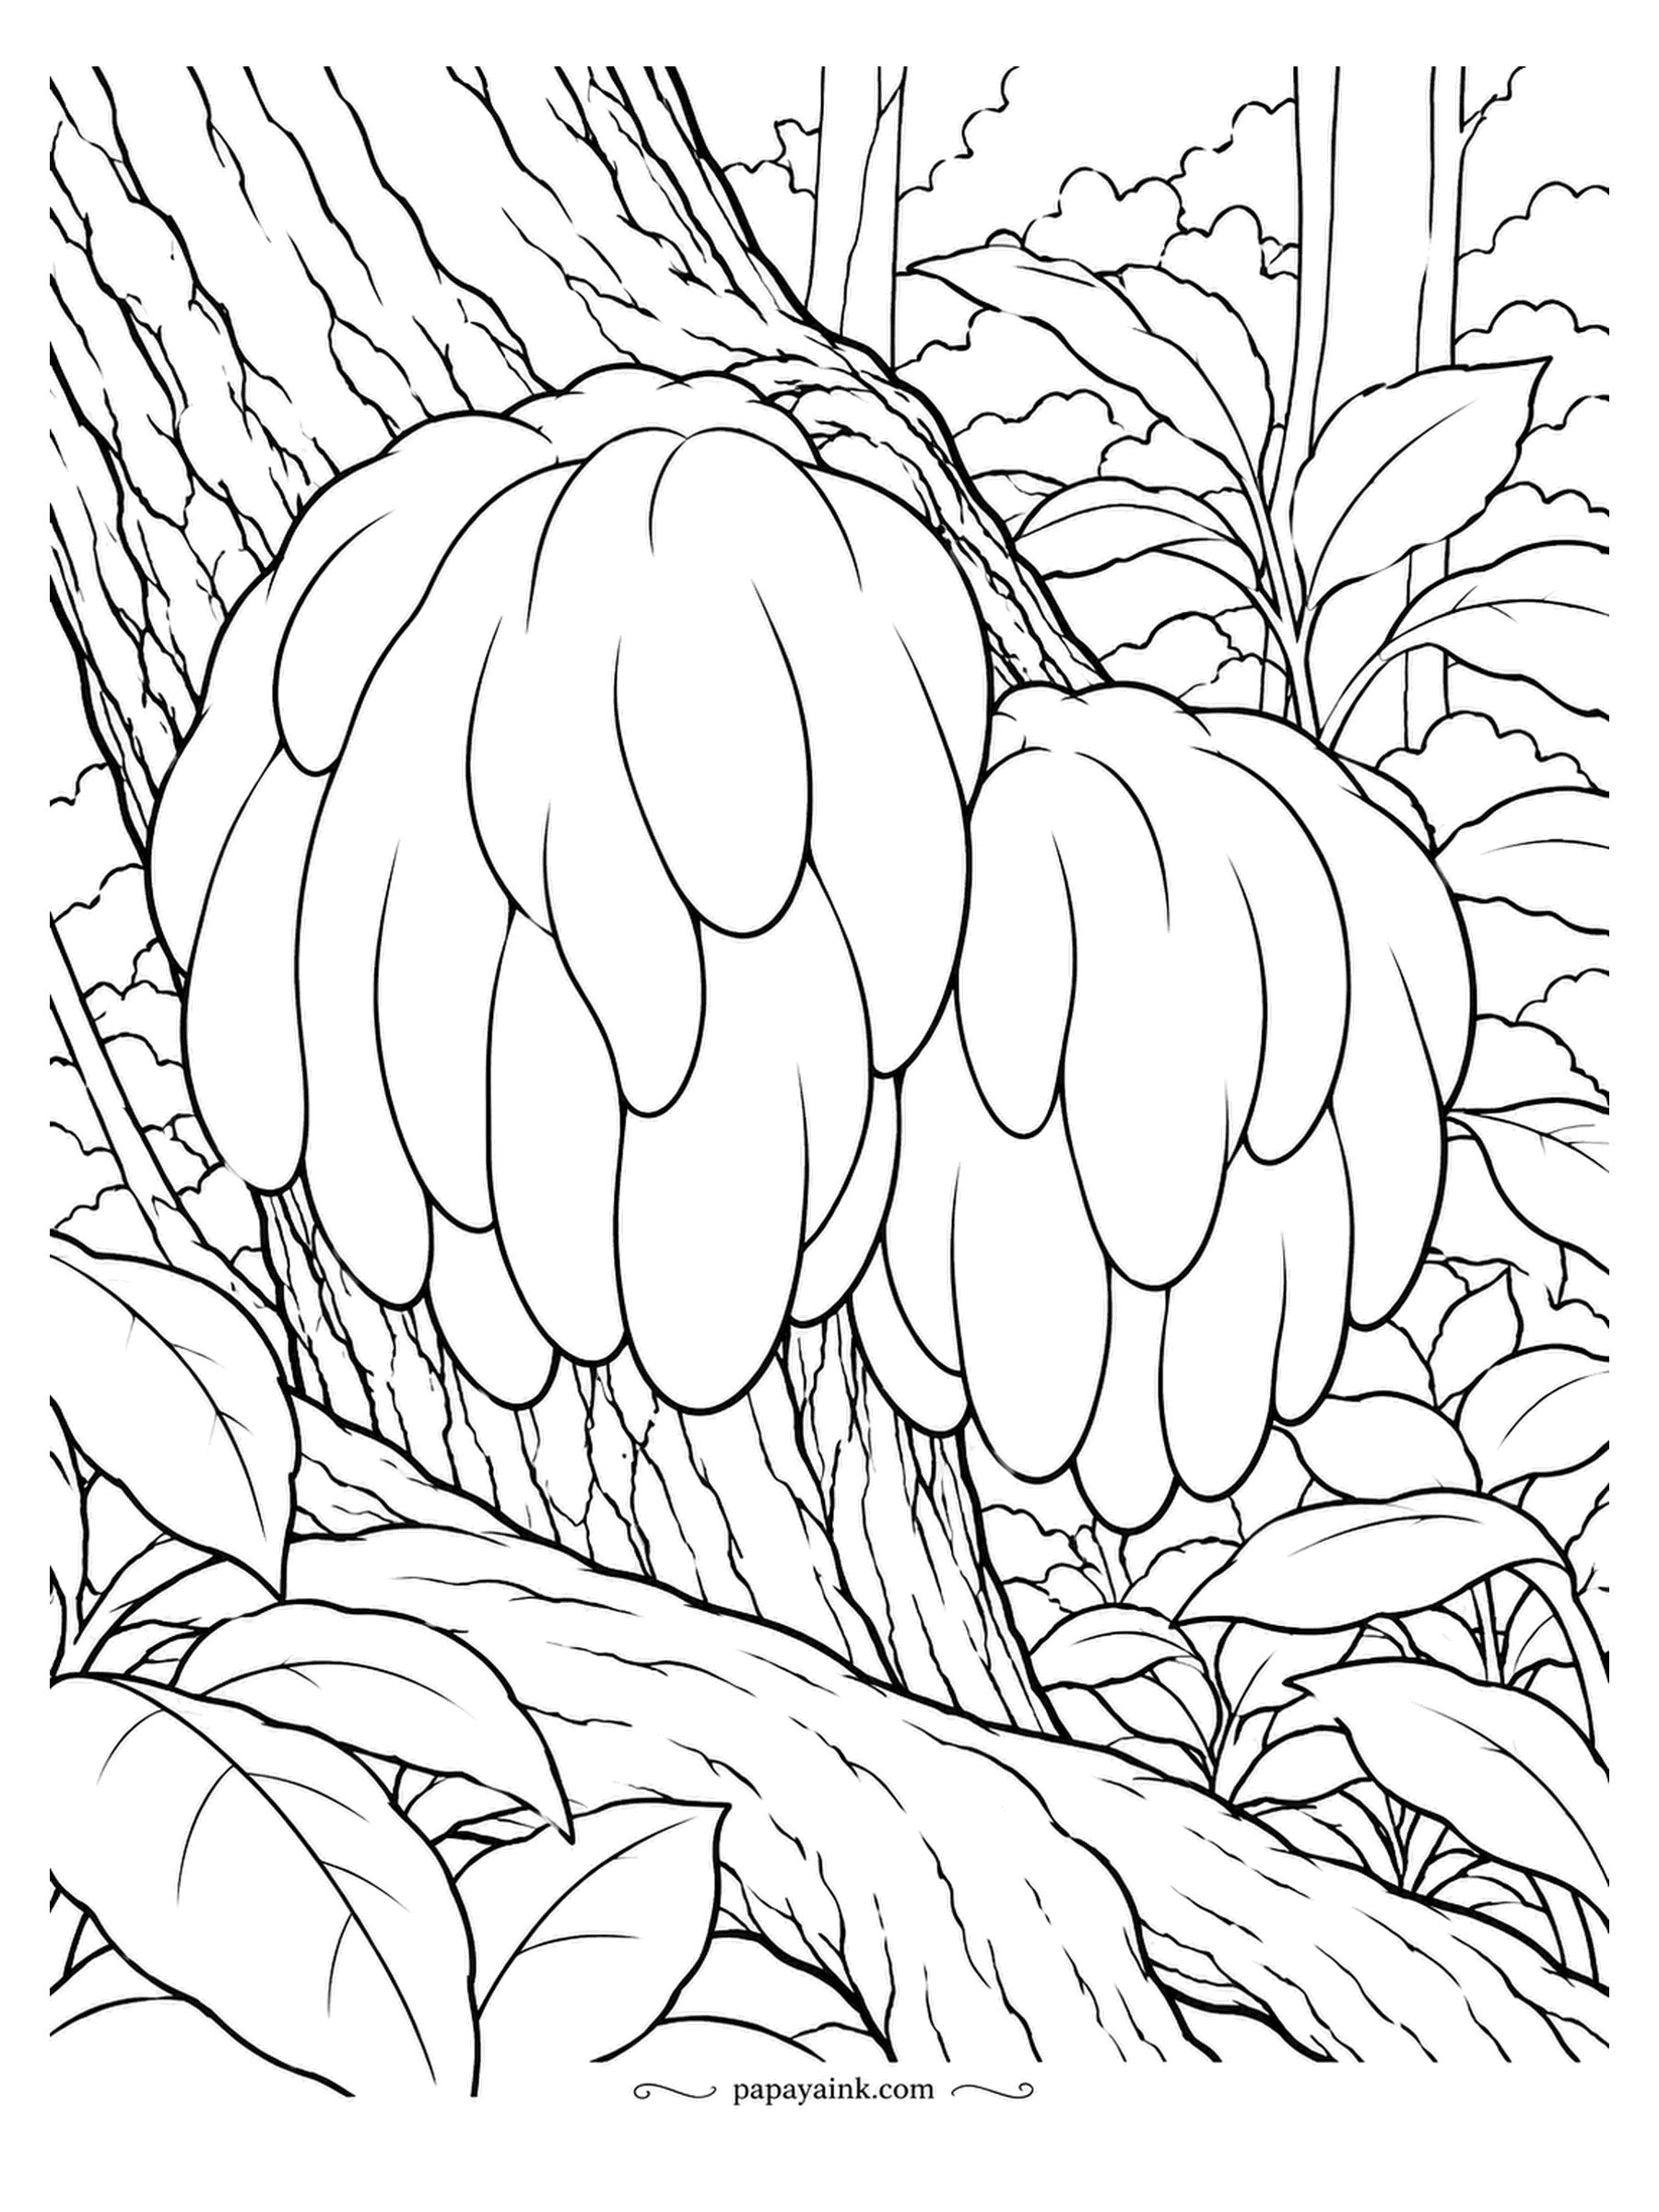
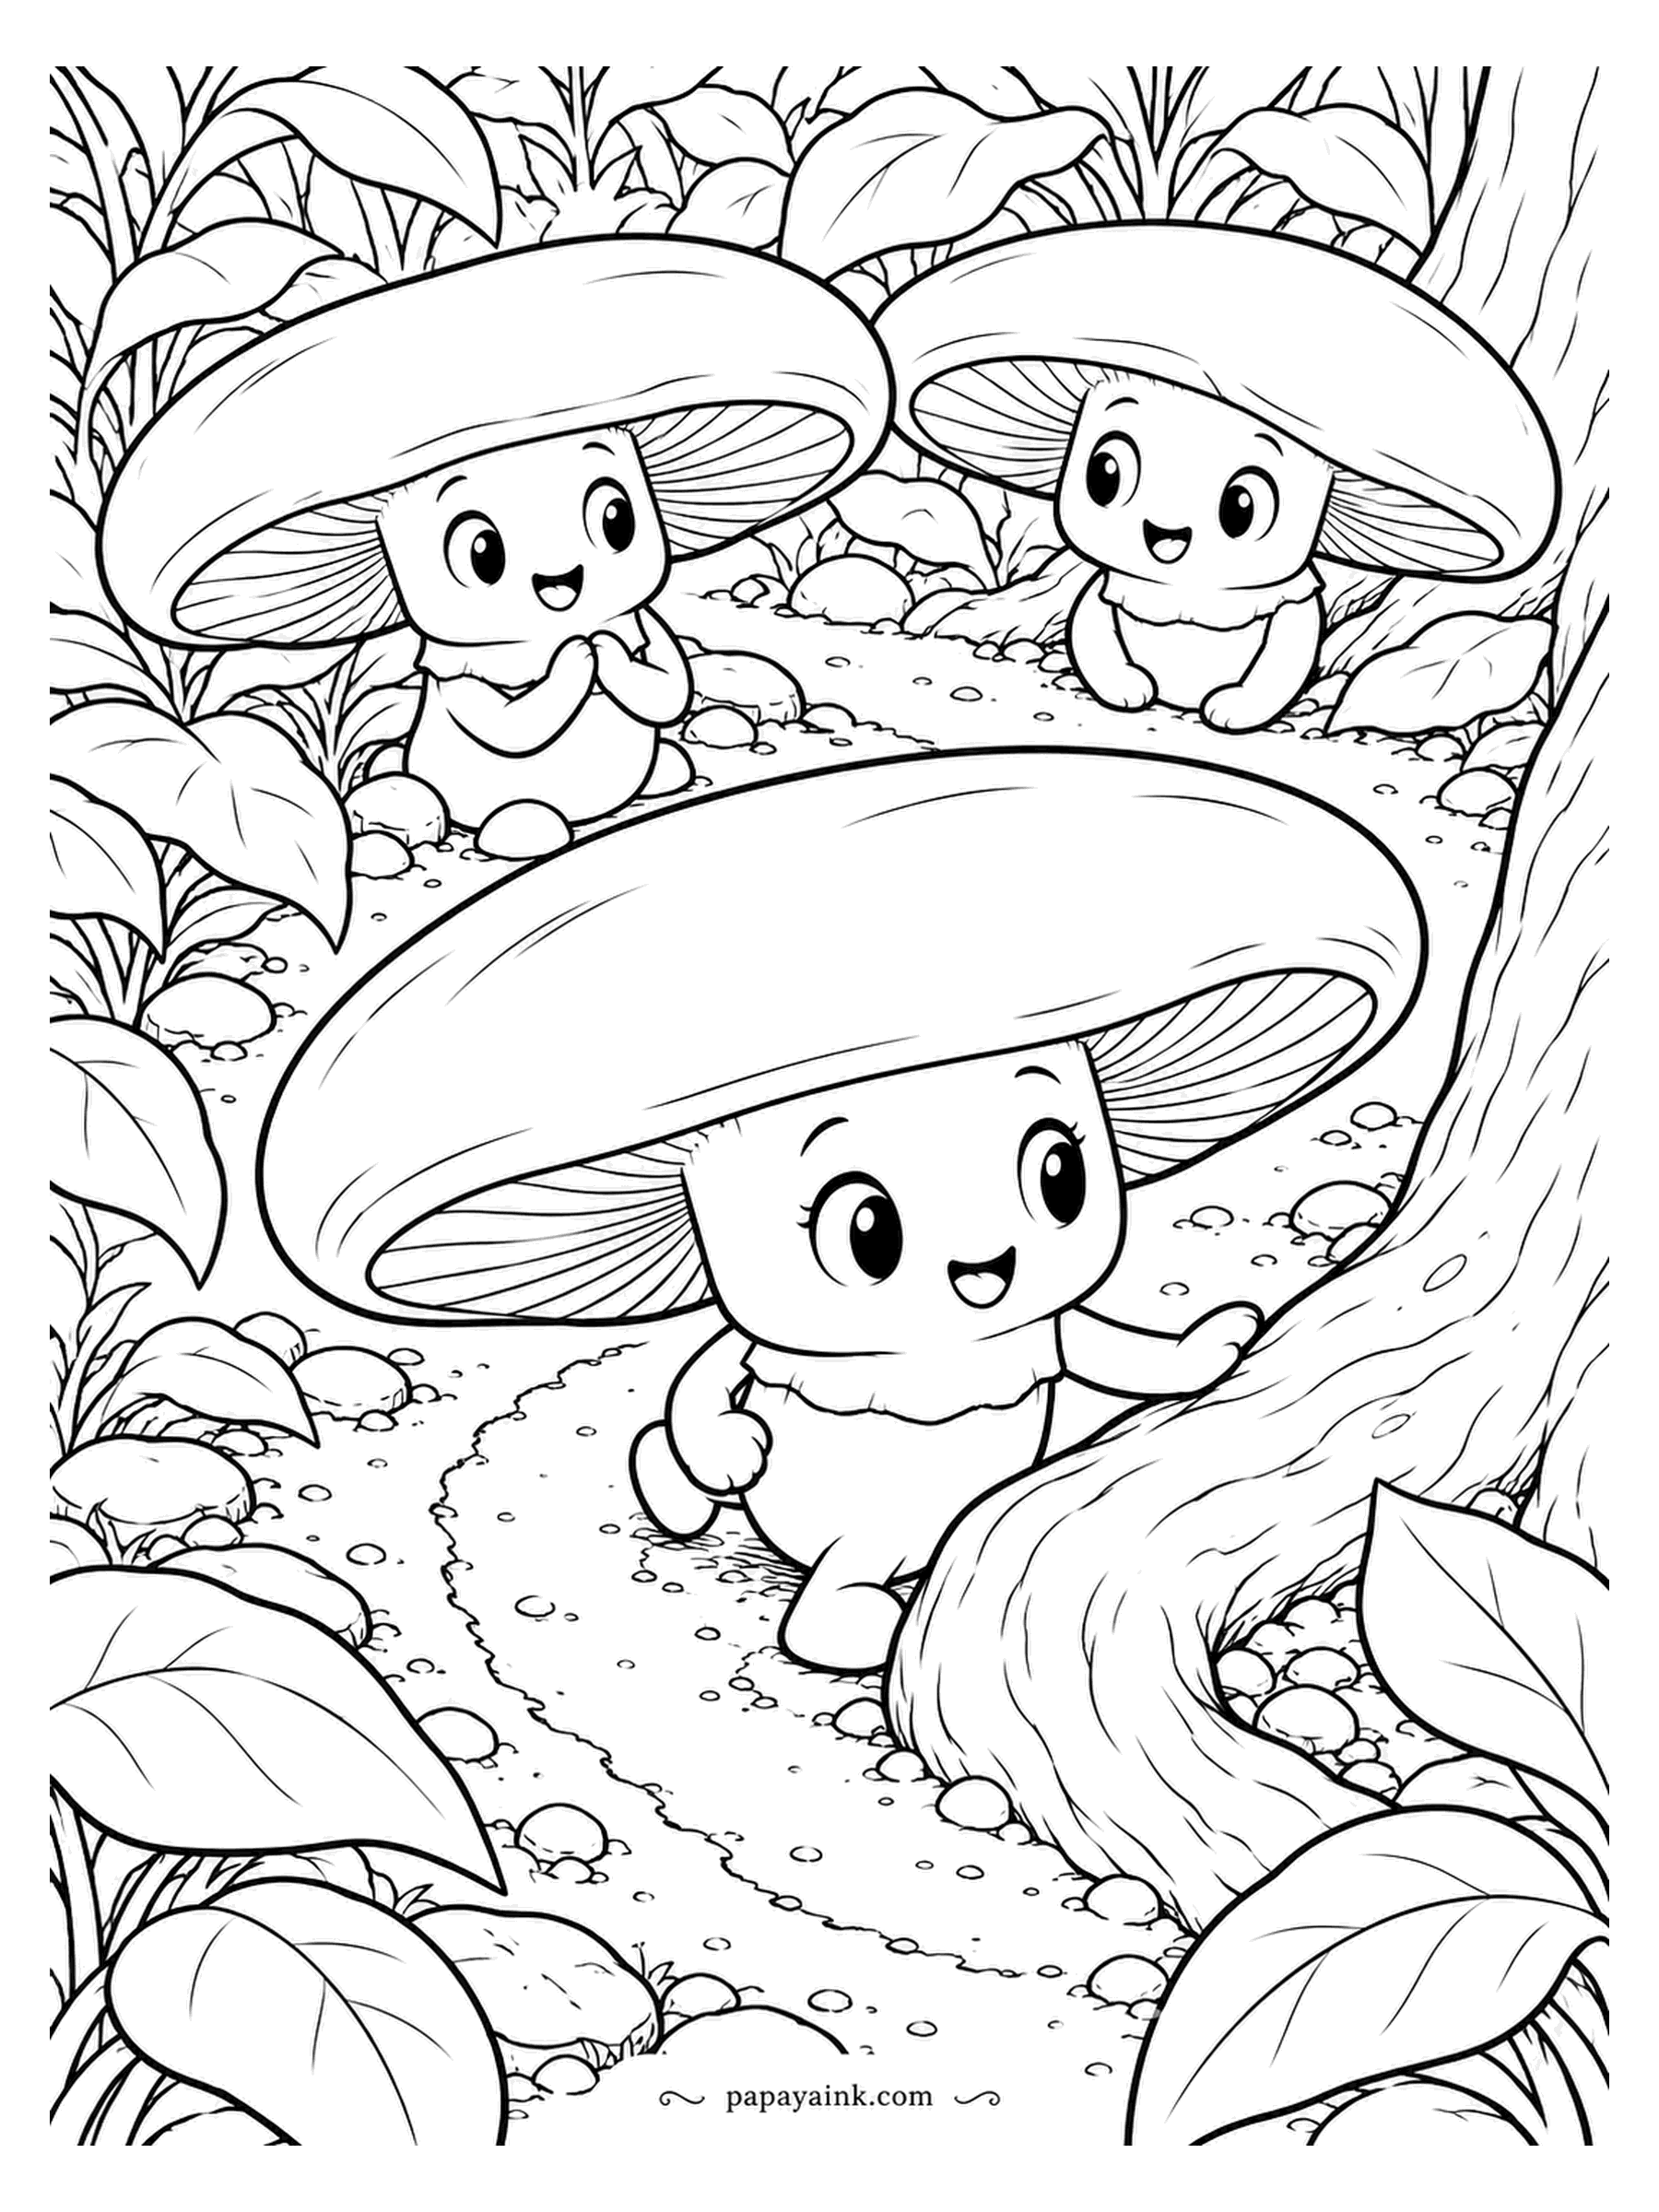
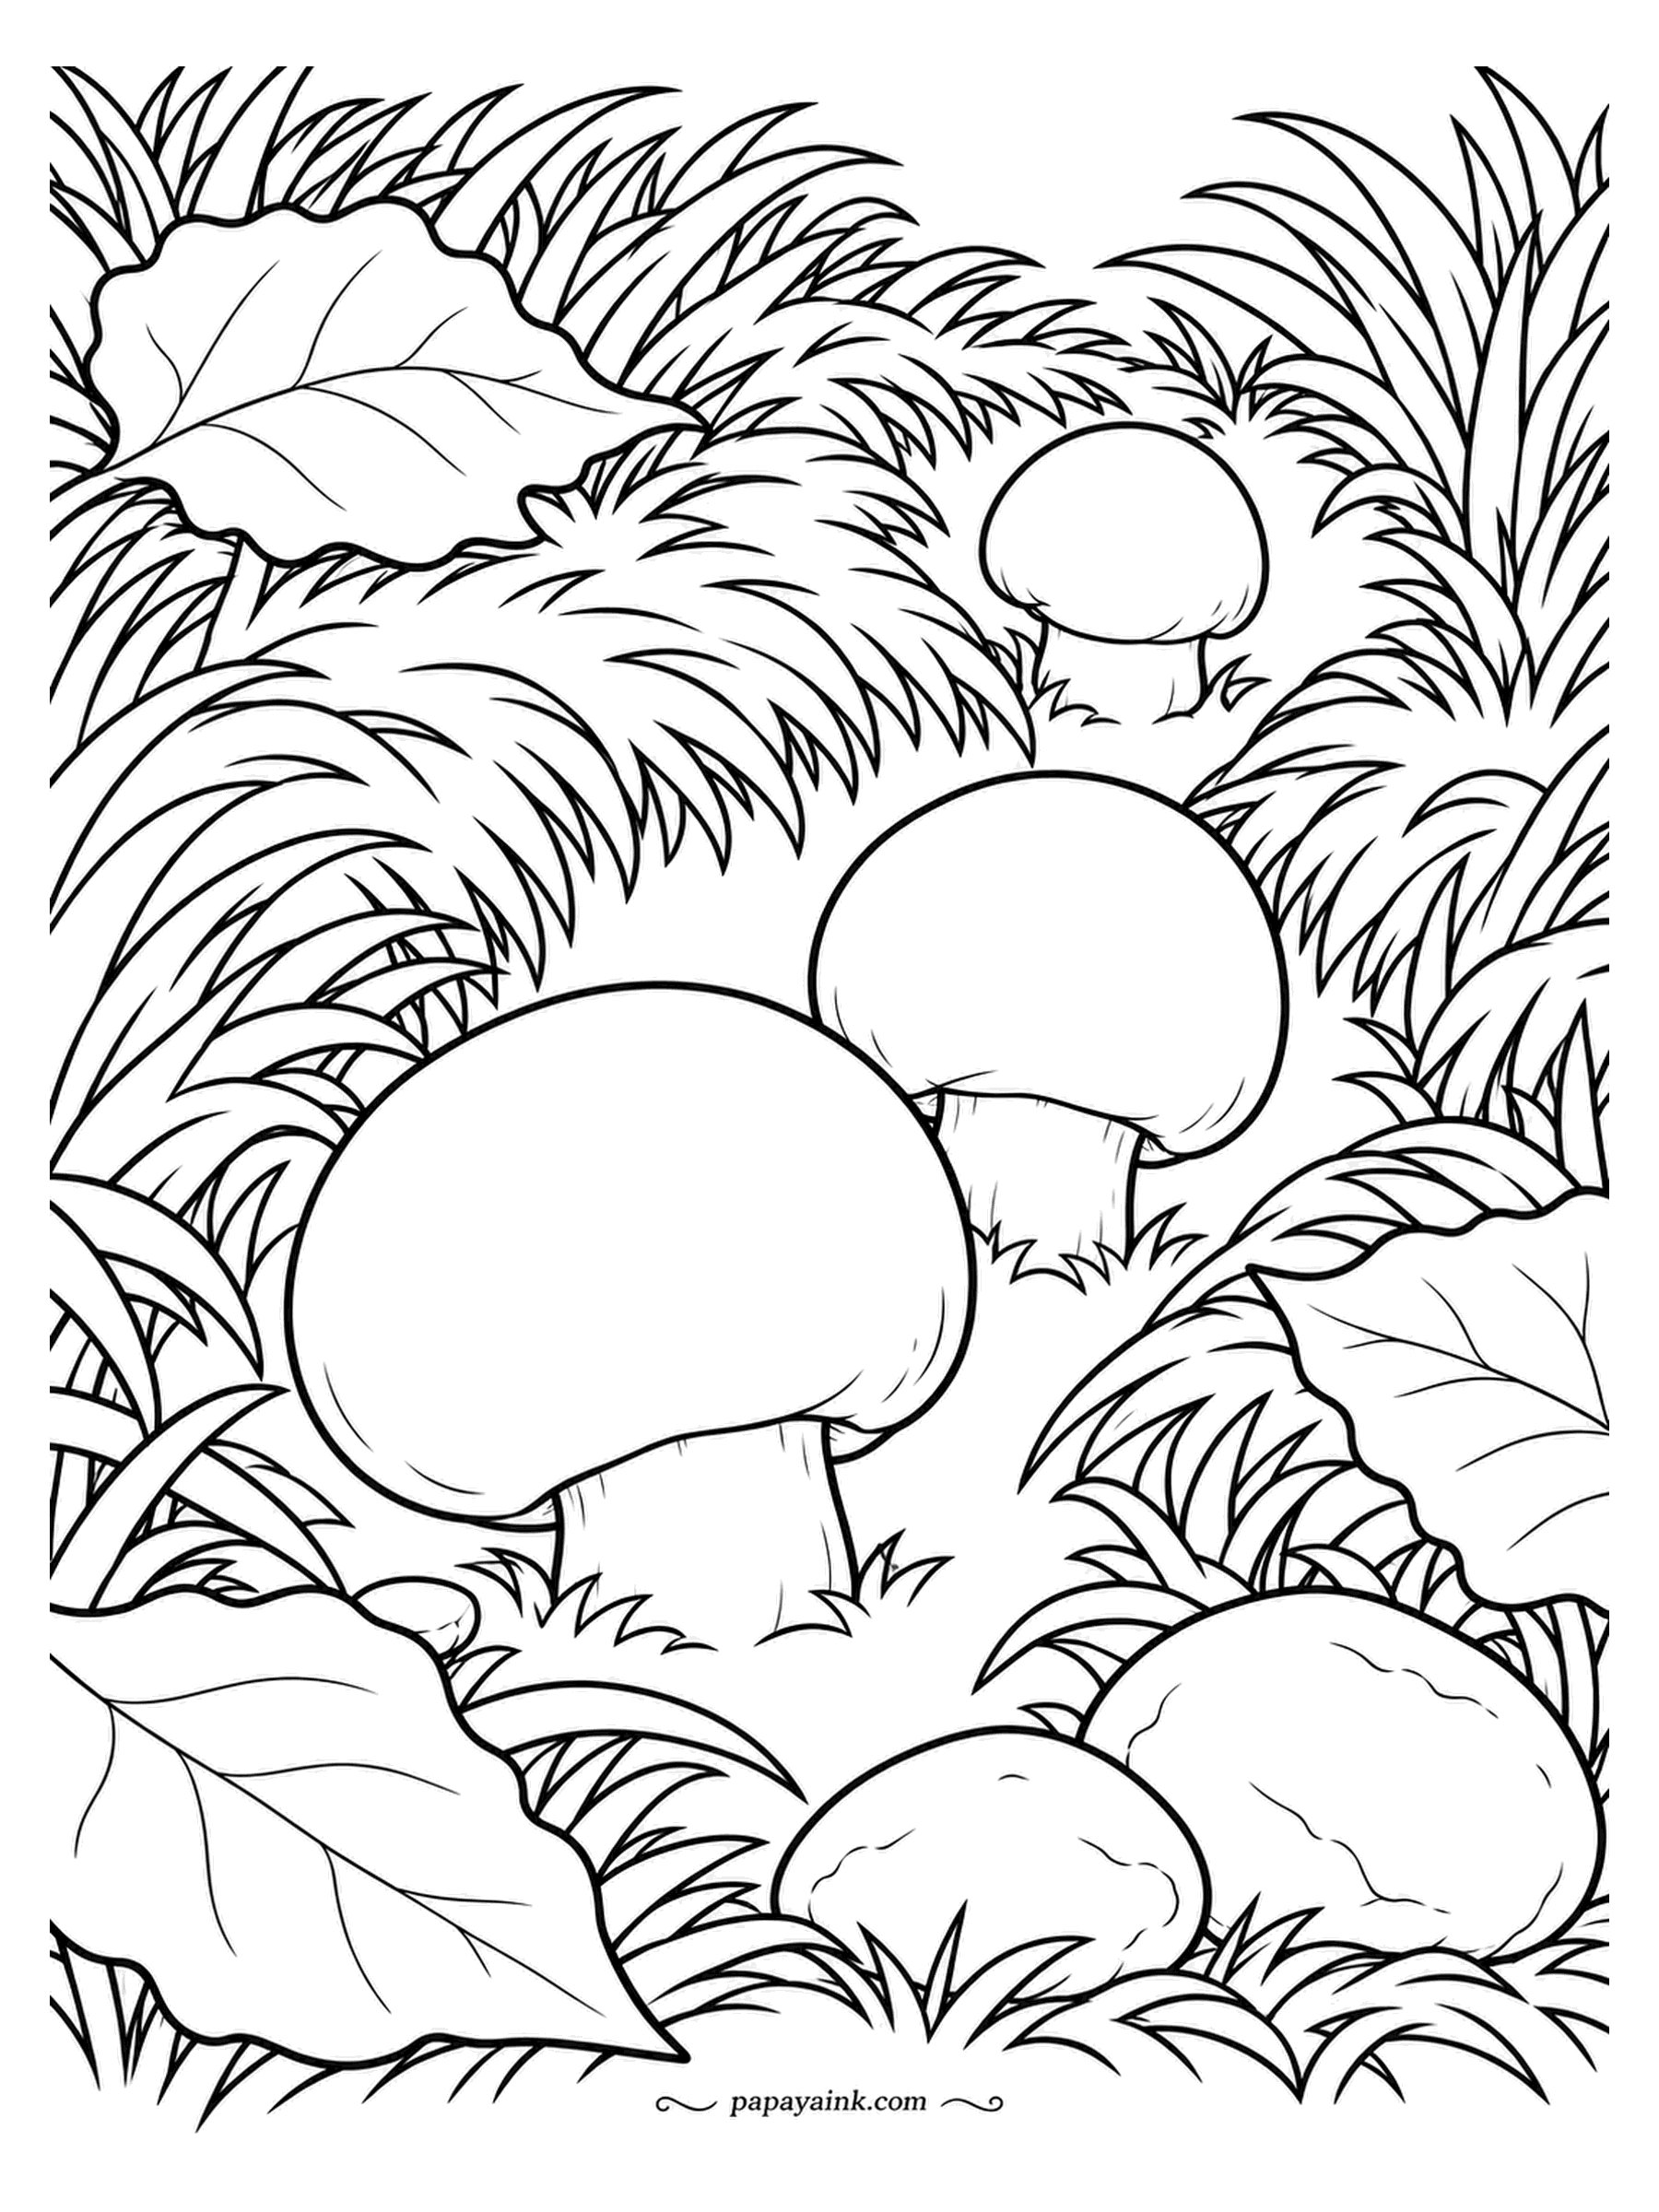
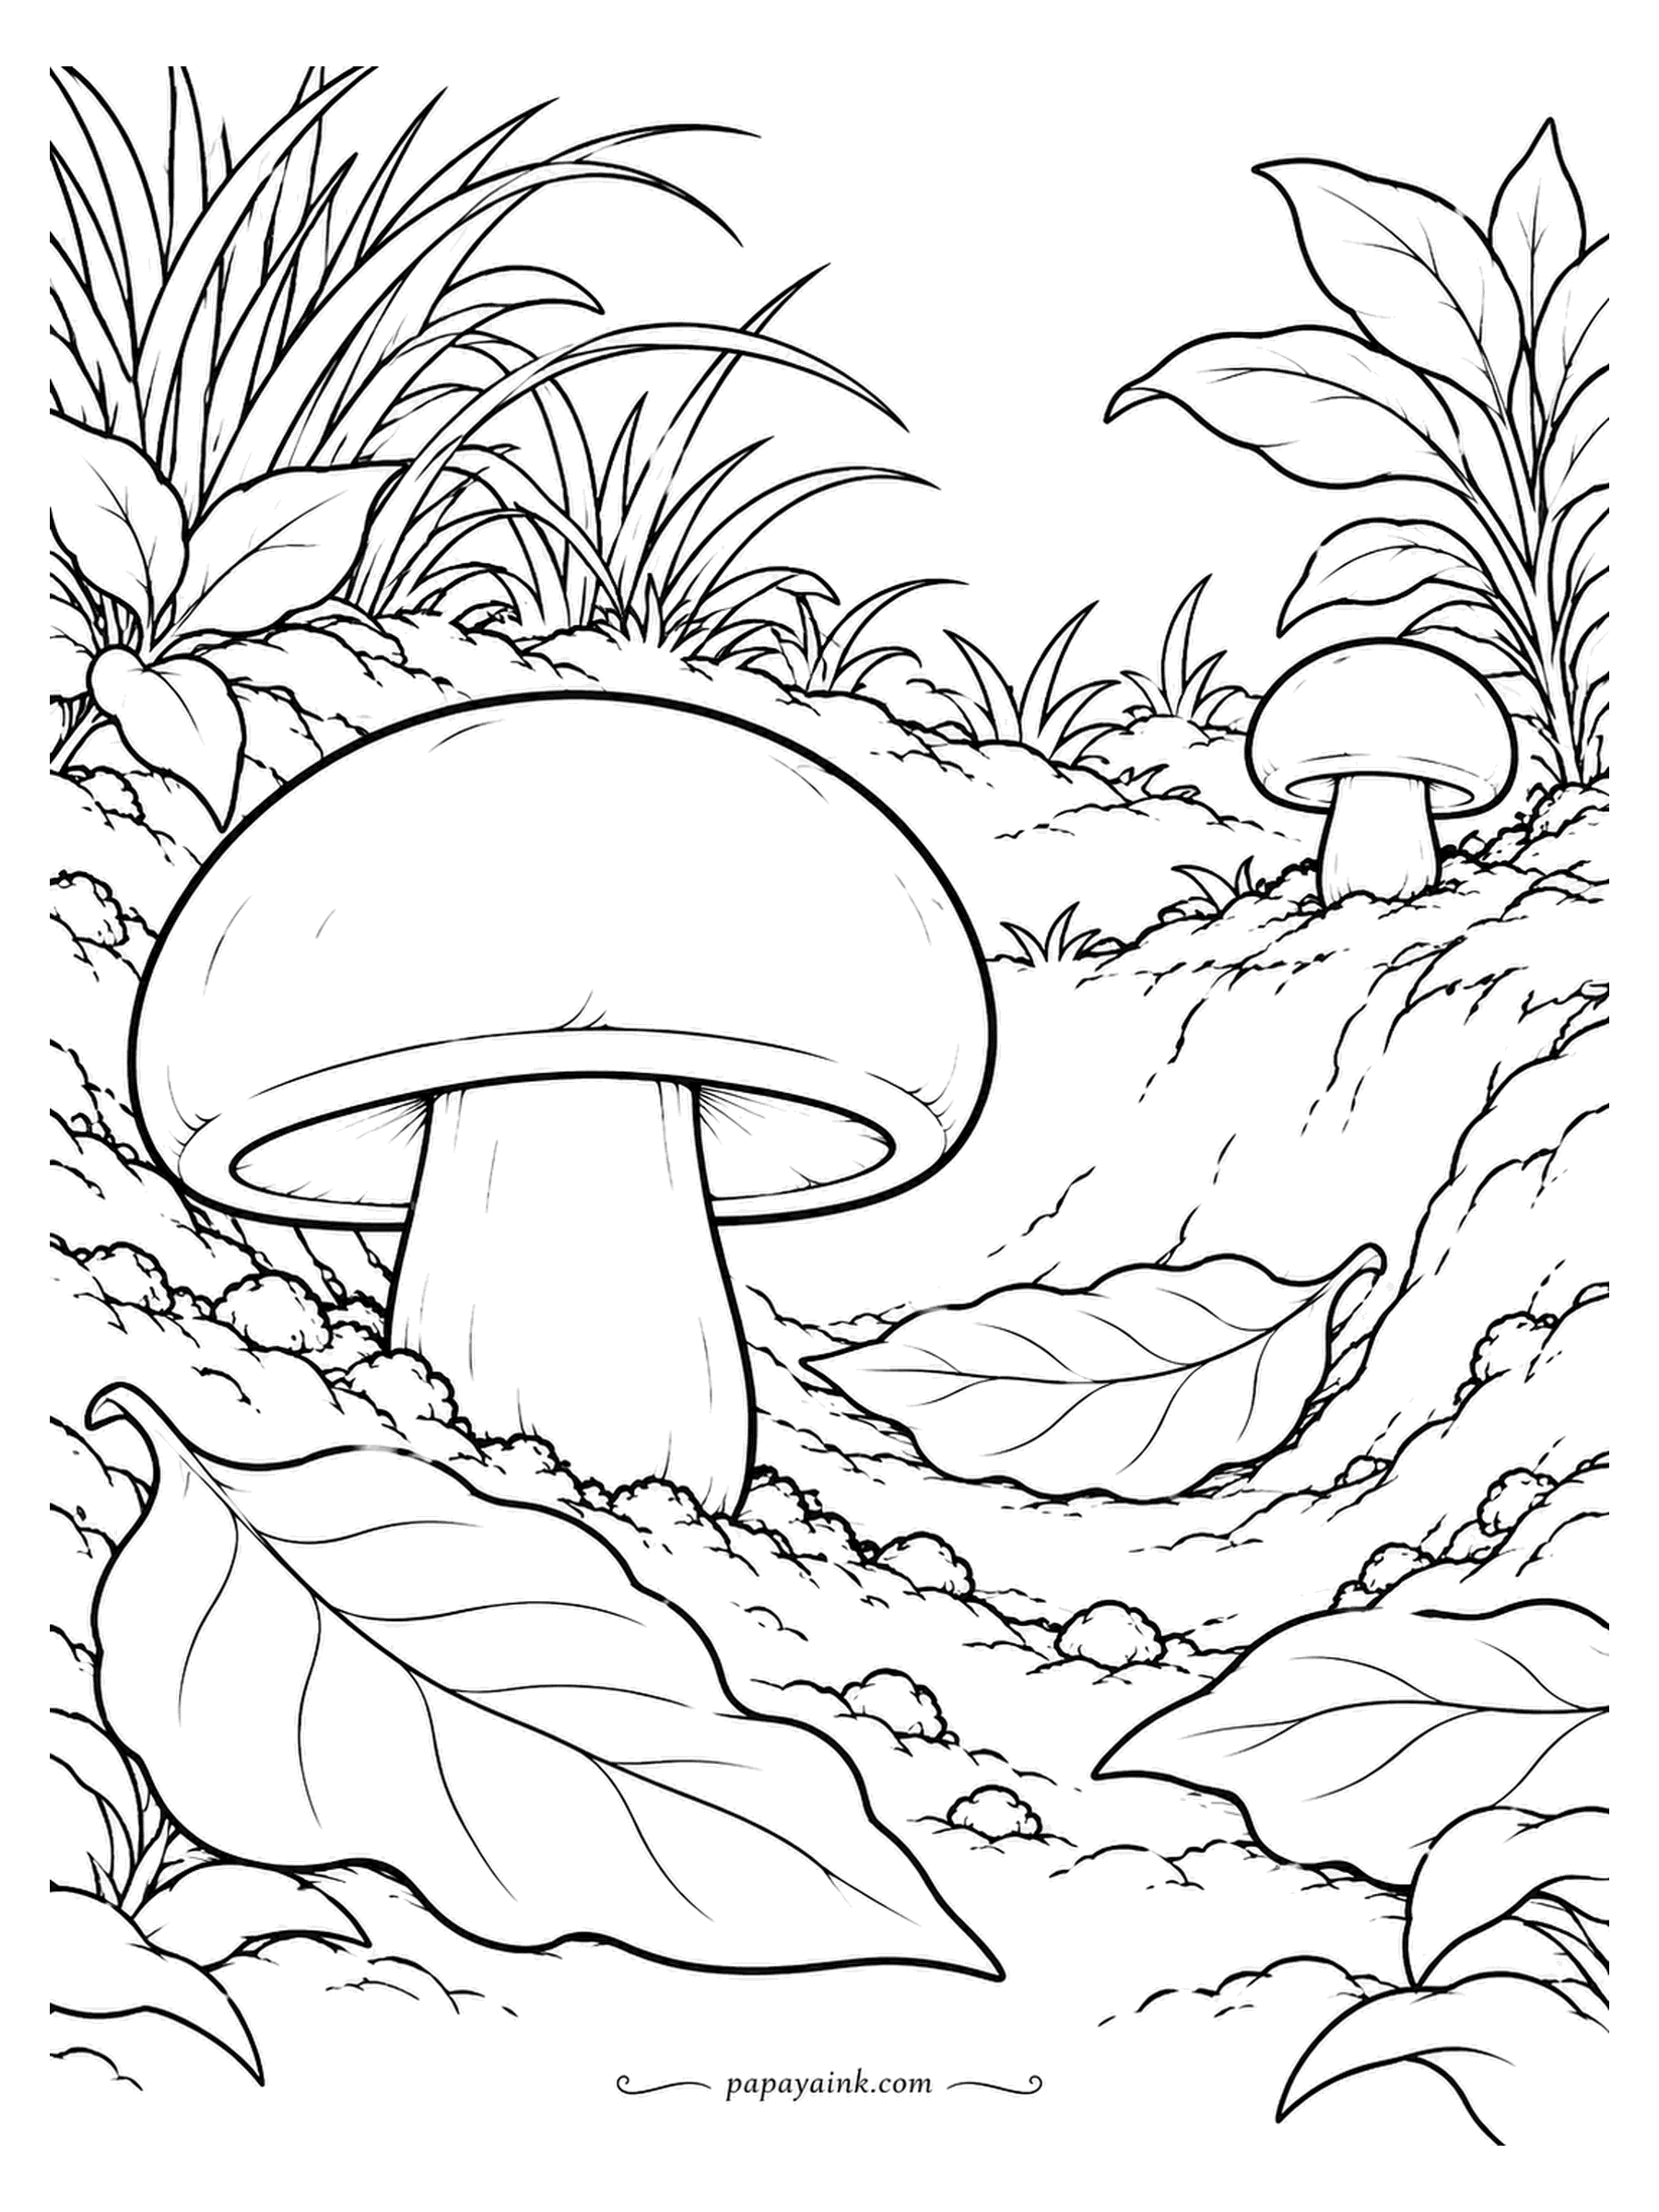
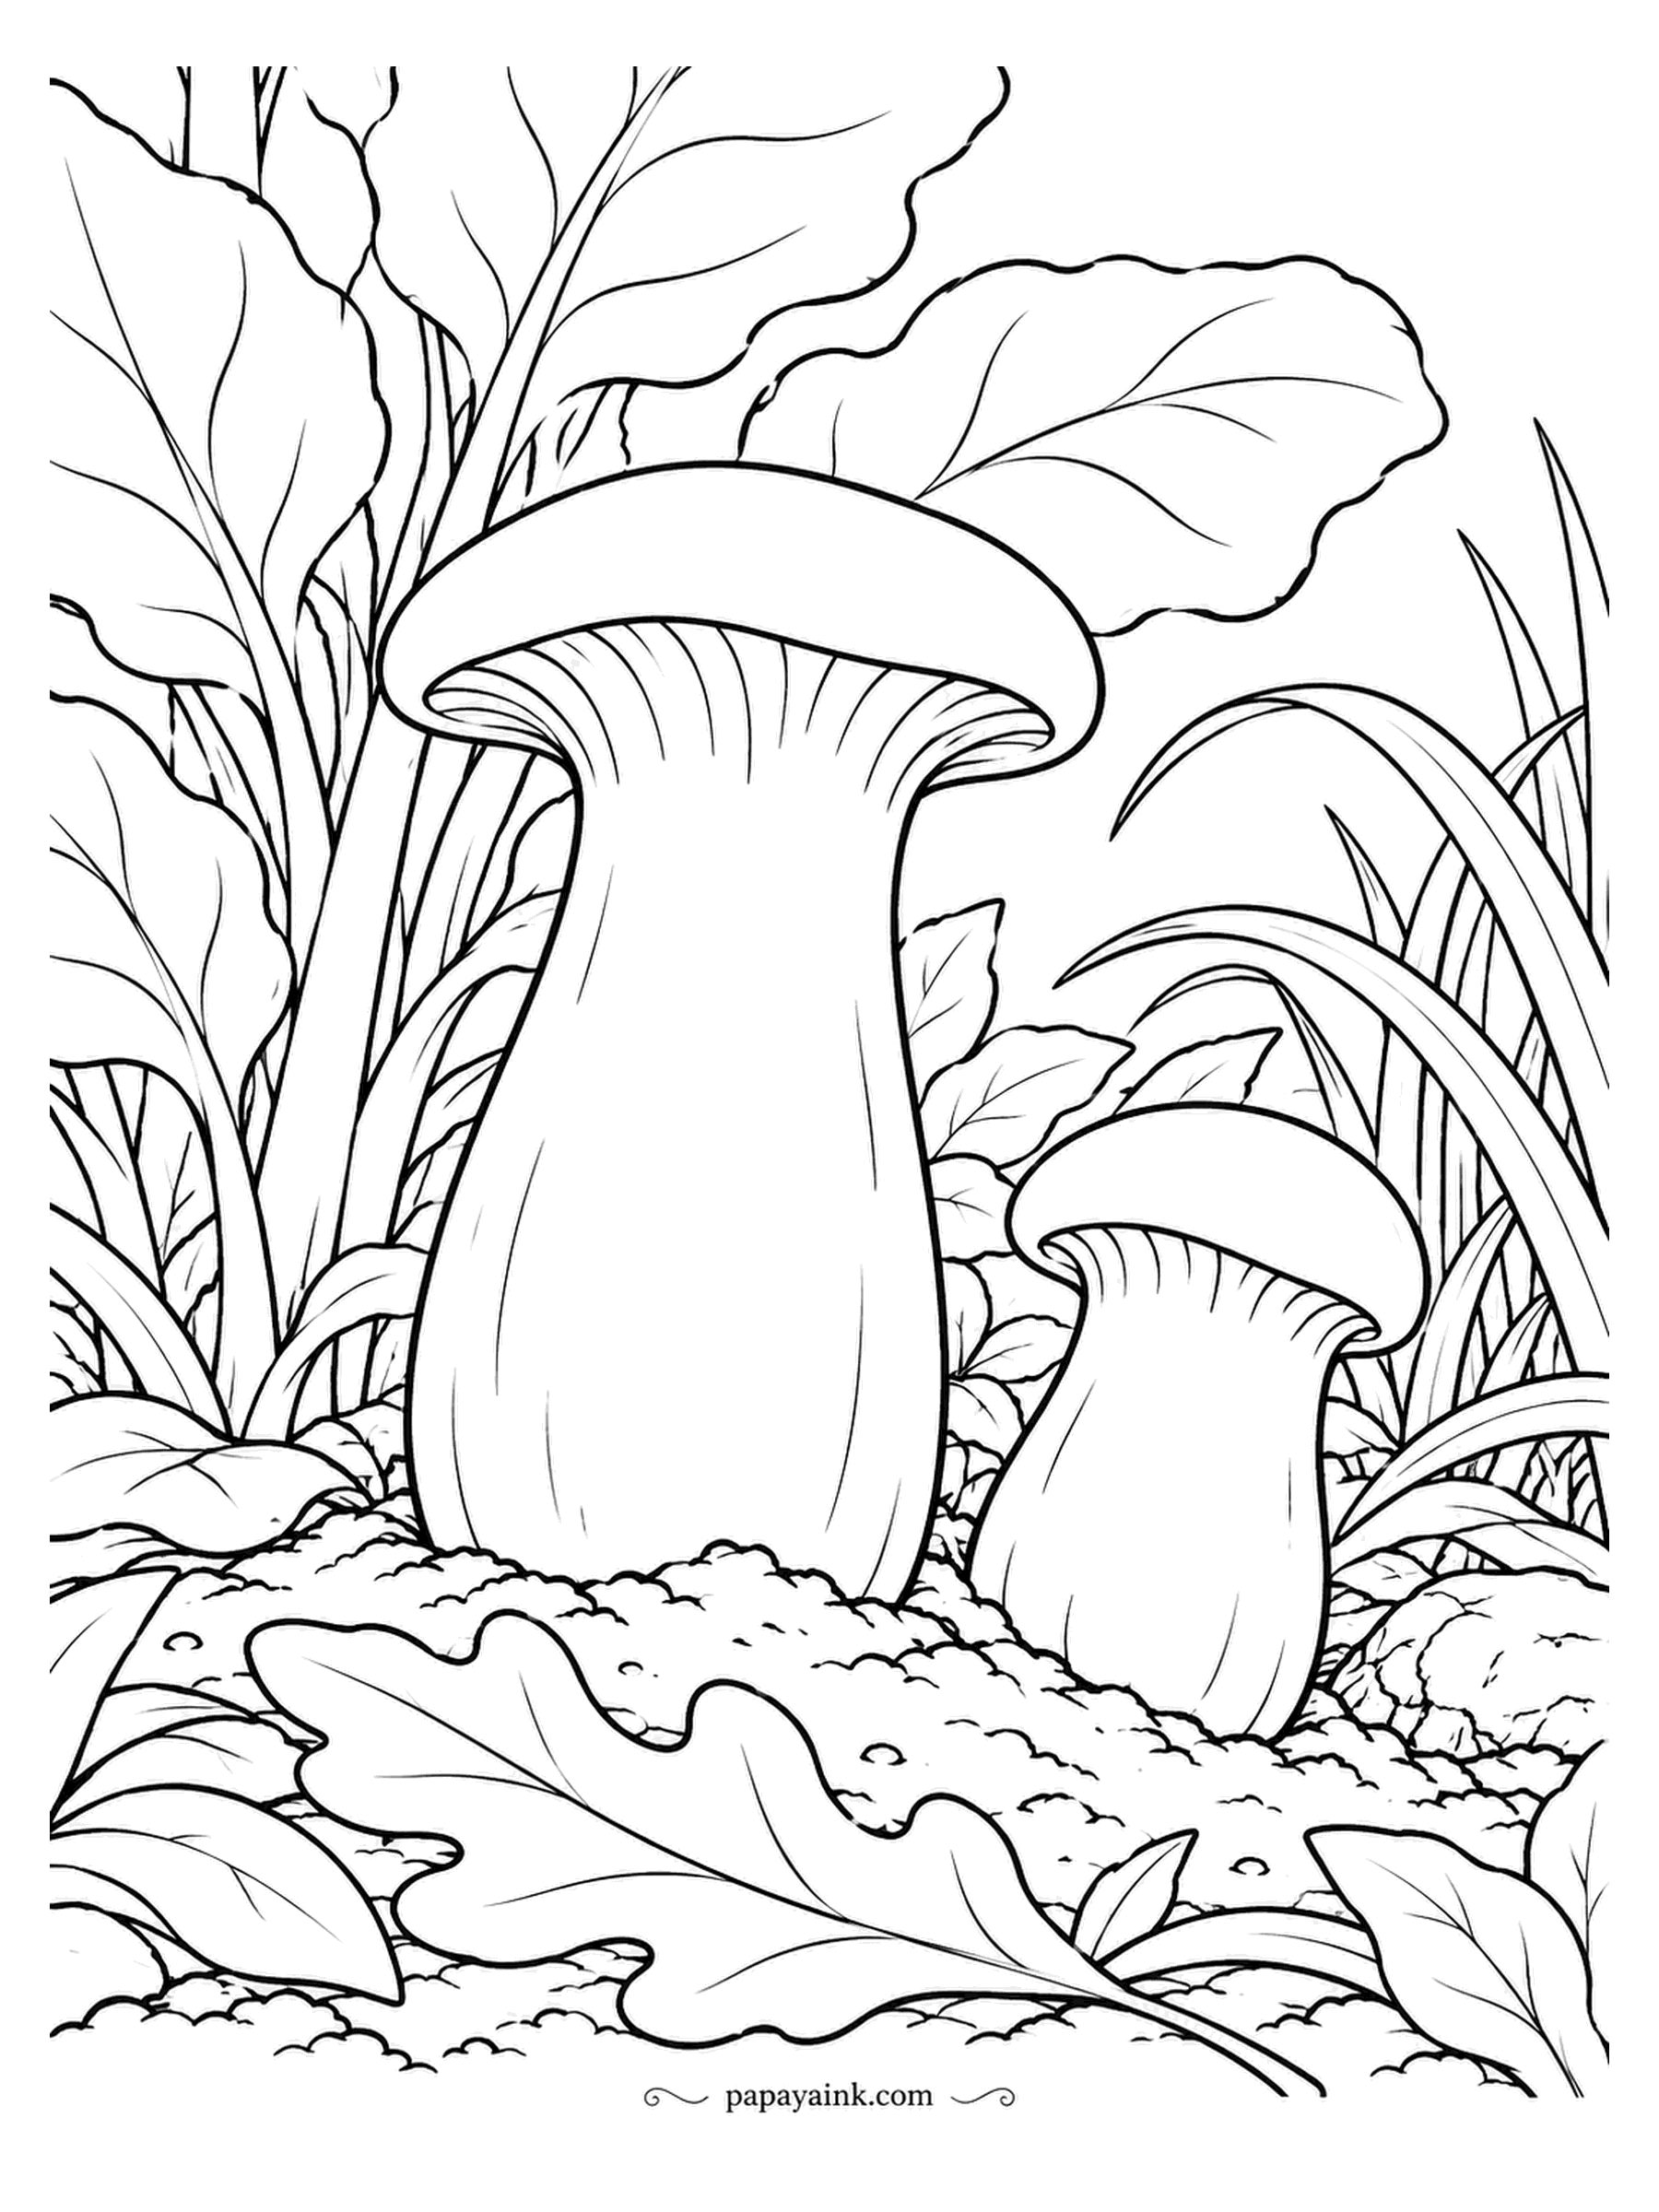
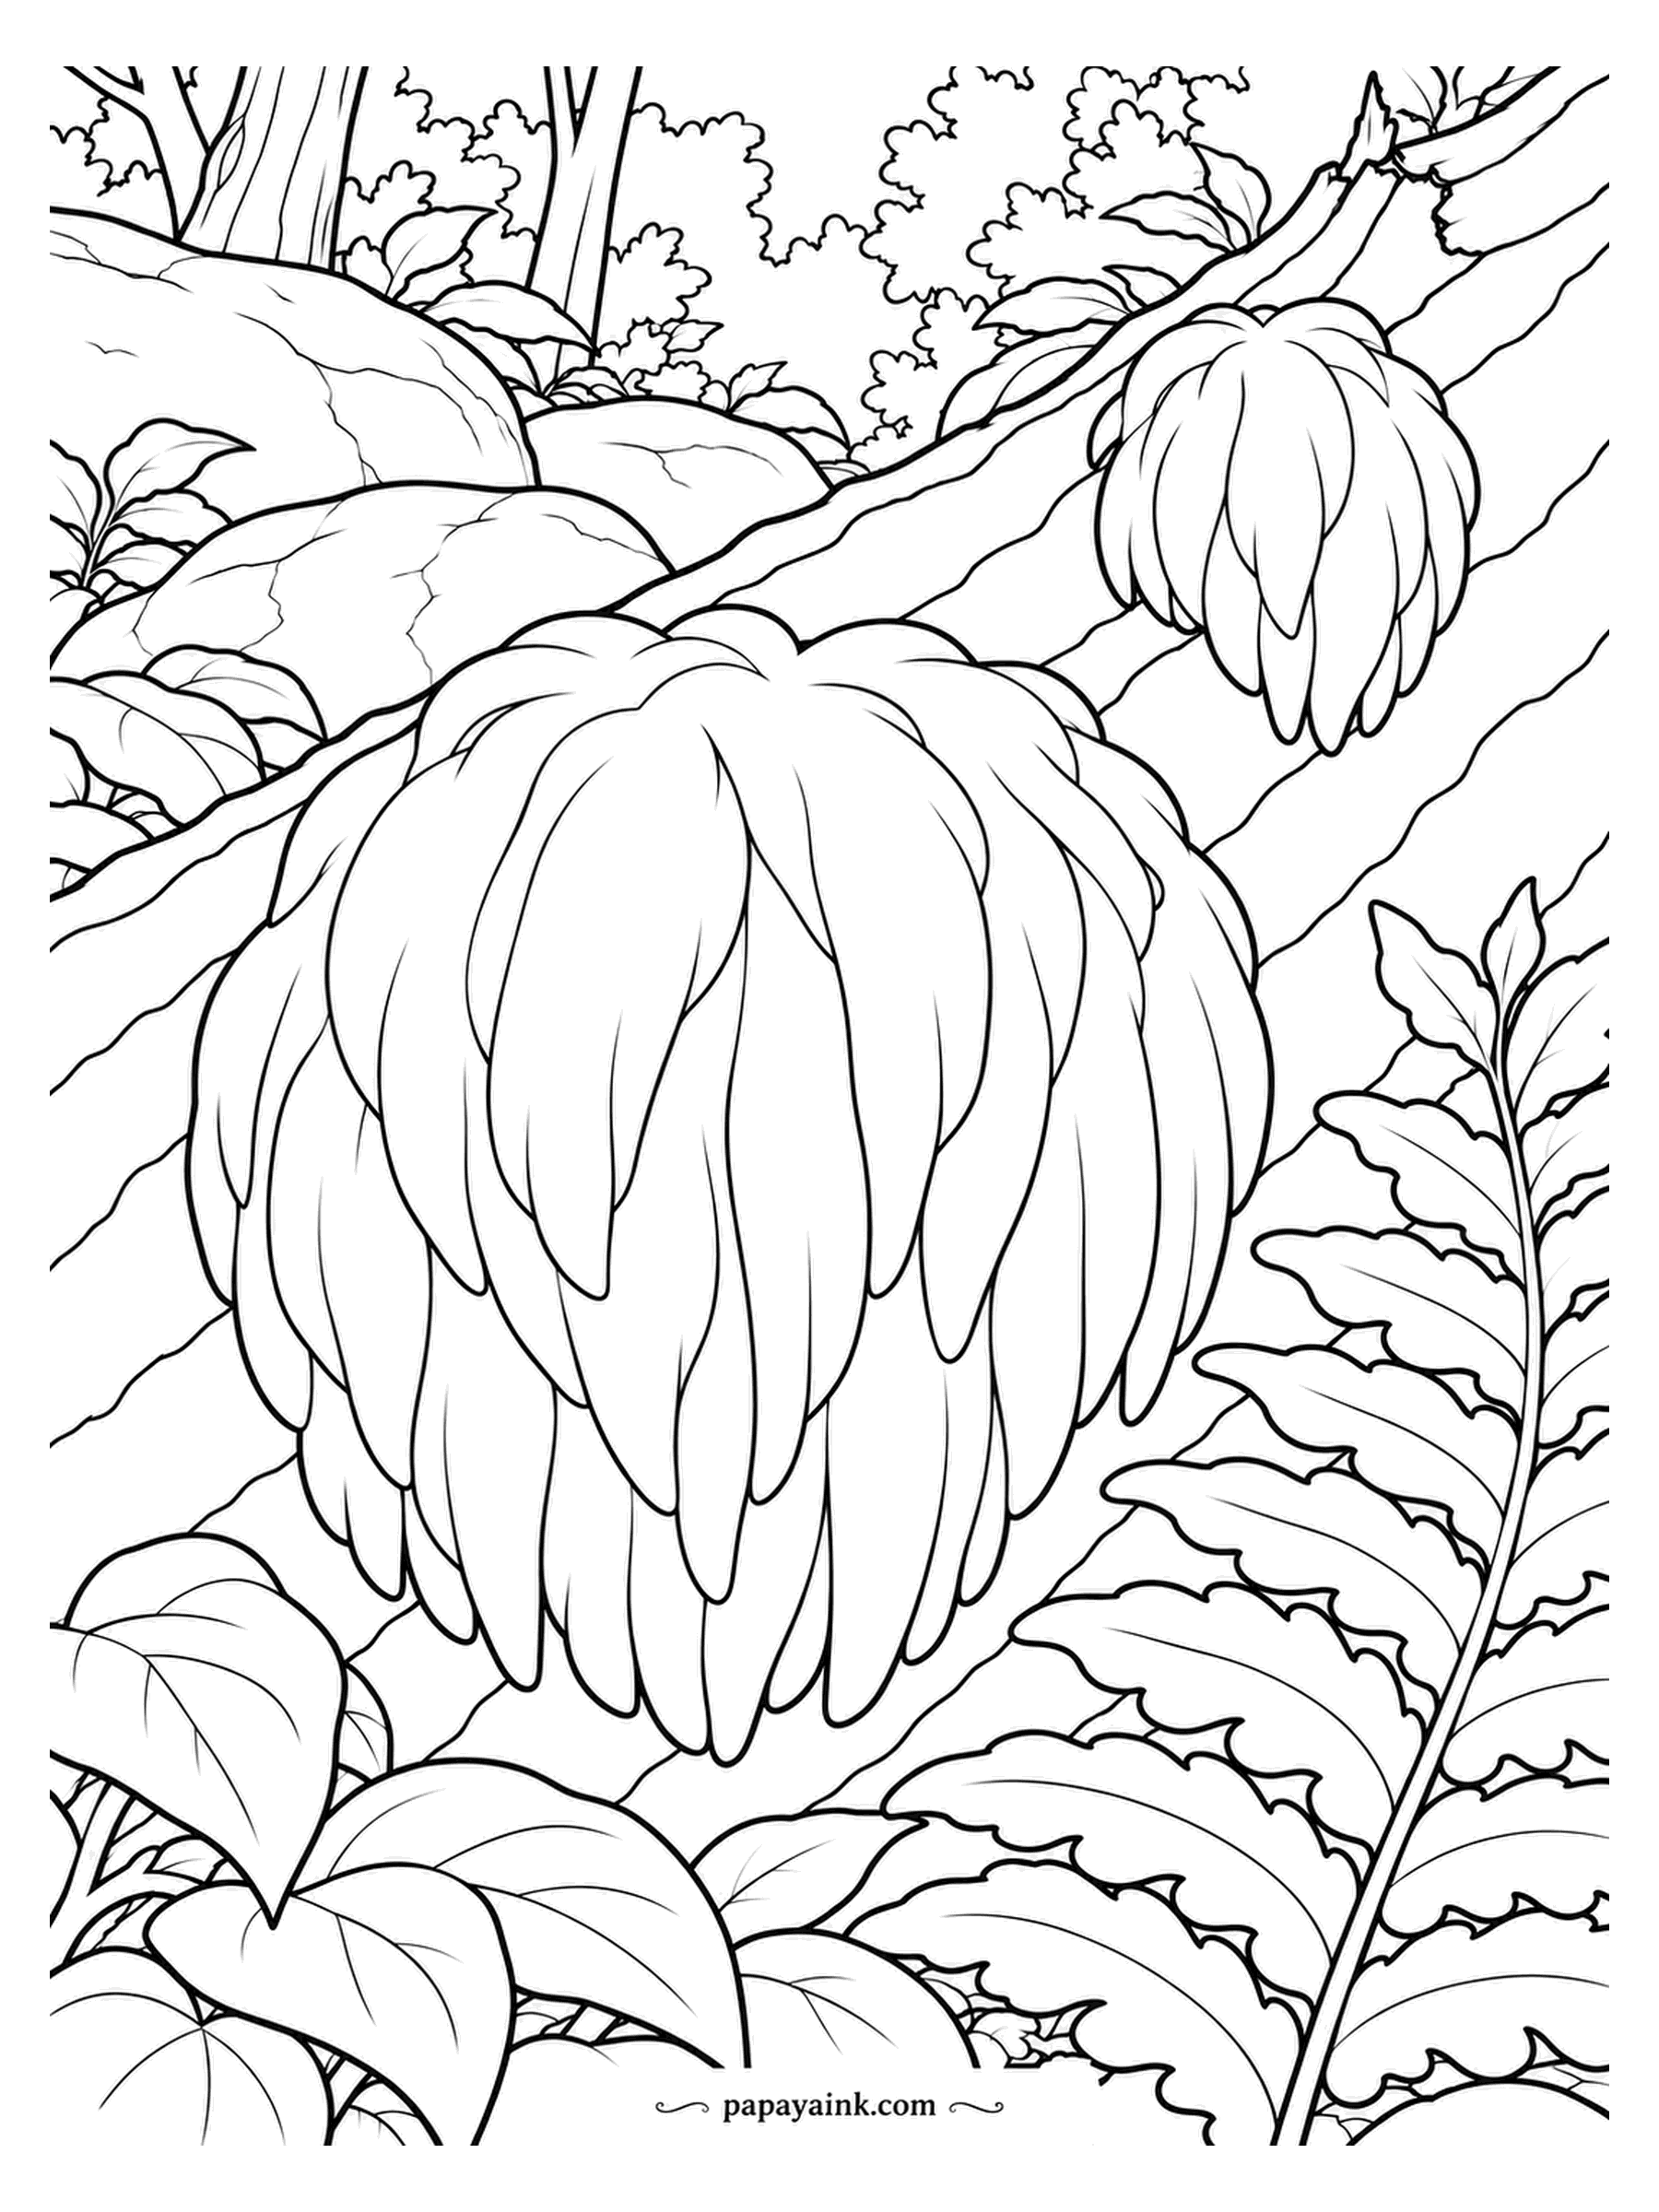
Every mushroom on this page is one you could buy in a grocery store, drawn the way it actually grows: button, cremini and portobello (which are the same species at three ages), oyster mushrooms in grey, pink and golden, the tall king oyster, the shaggy lion's mane, the ruffled maitake and the little beech mushroom. The sheets come in two moods. In the cute ones the caps have faces and get up to things on fallen logs. In the natural ones there is nobody to talk to, just gills, stems and bark, drawn in enough detail to keep you busy for an evening.
Click any picture and the free PDF opens in a new tab, ready to print on US Letter; it fits A4 without cropping. The line art is clean black on white, so it prints well on a plain home printer and on heavier paper if you plan to use markers.
Mushrooms are forgiving to color because almost nothing about them has to be the right shade. A cap can go from cream to chestnut in one gradient, gills look best in a slightly warmer tone than the cap, and a wash of light grey or tan on the underside instantly gives the whole thing weight. If you want color, the pink and golden oysters are the place to spend it: salmon and egg-yolk yellow look even brighter against all that brown bark.
Show me
Showing only black & white pages.
Showing only pages with a color sample. 80 other pages are hidden.
No black & white pages here yet – showing everything.
No pages with a color sample here yet – showing everything.
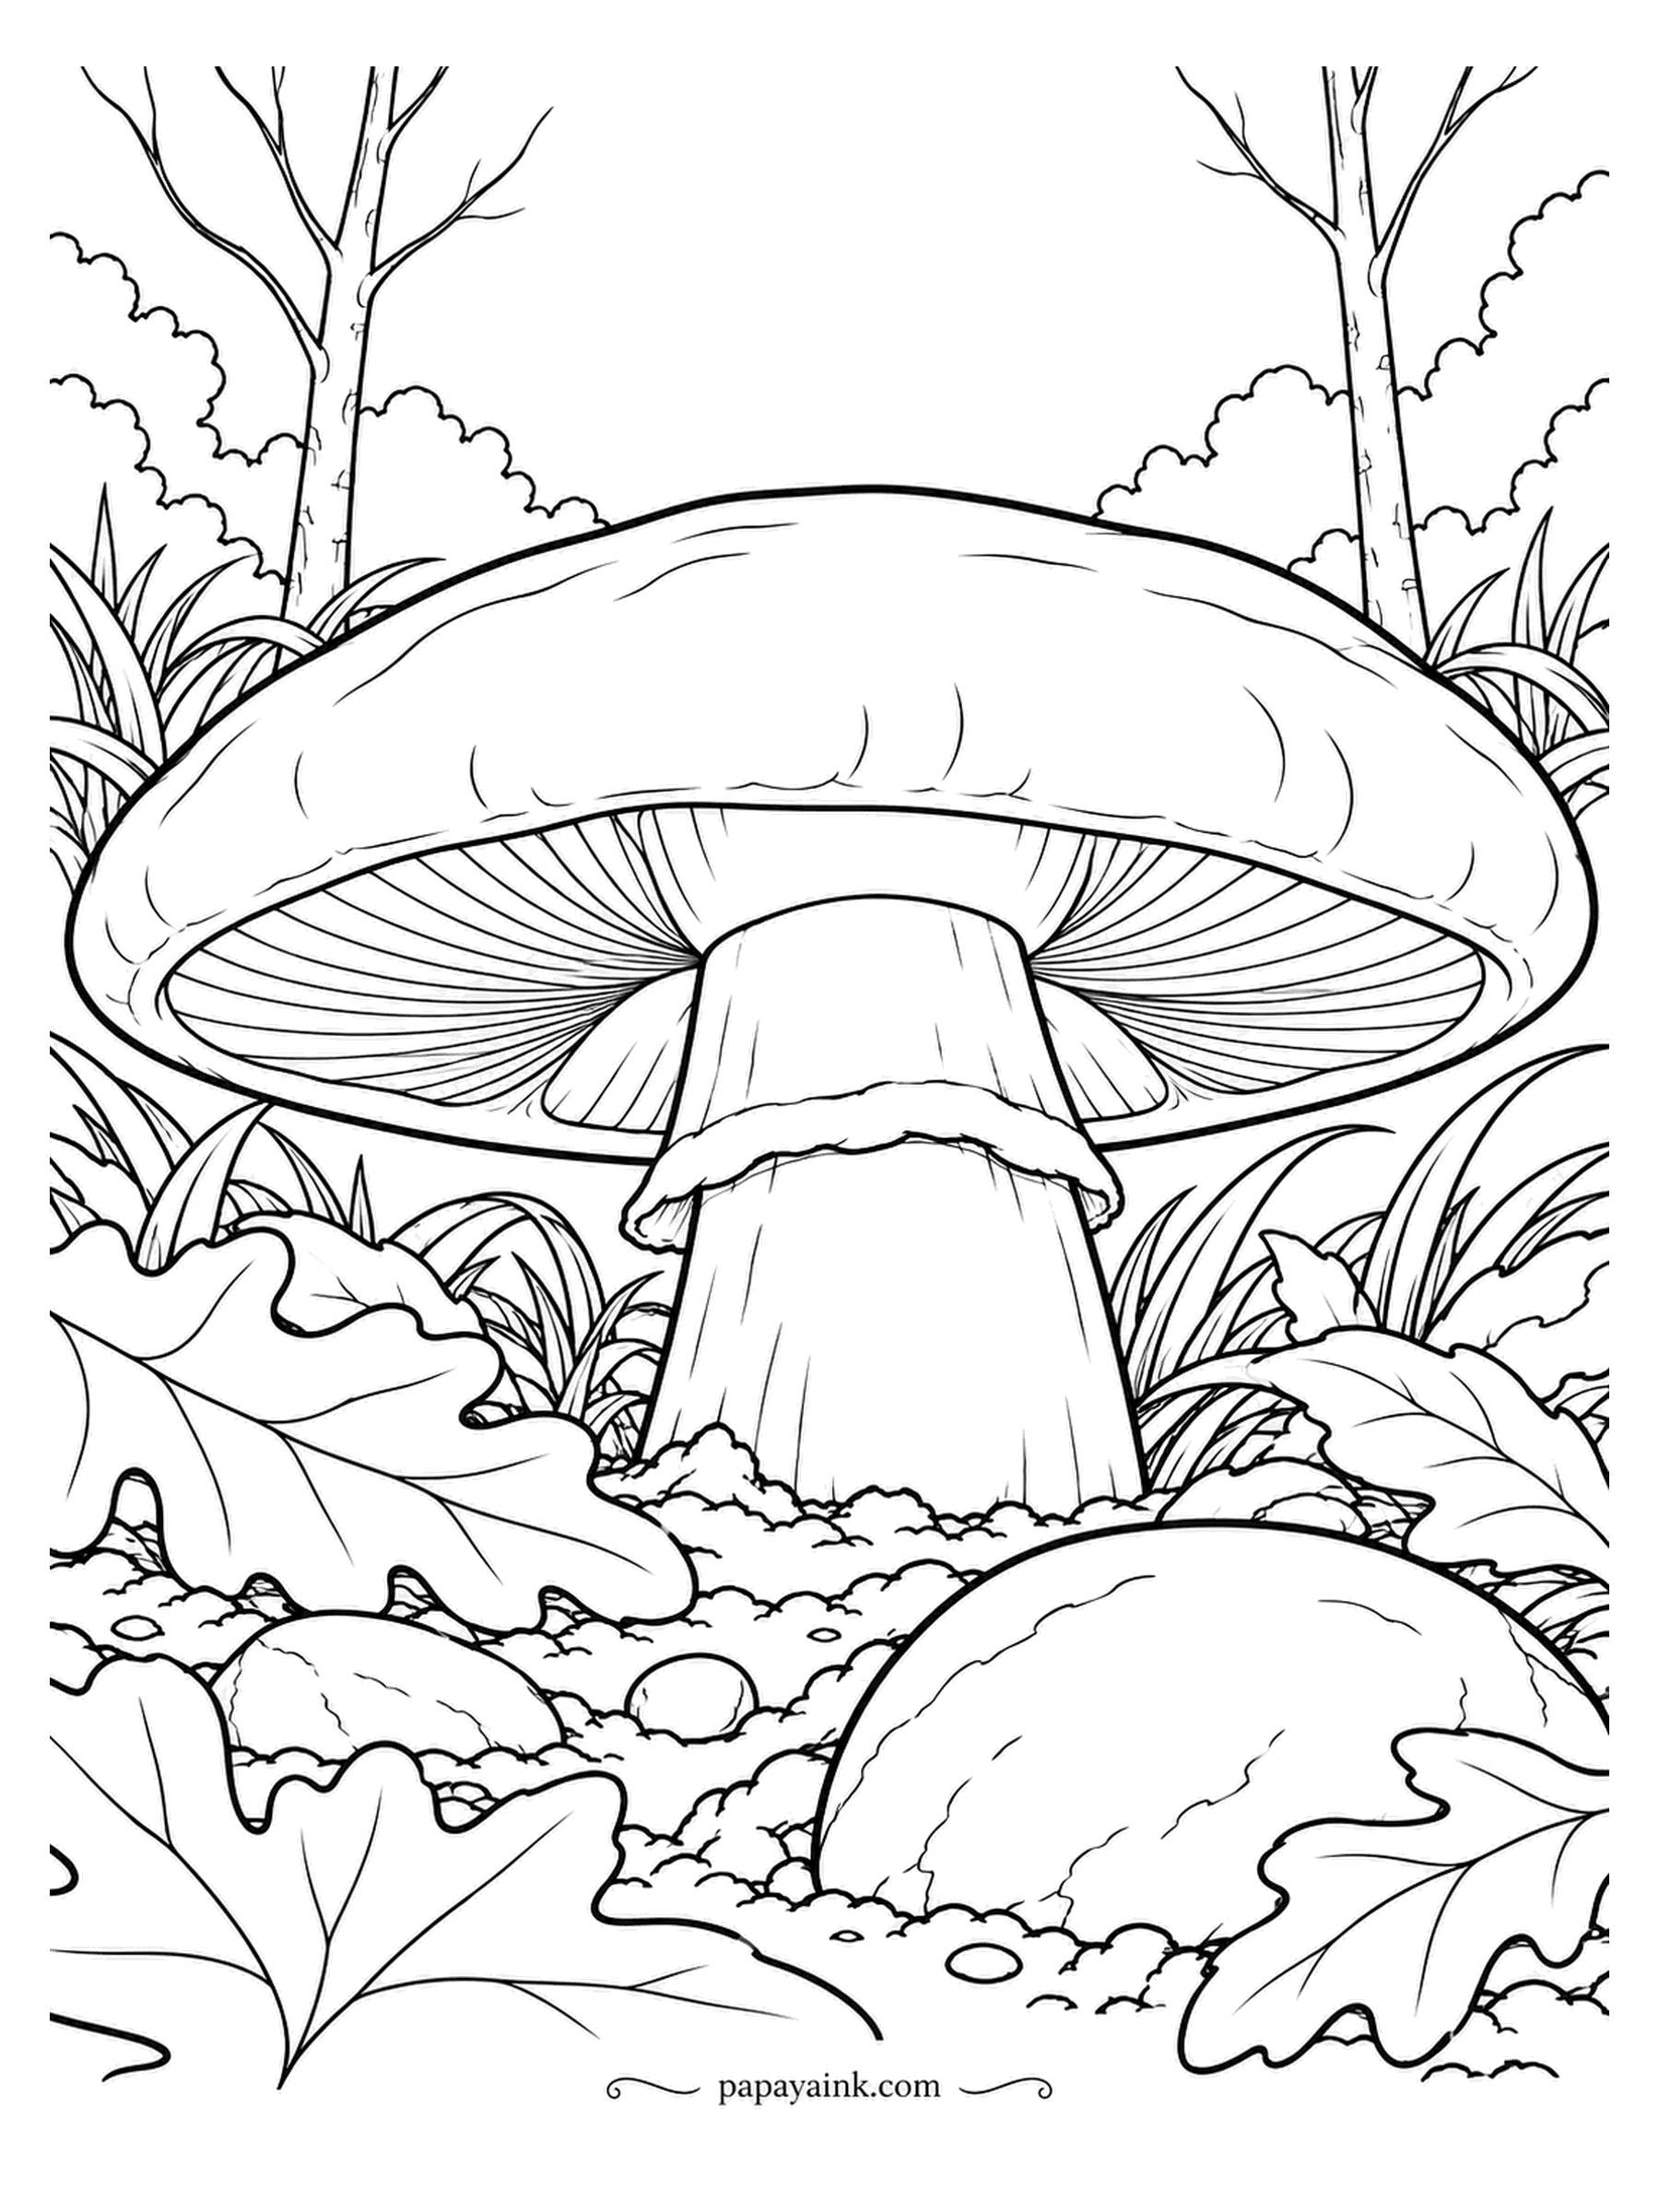


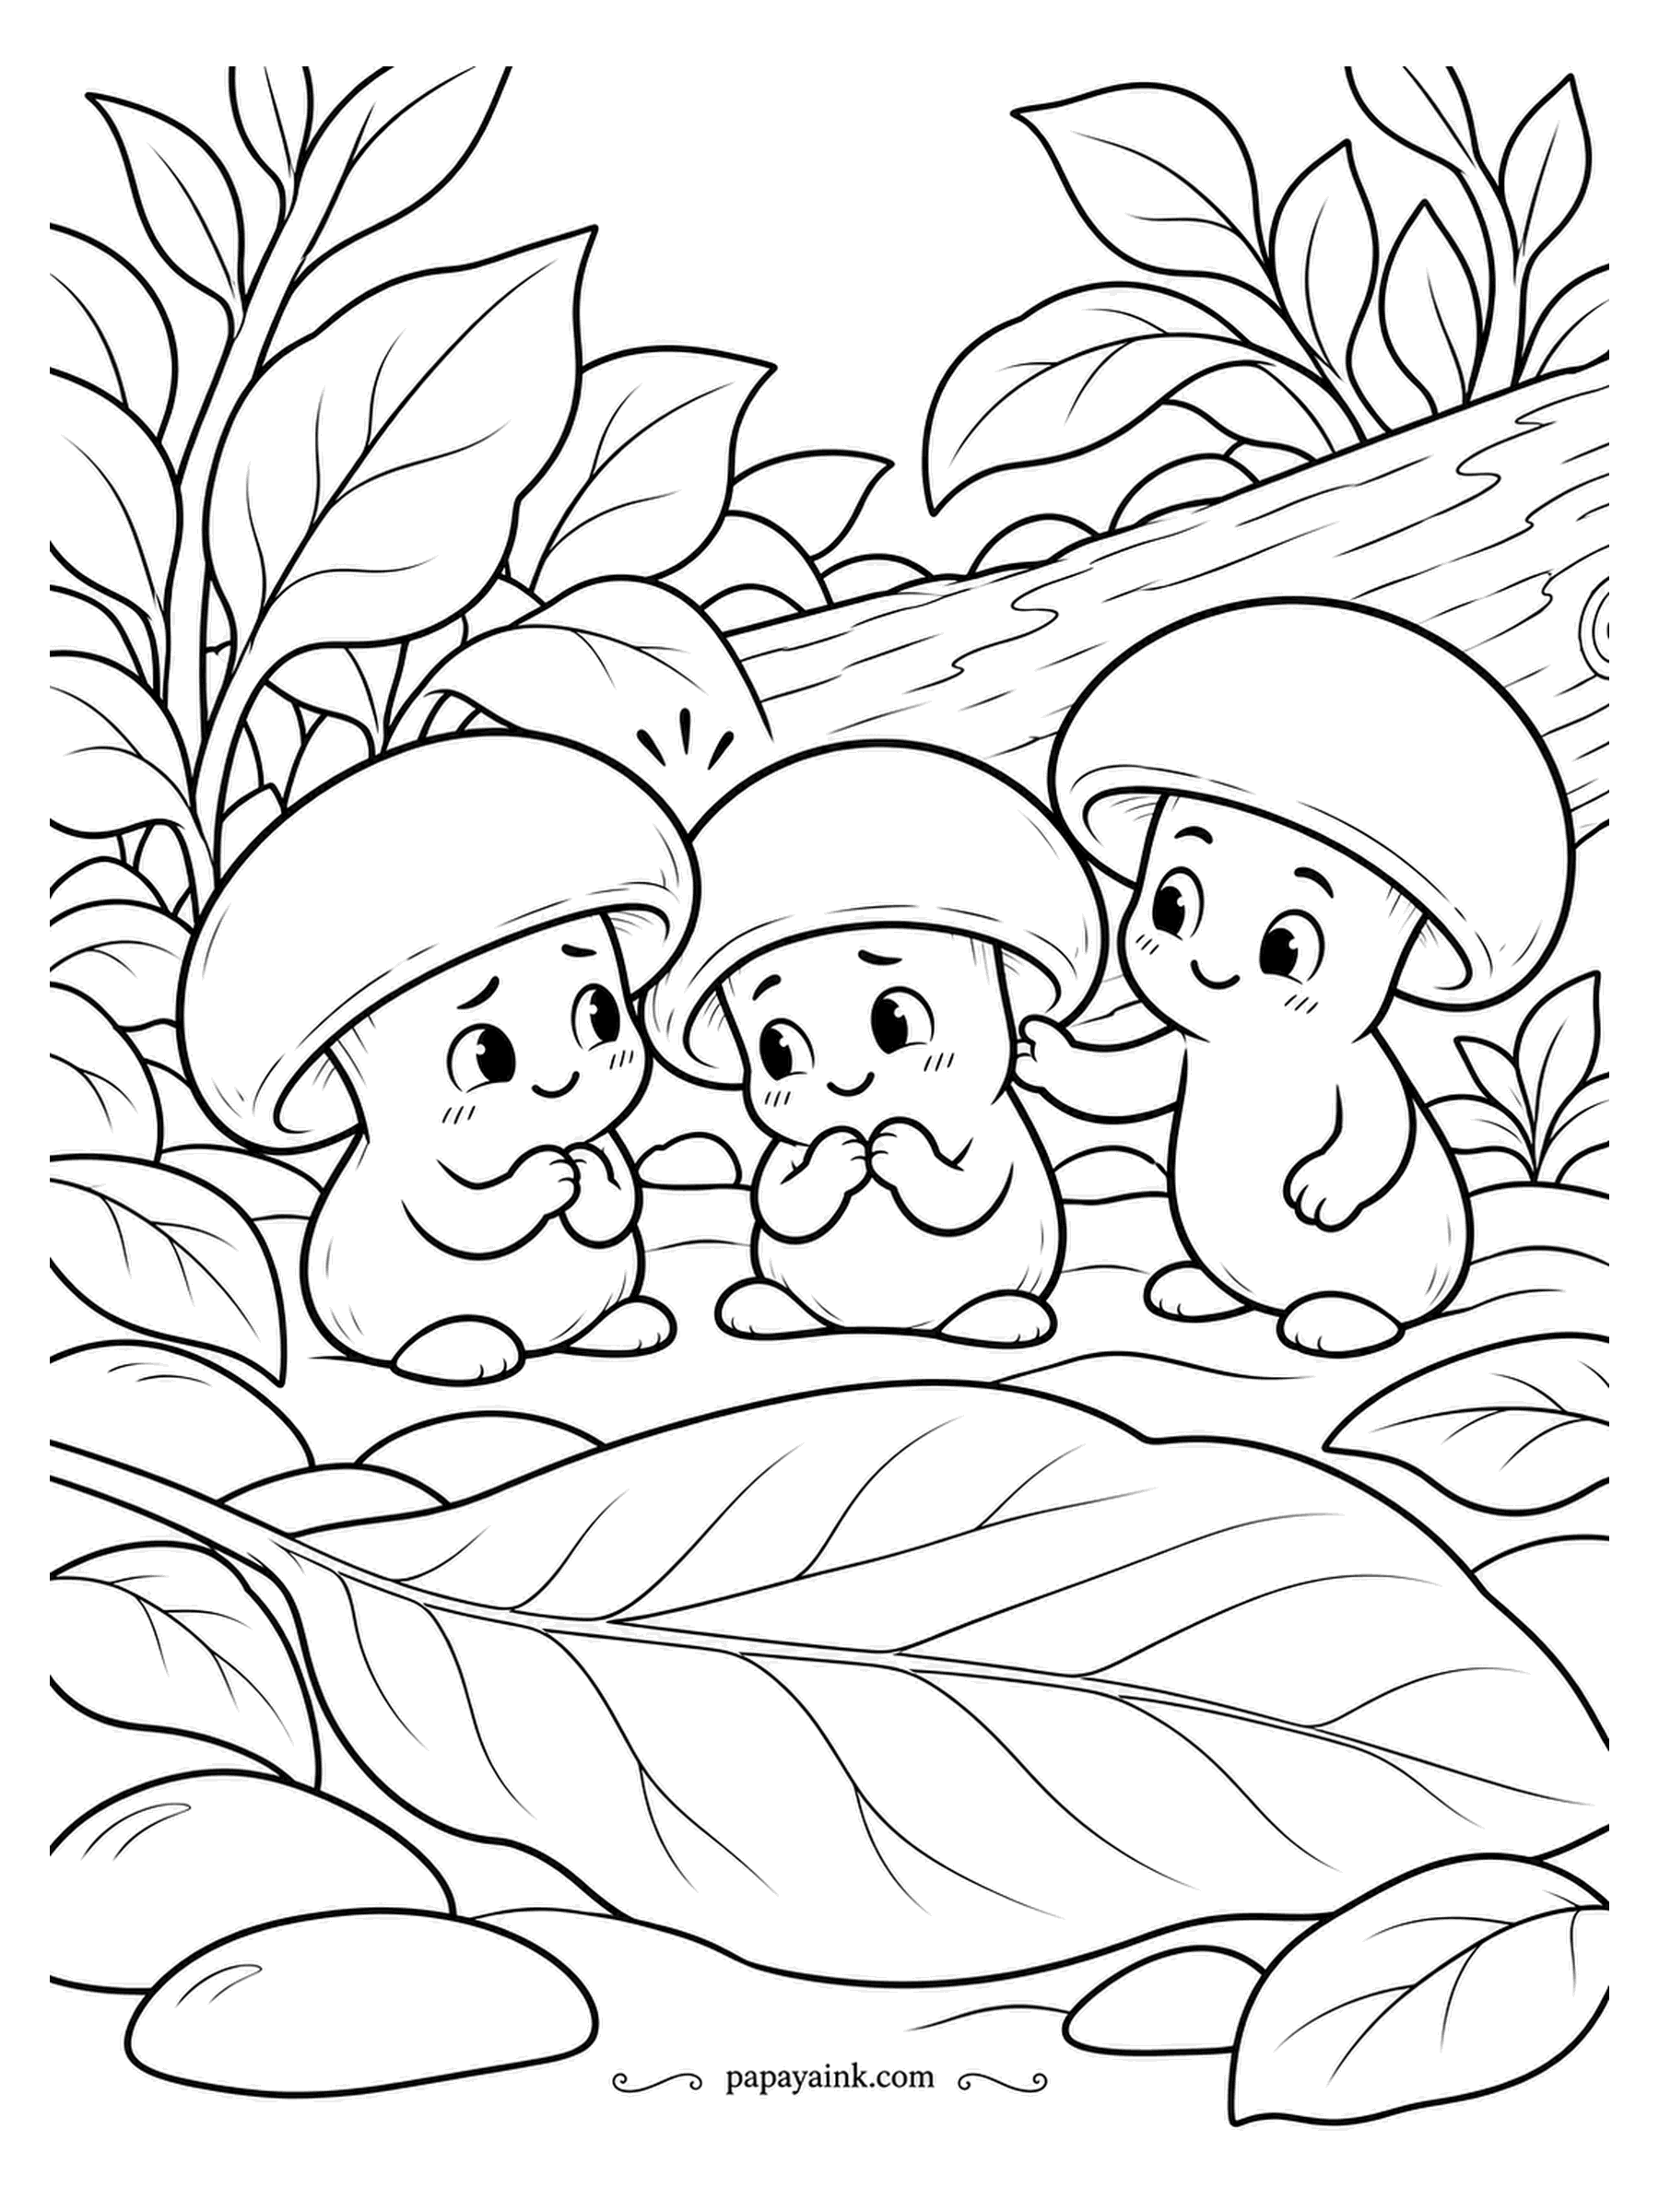
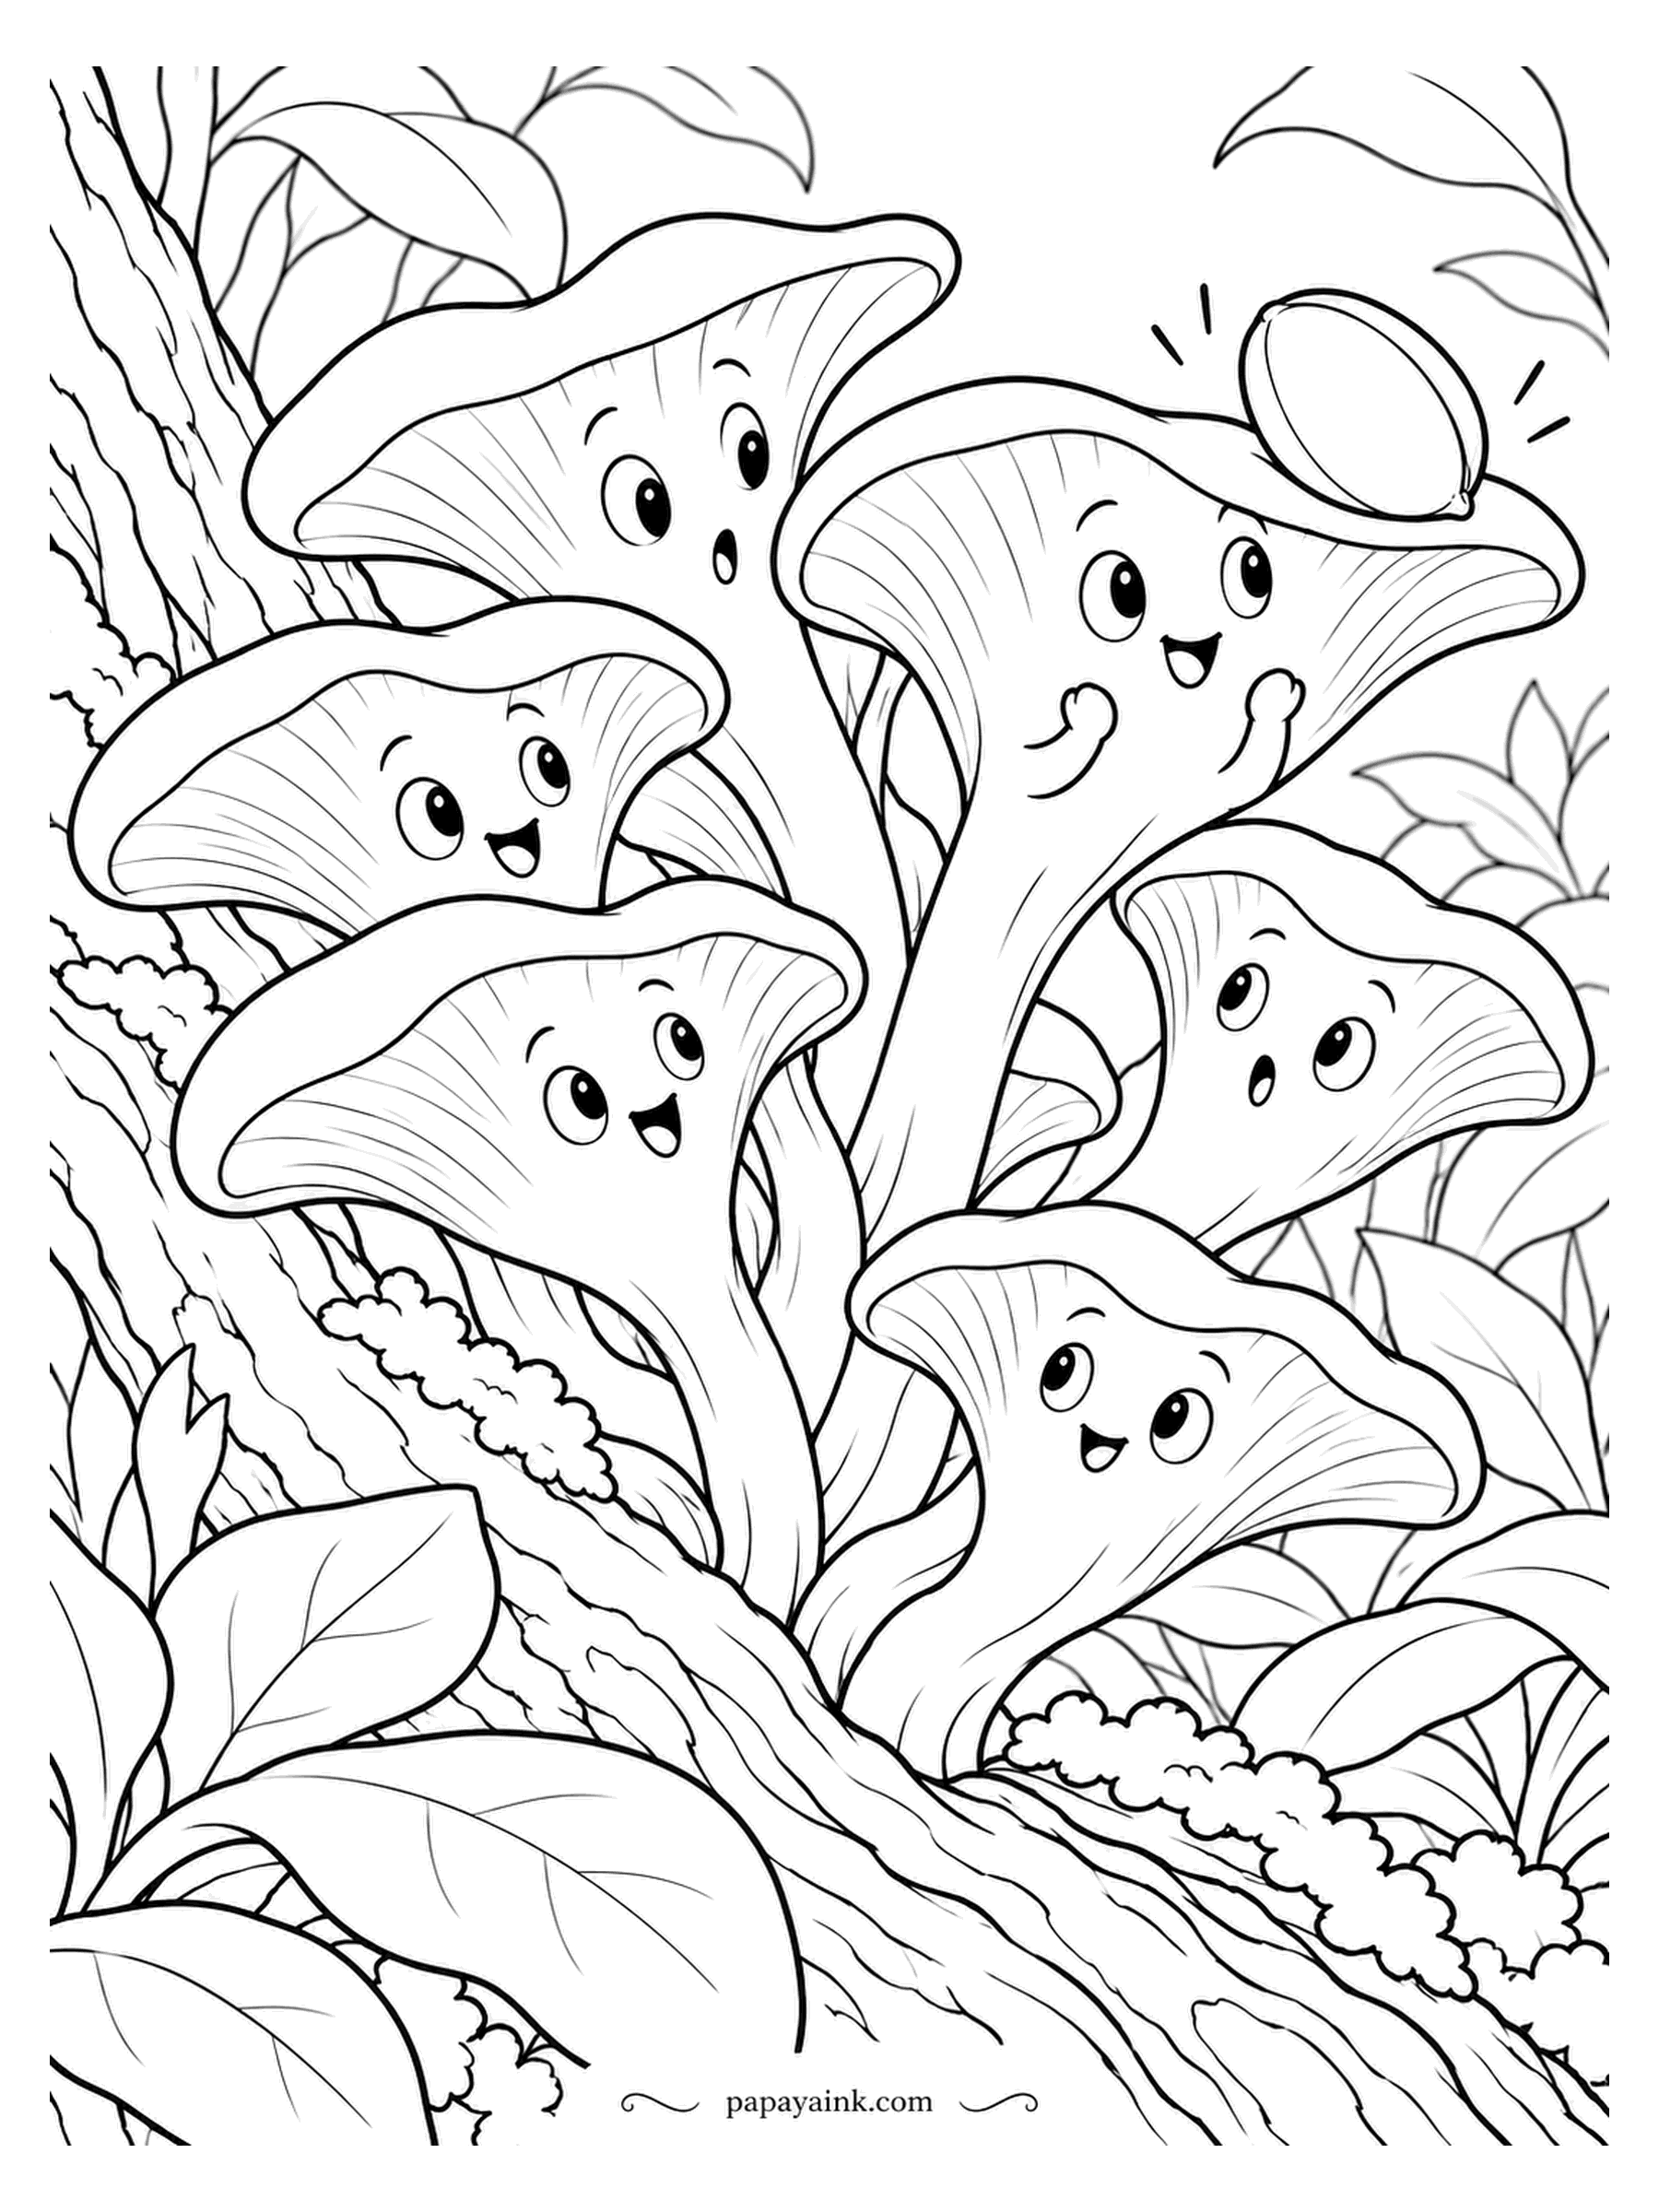
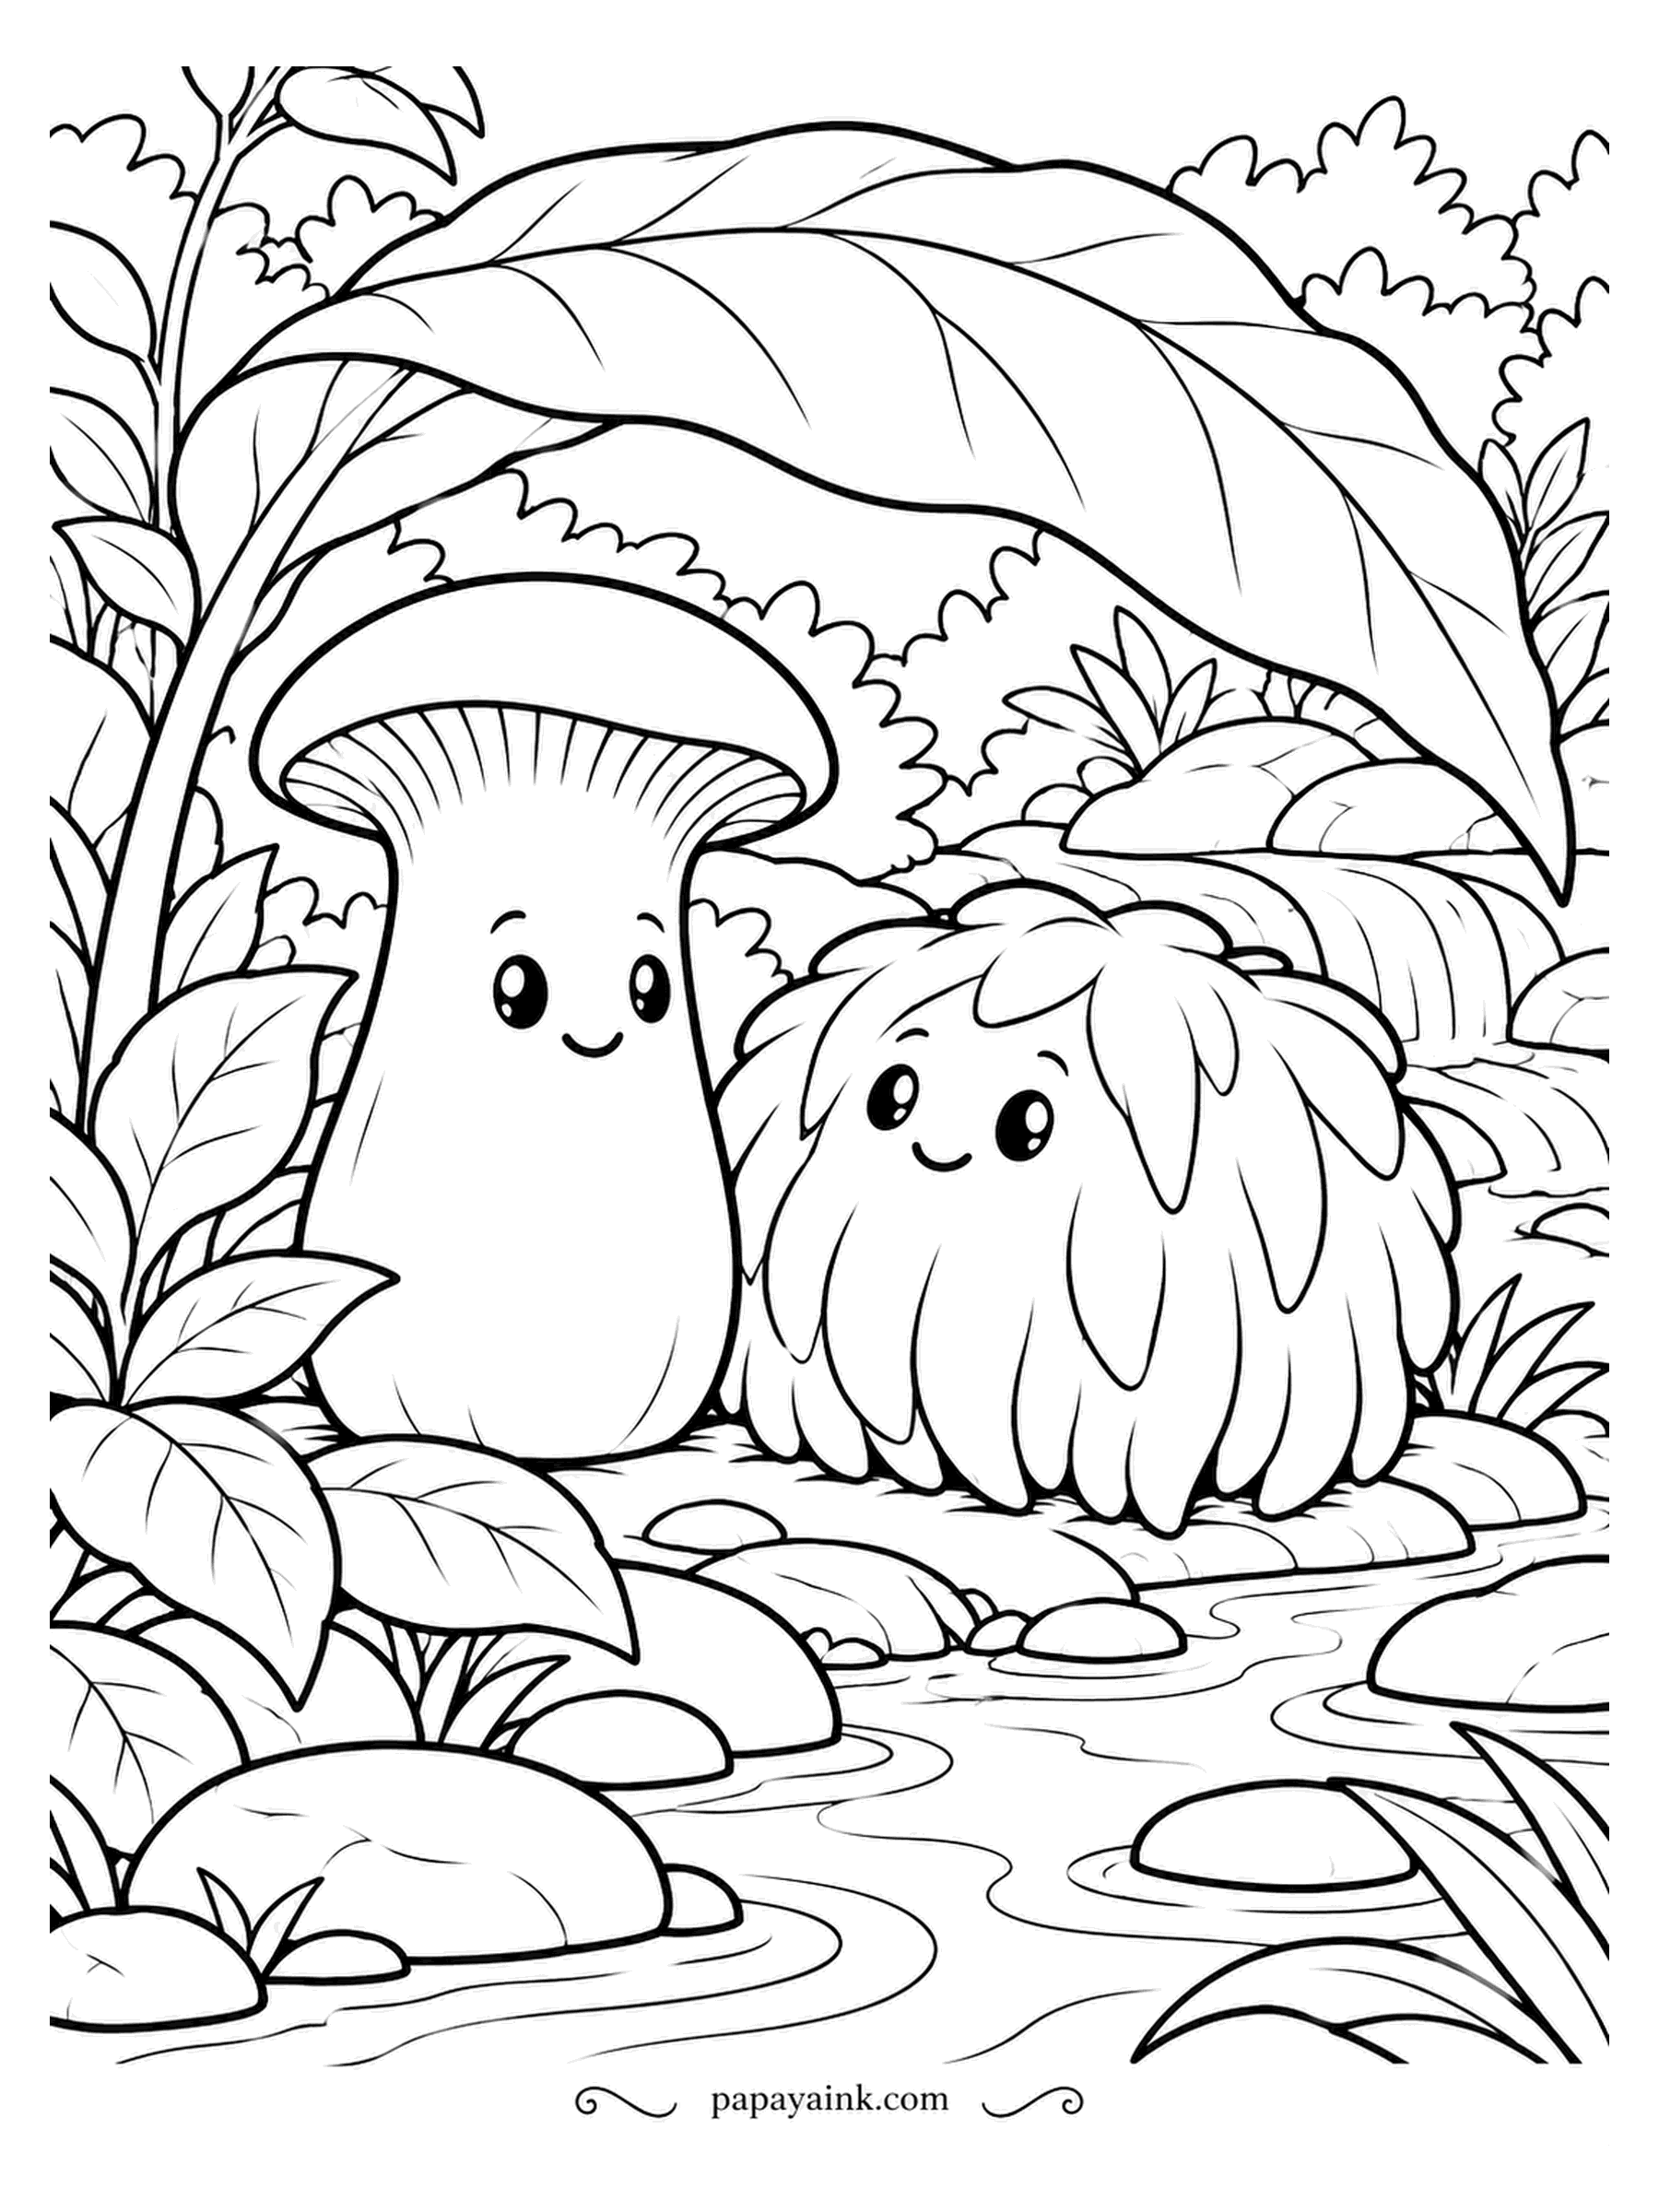


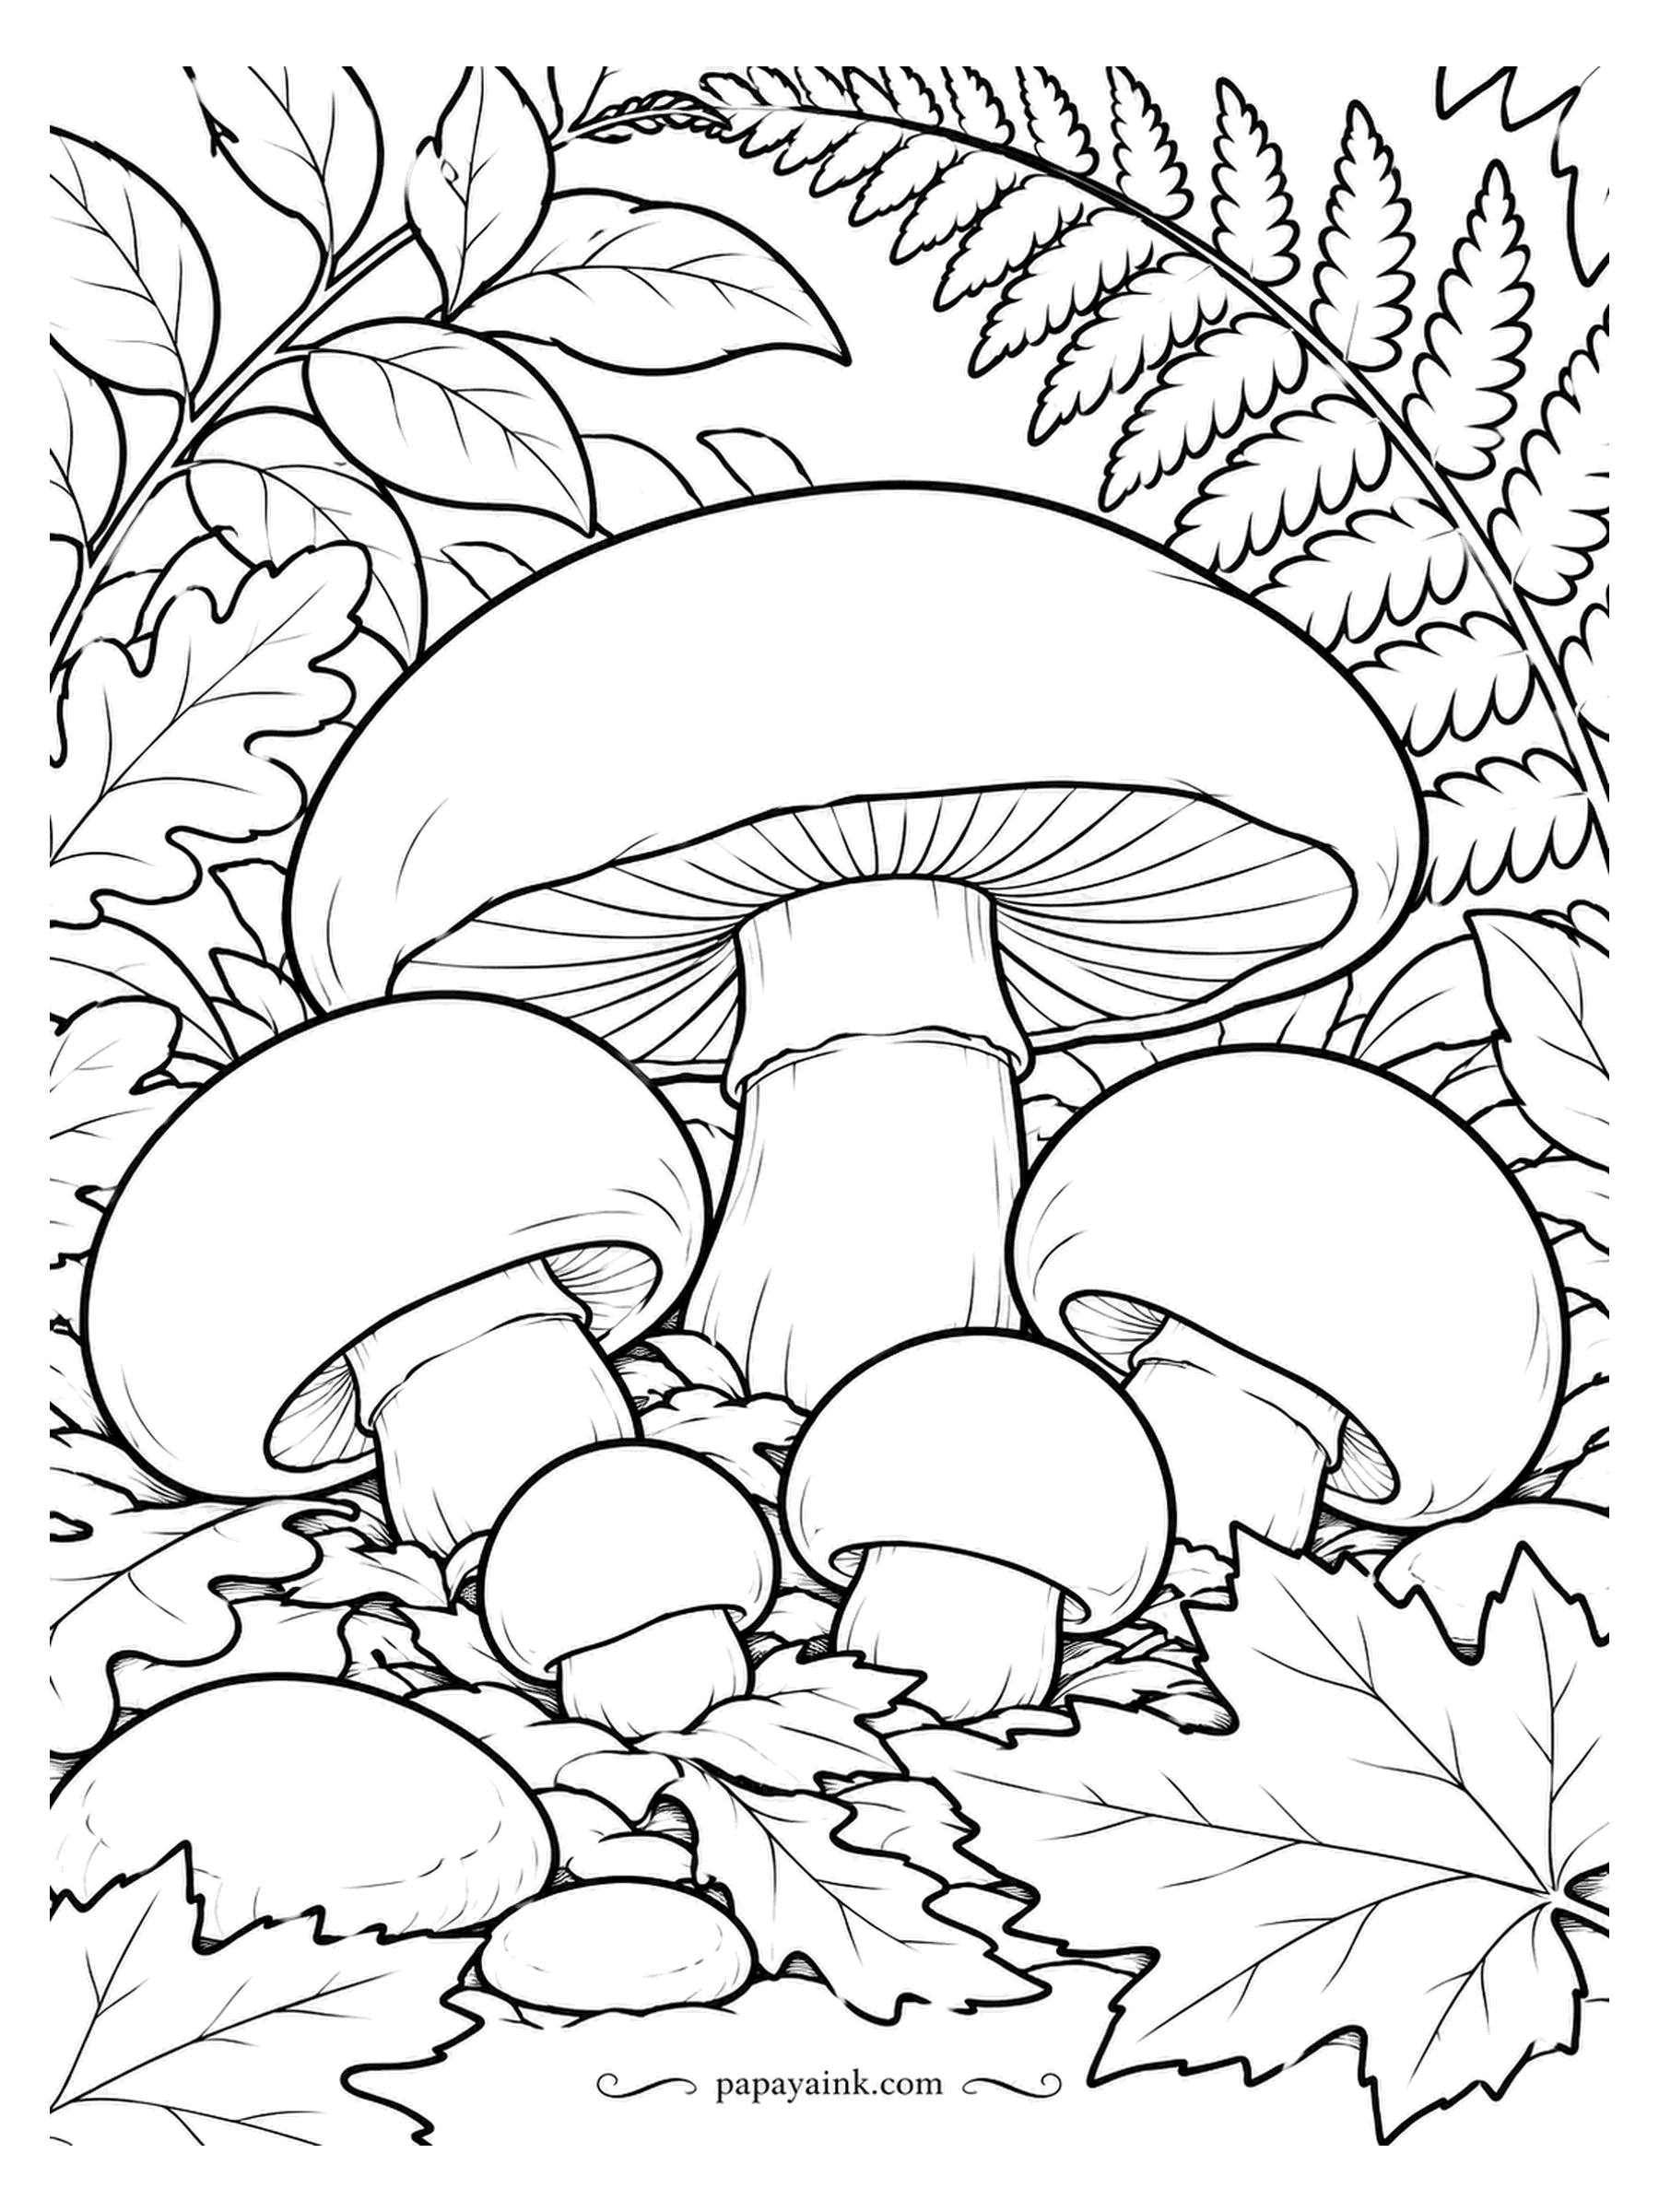
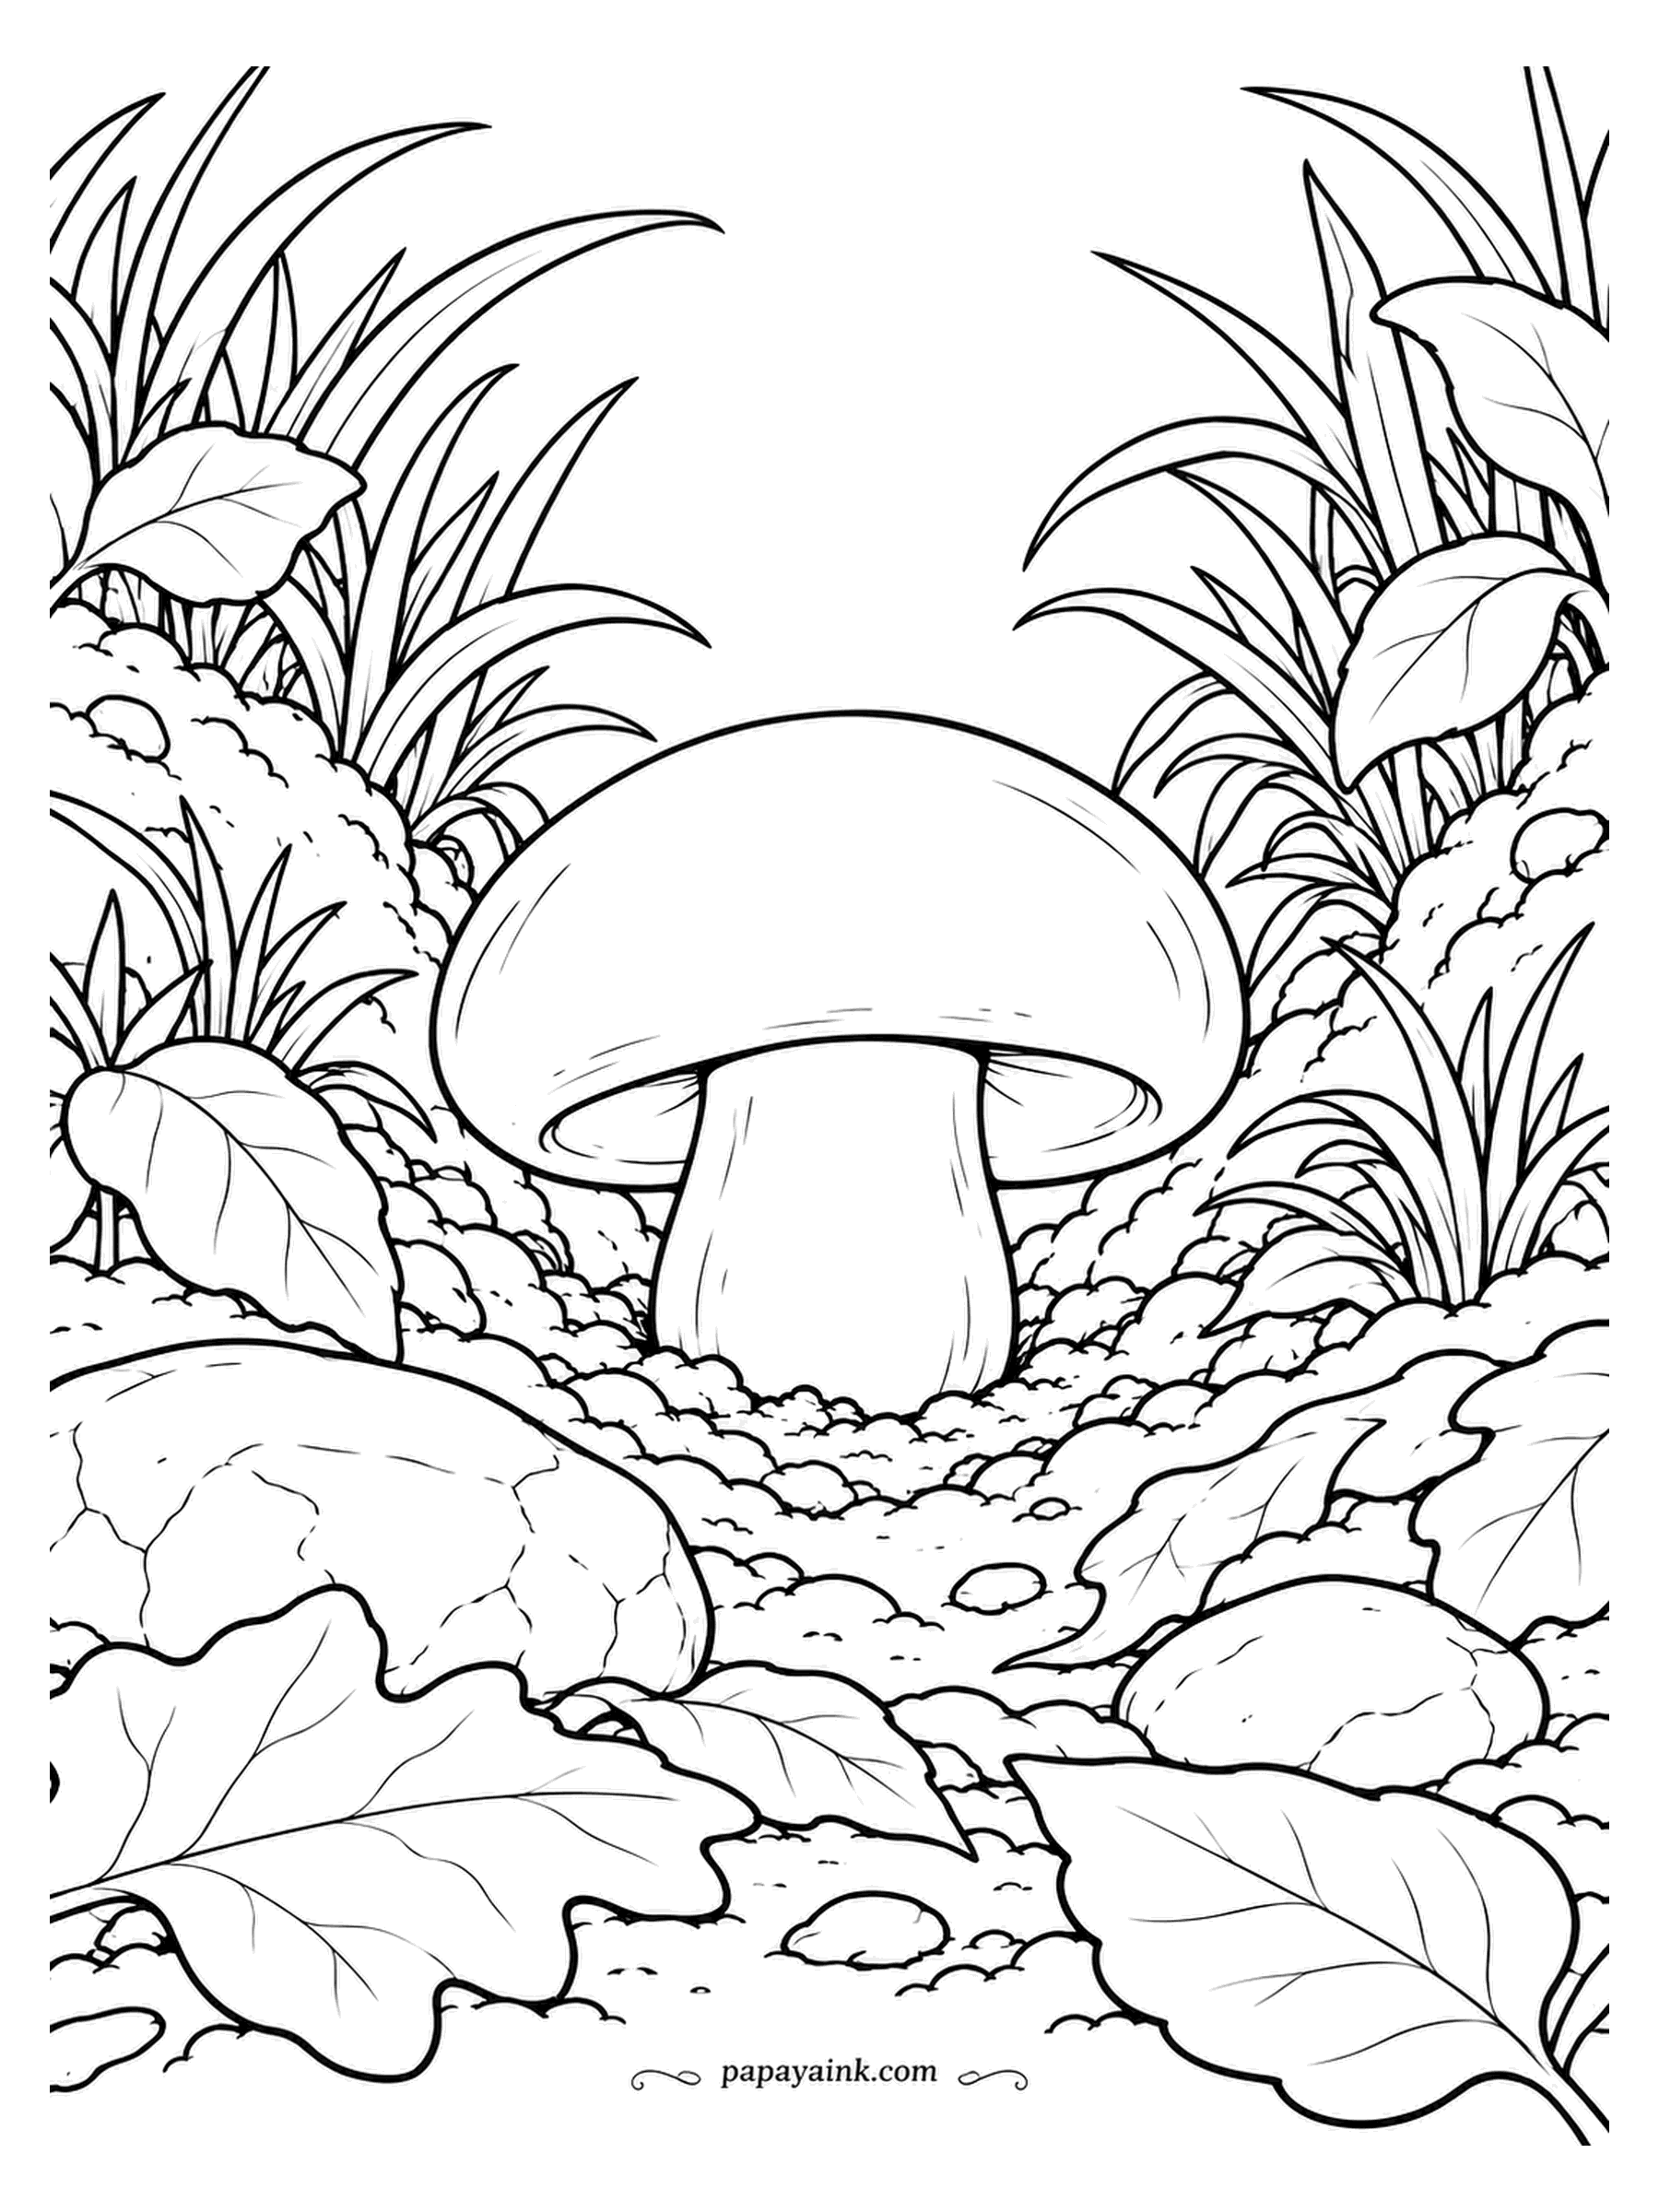
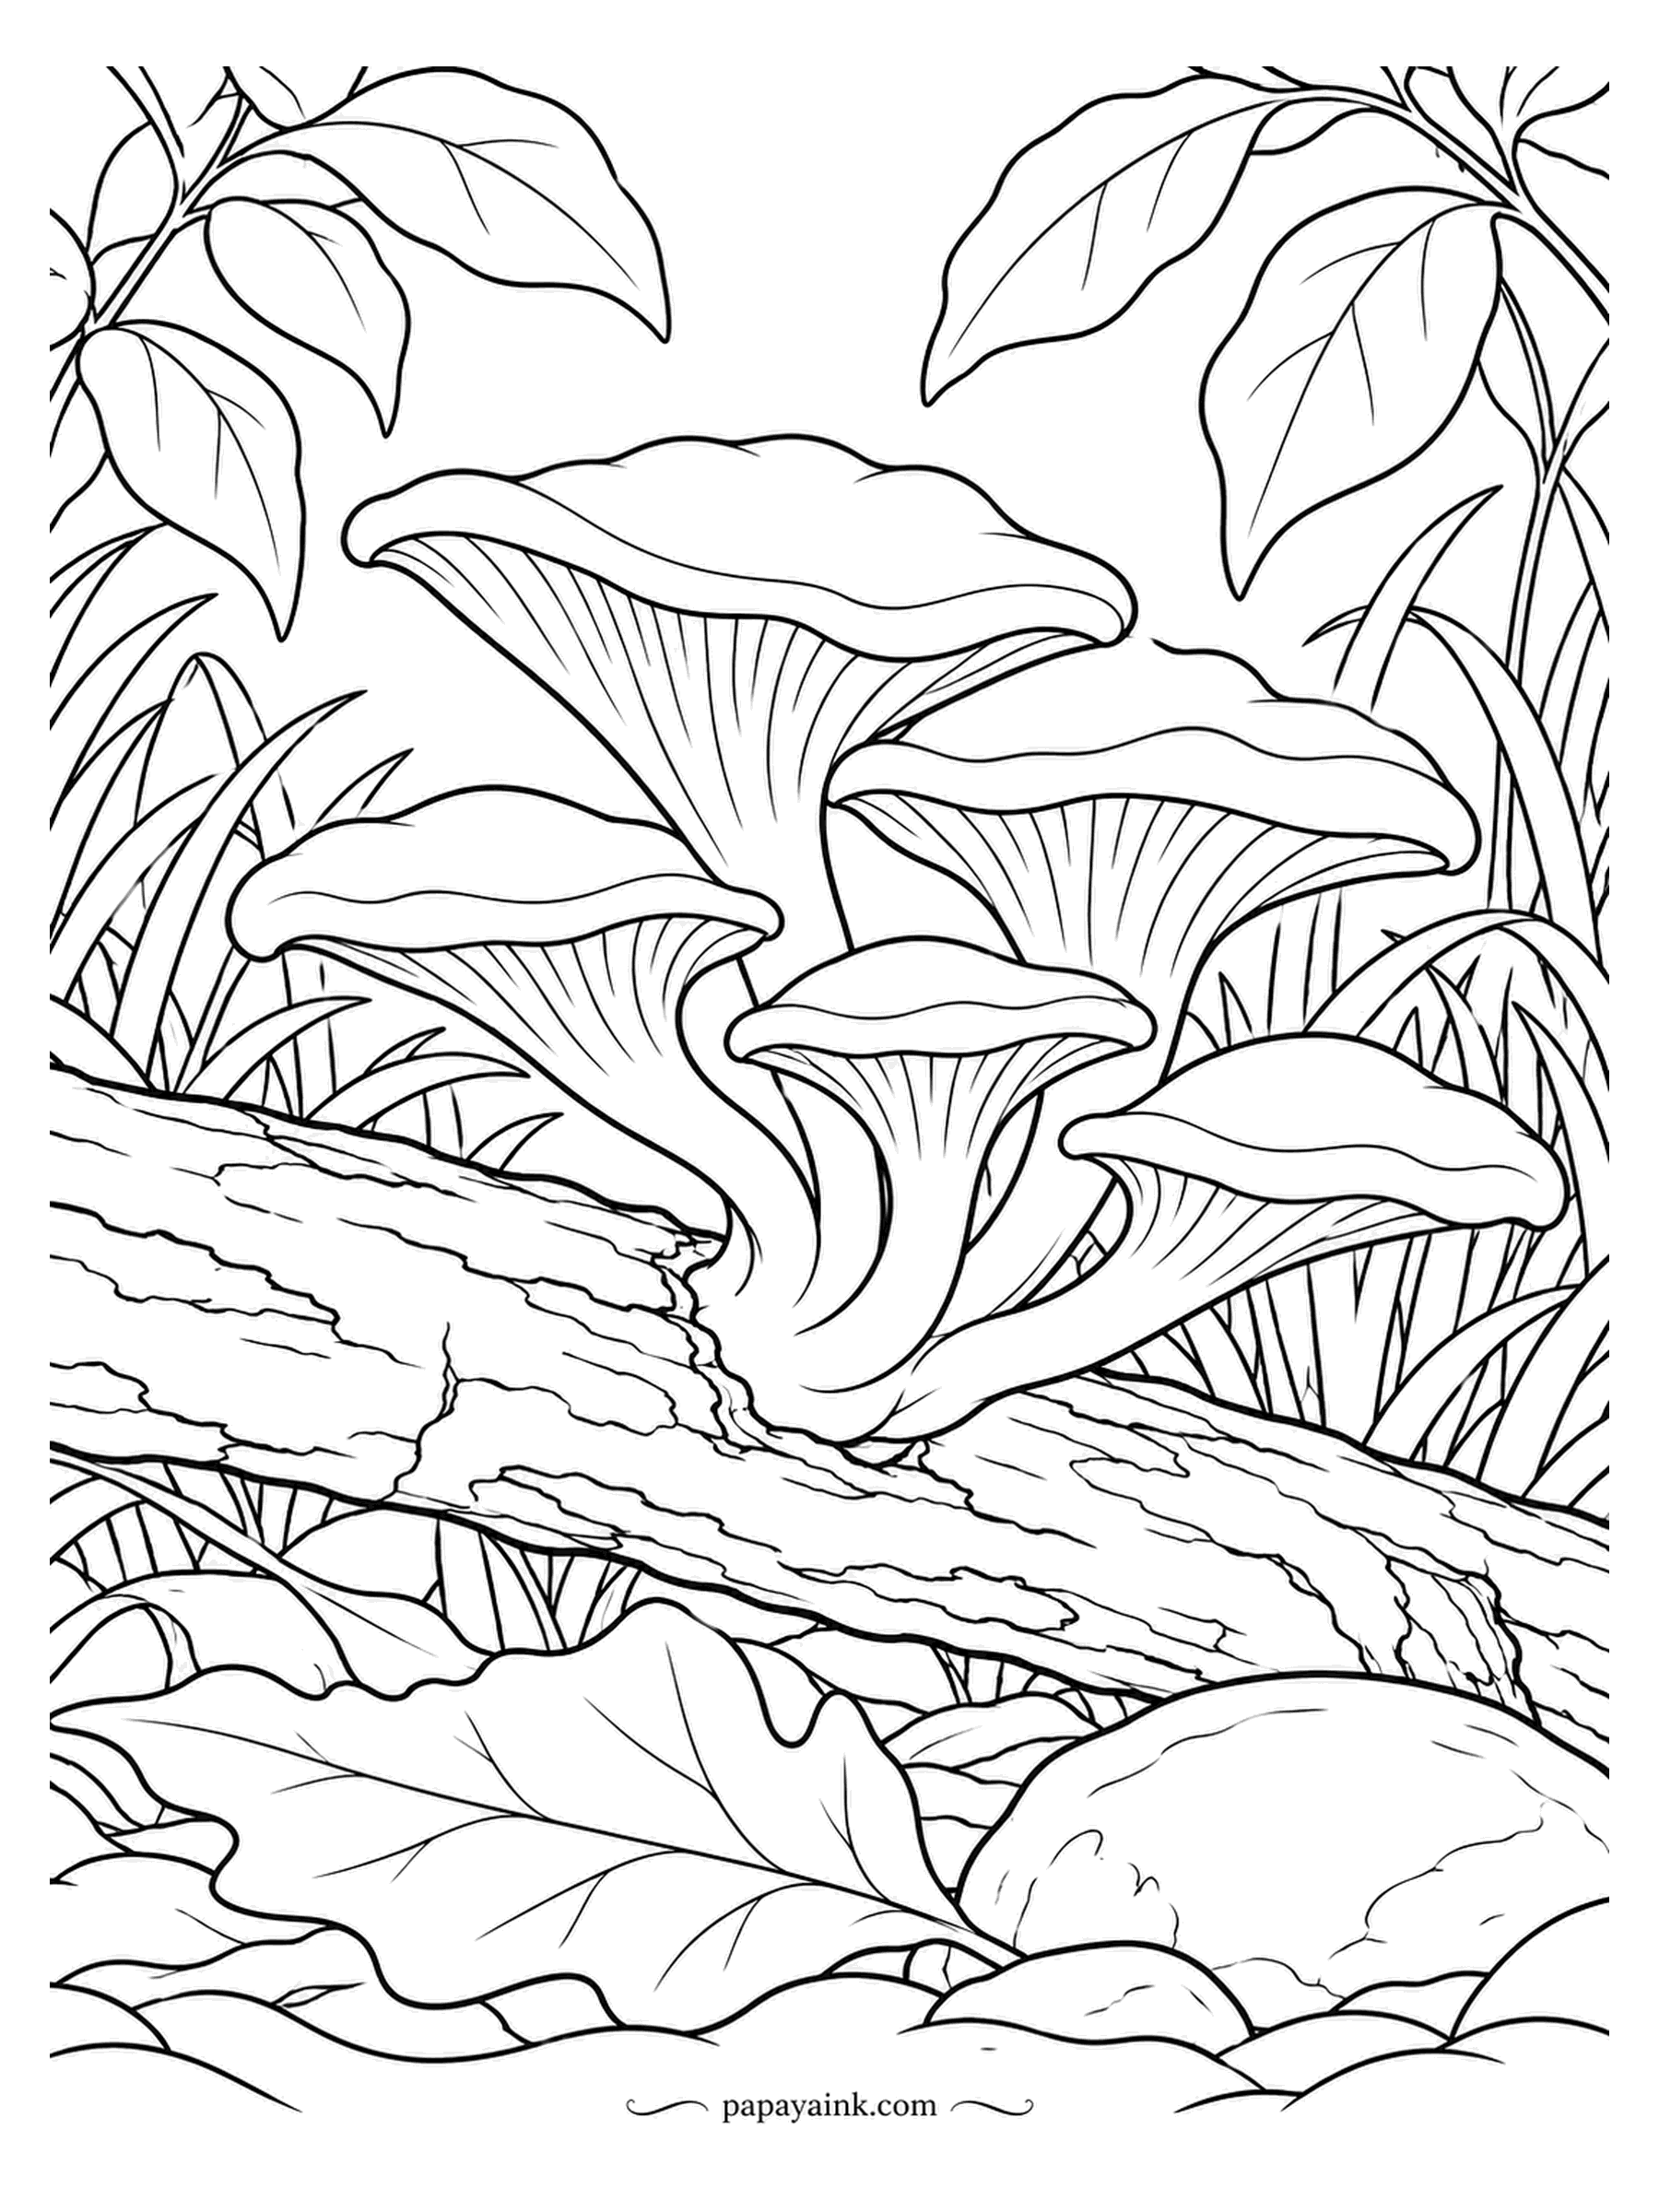
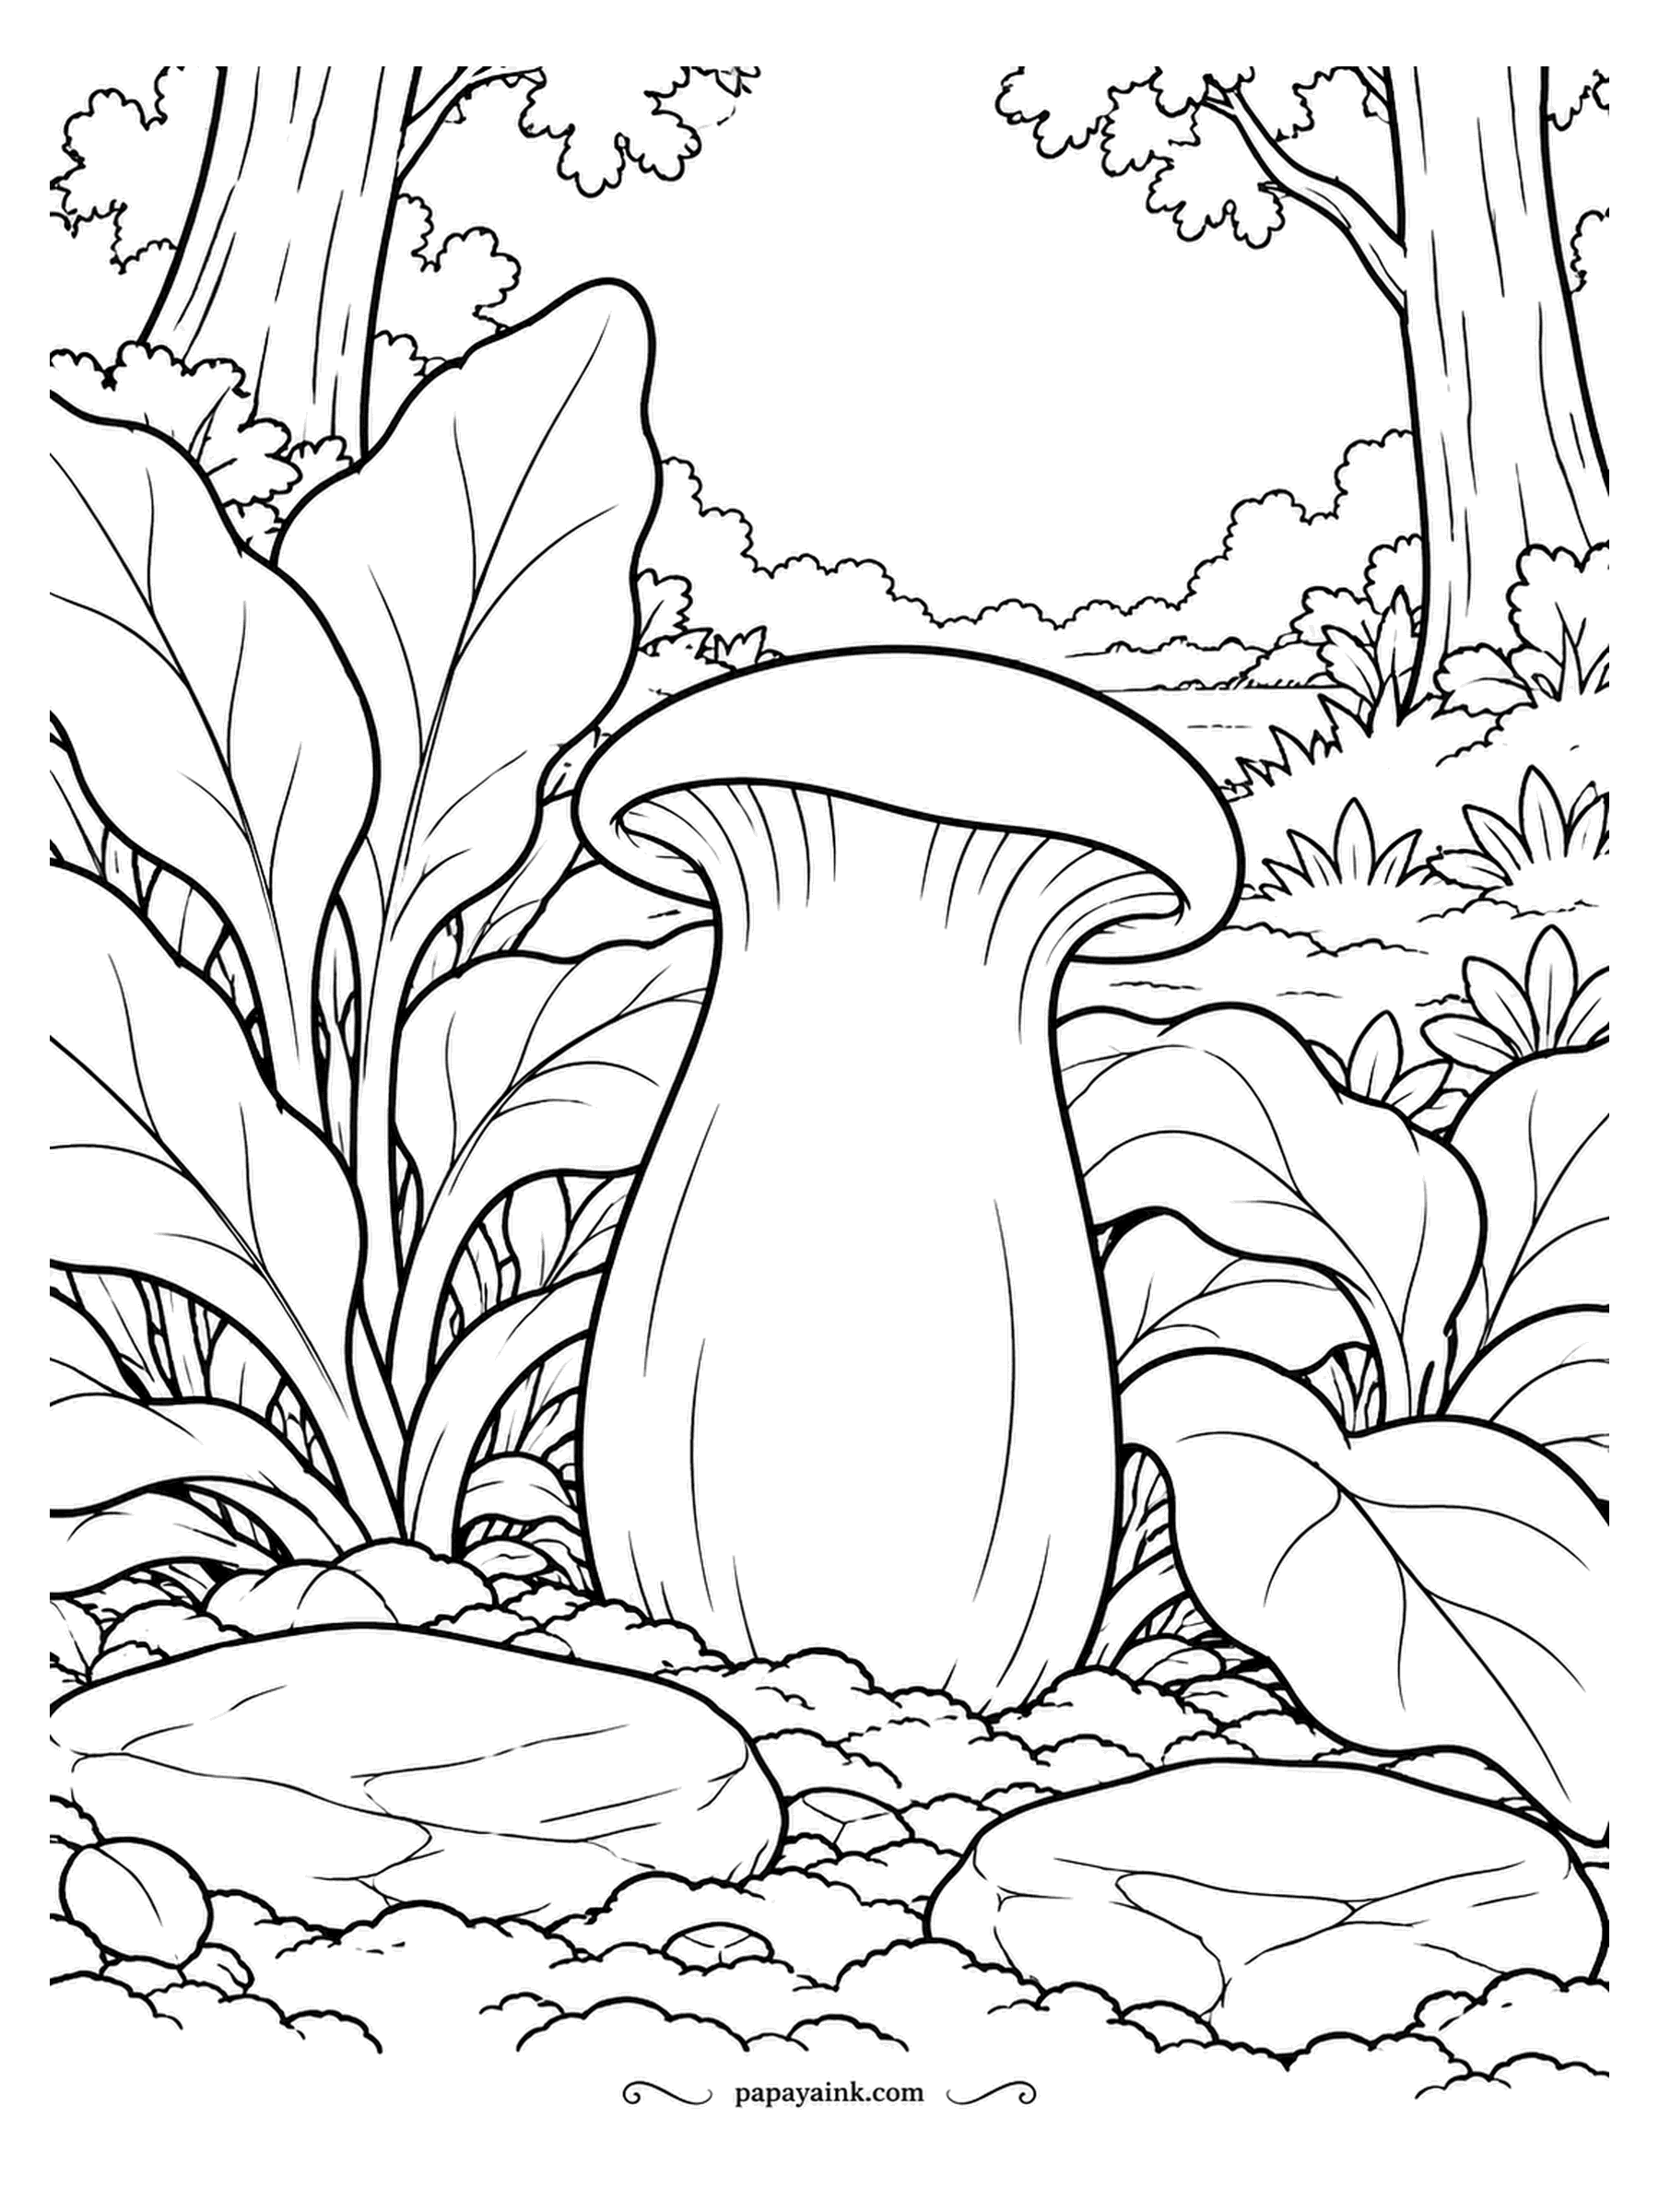
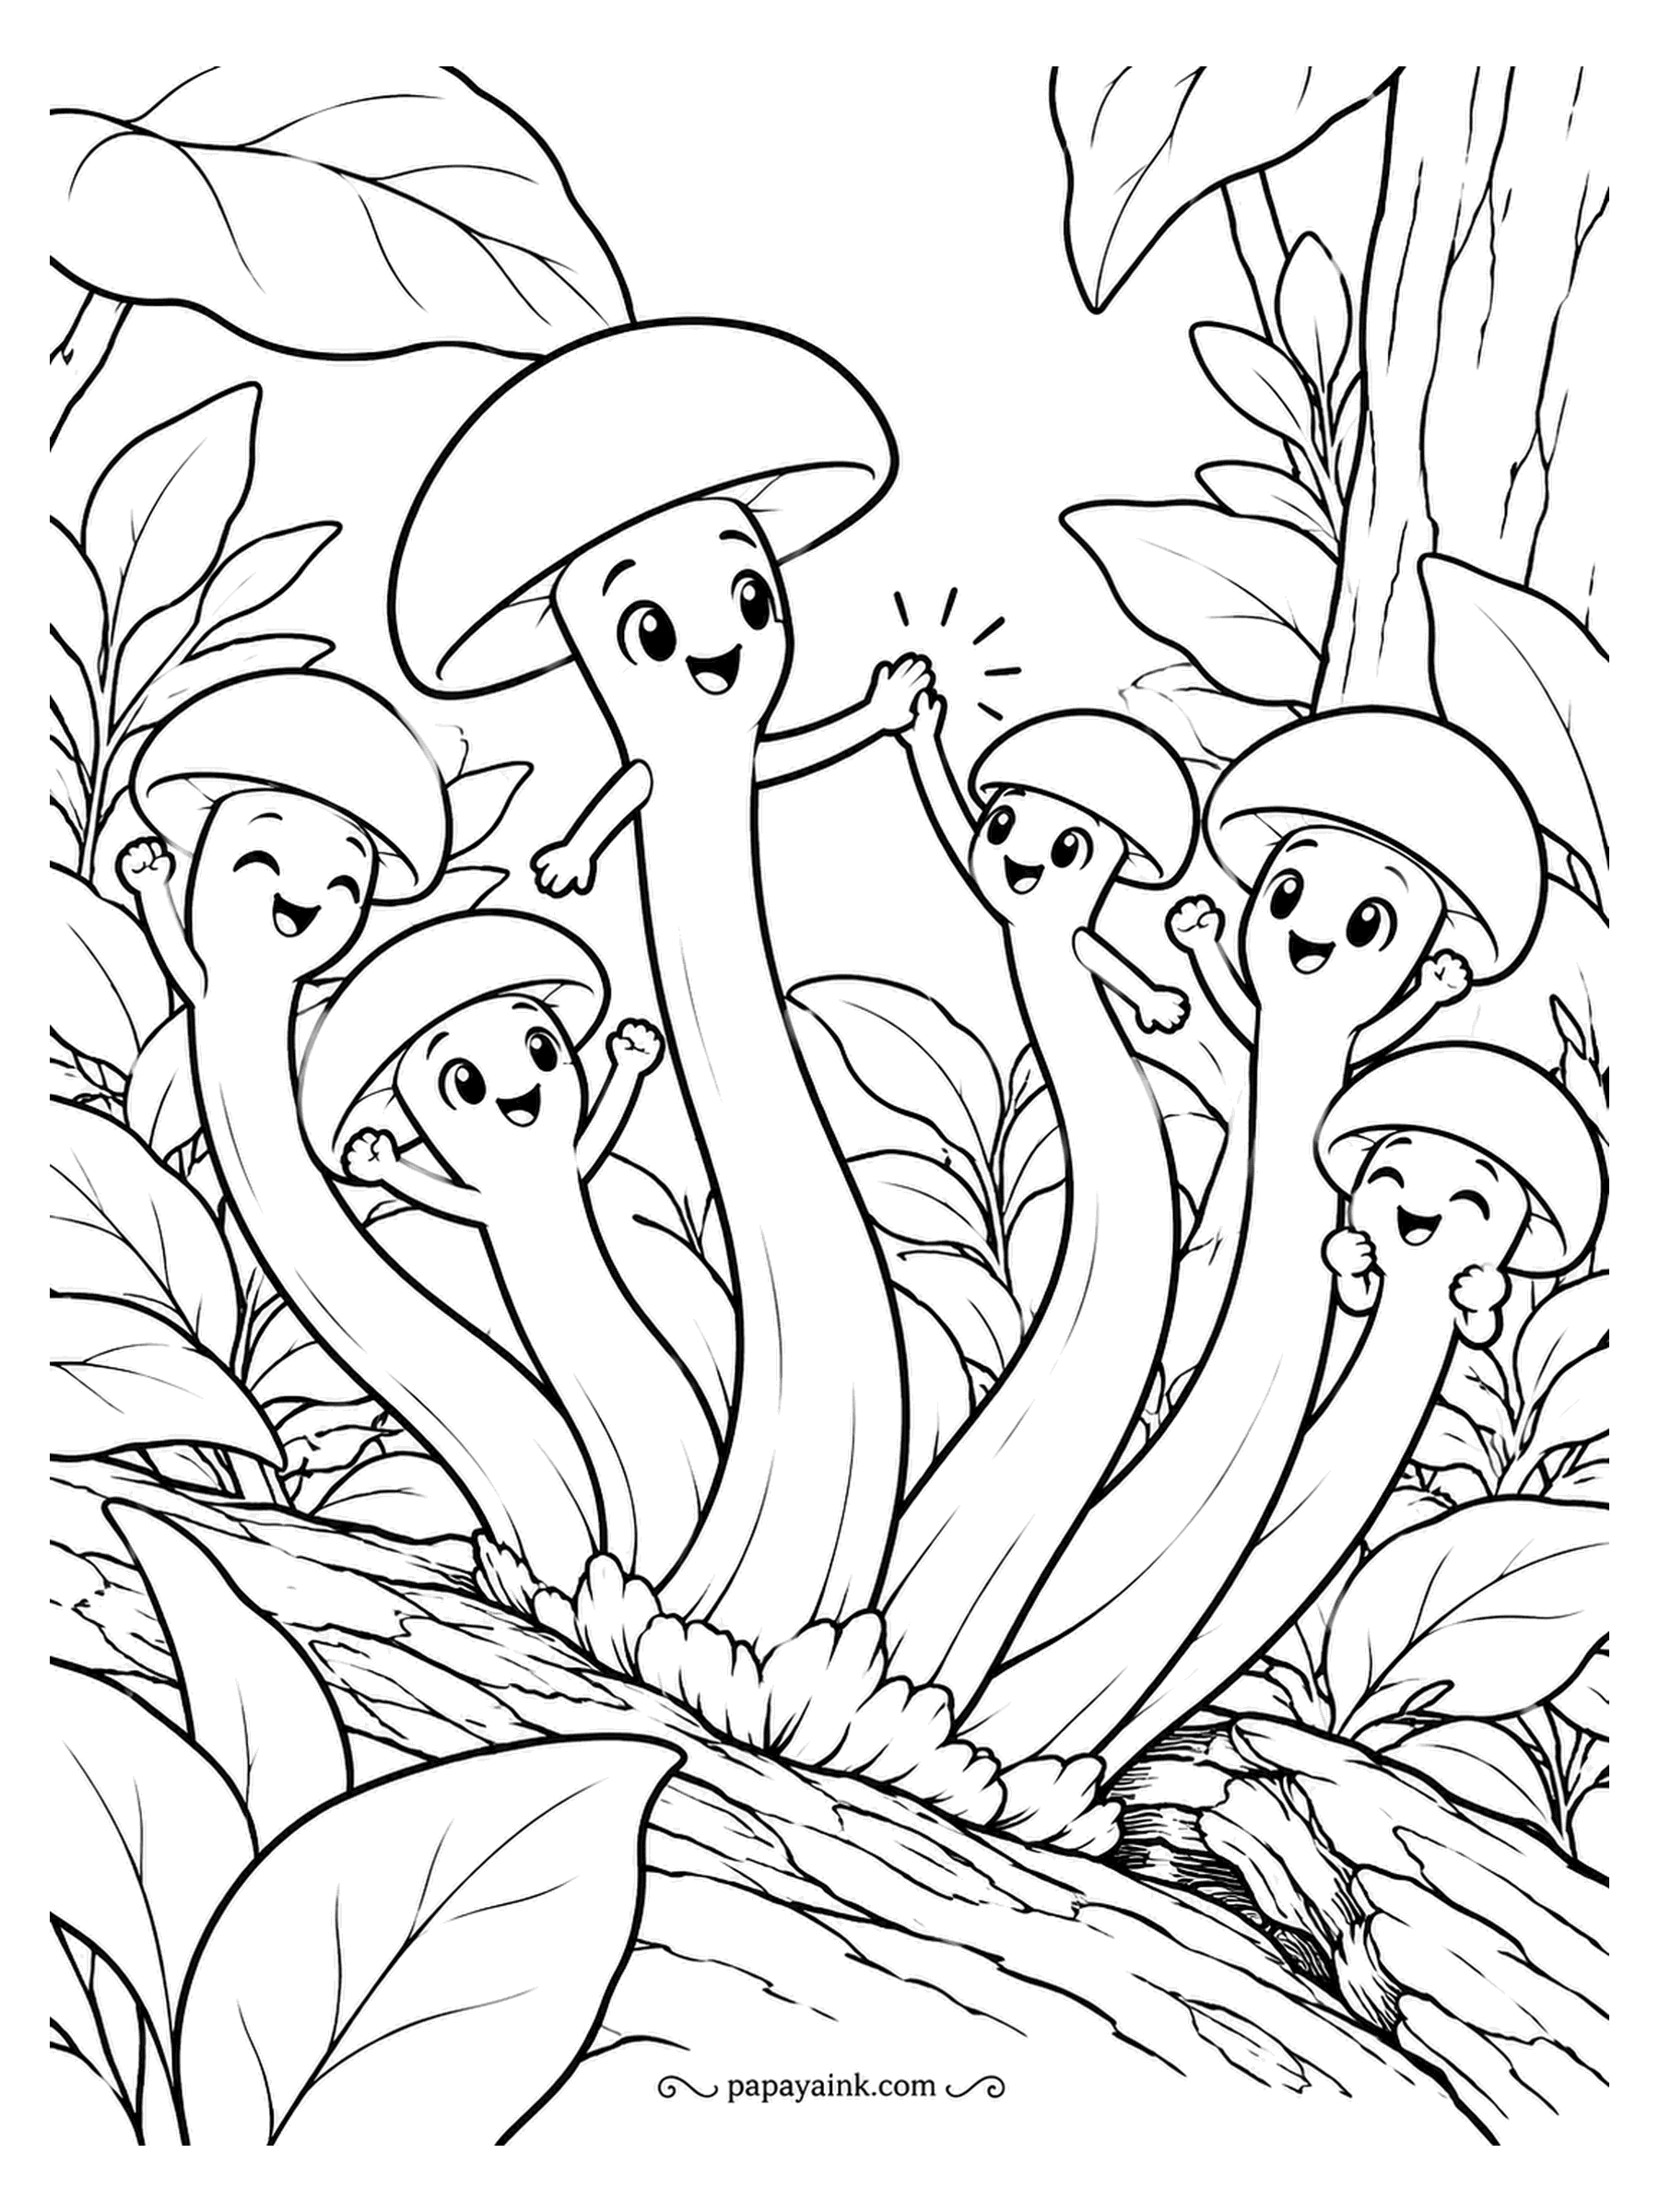
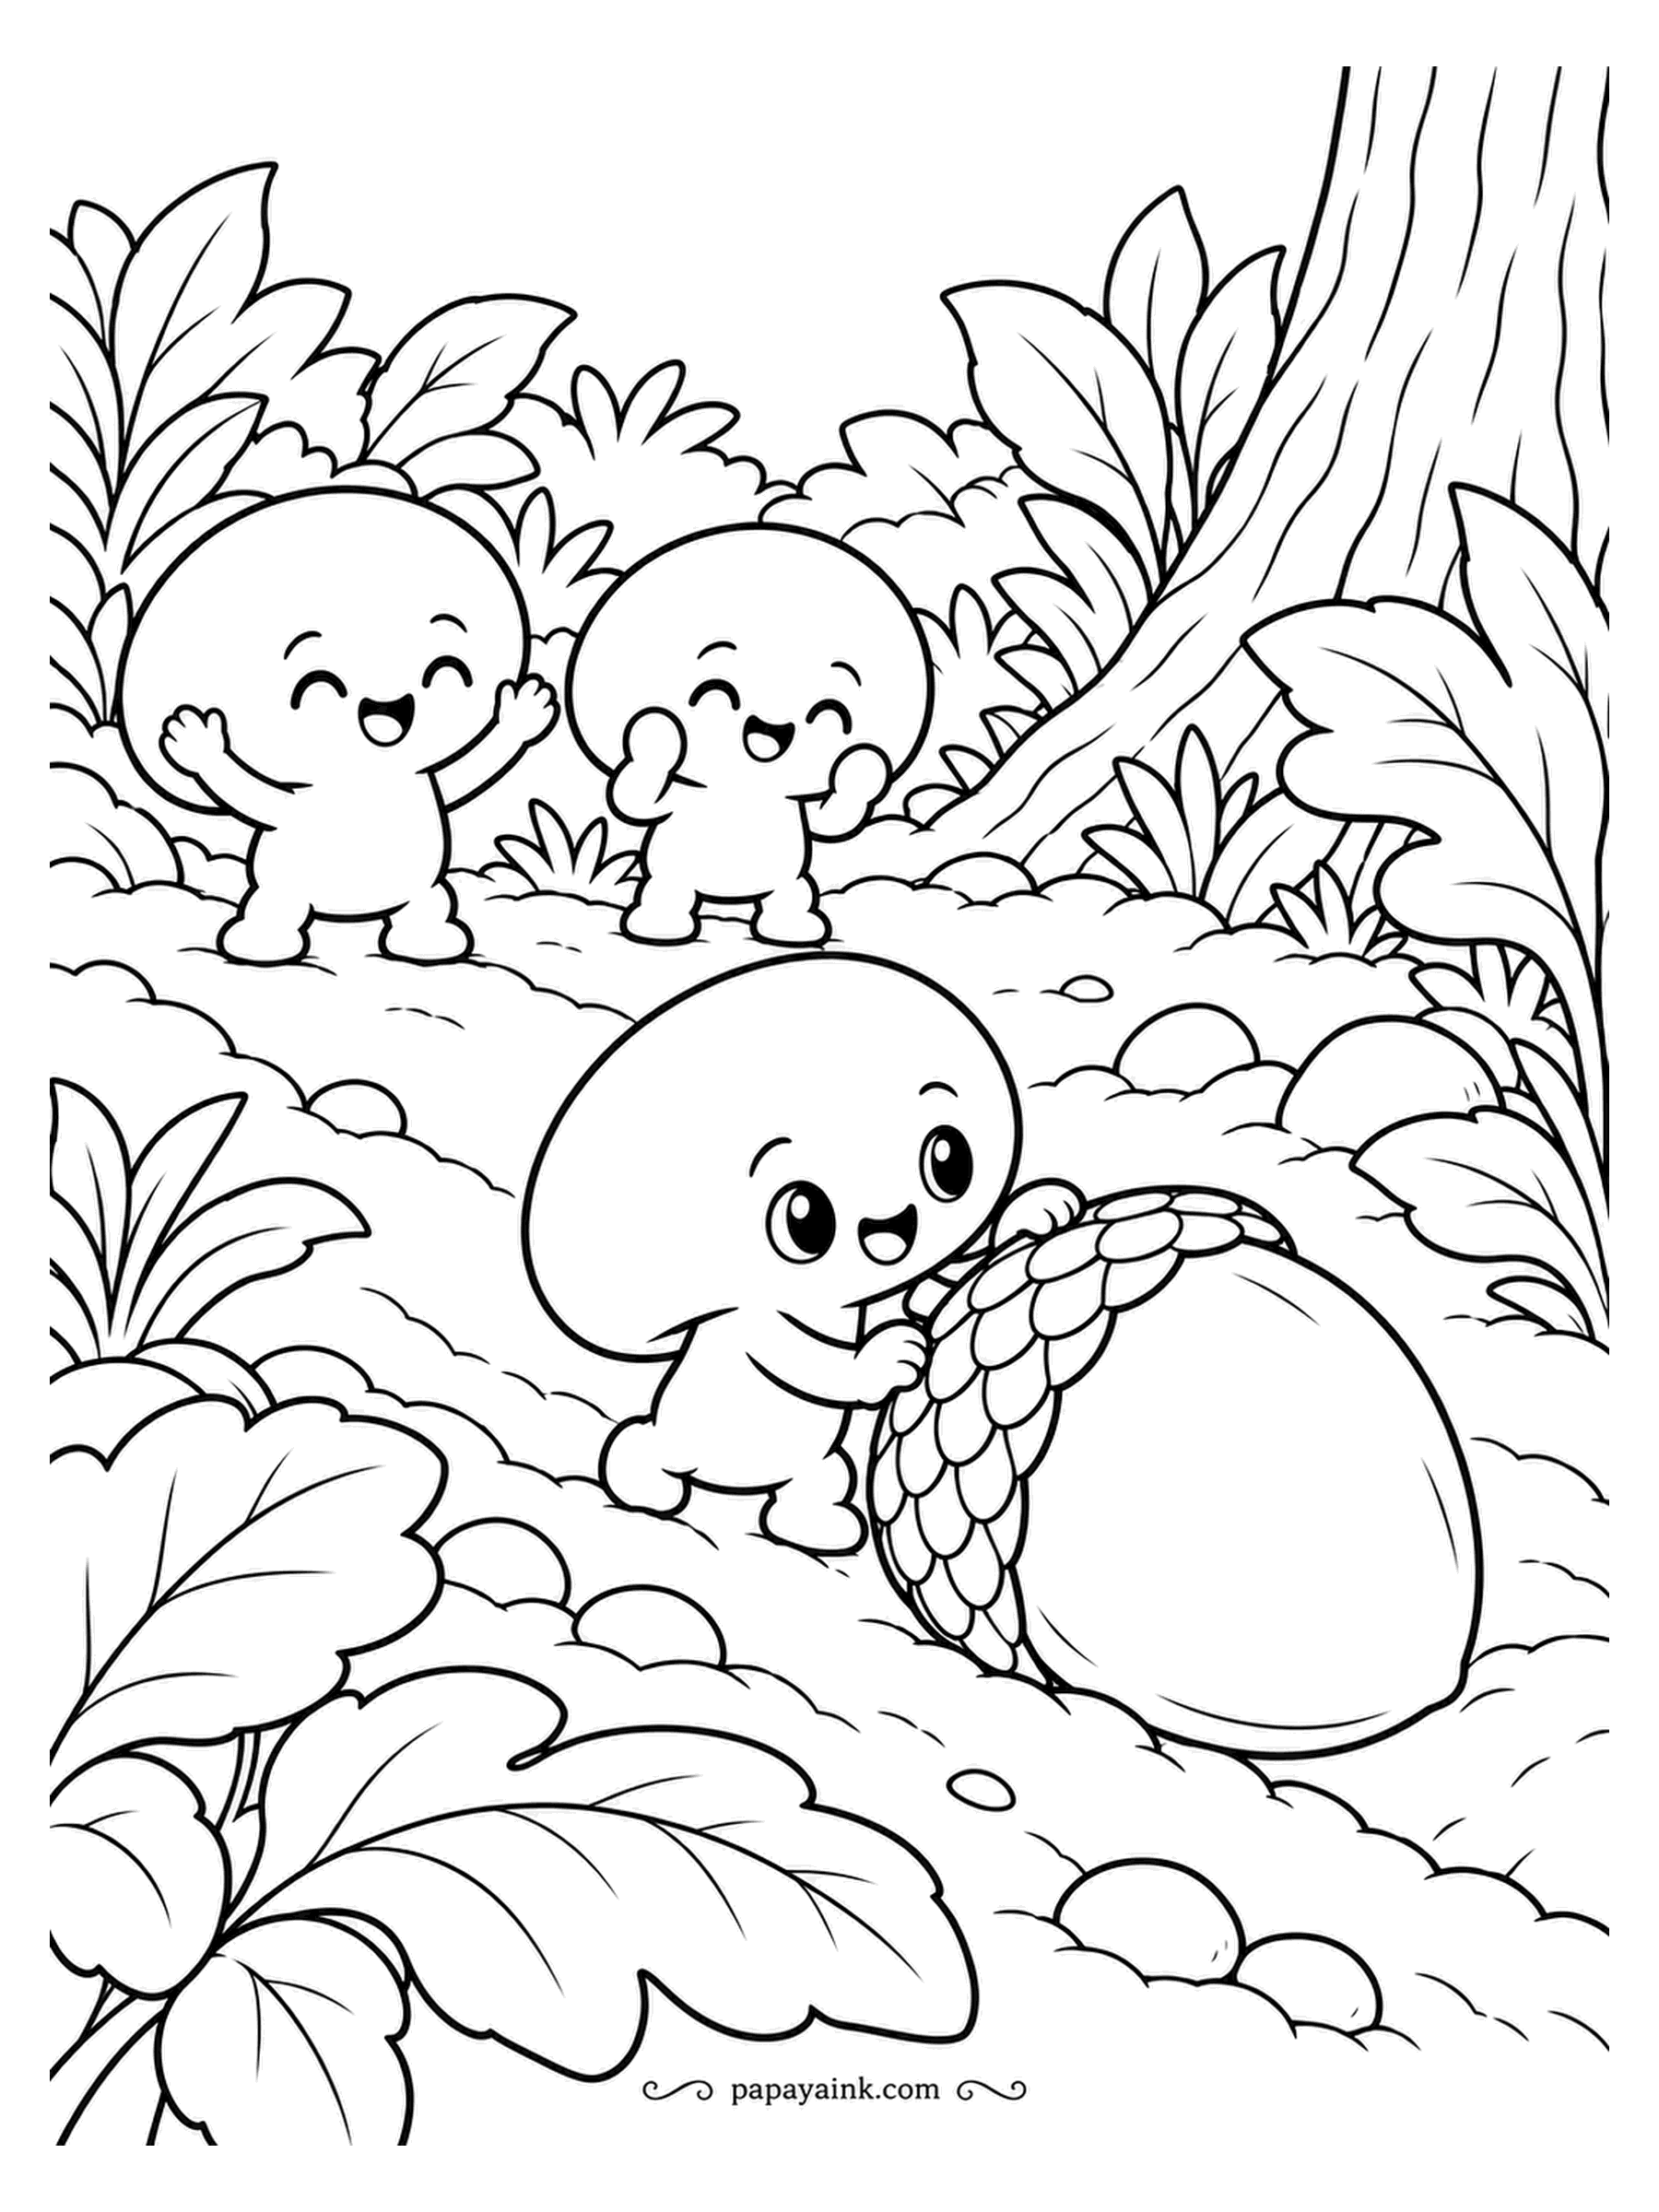
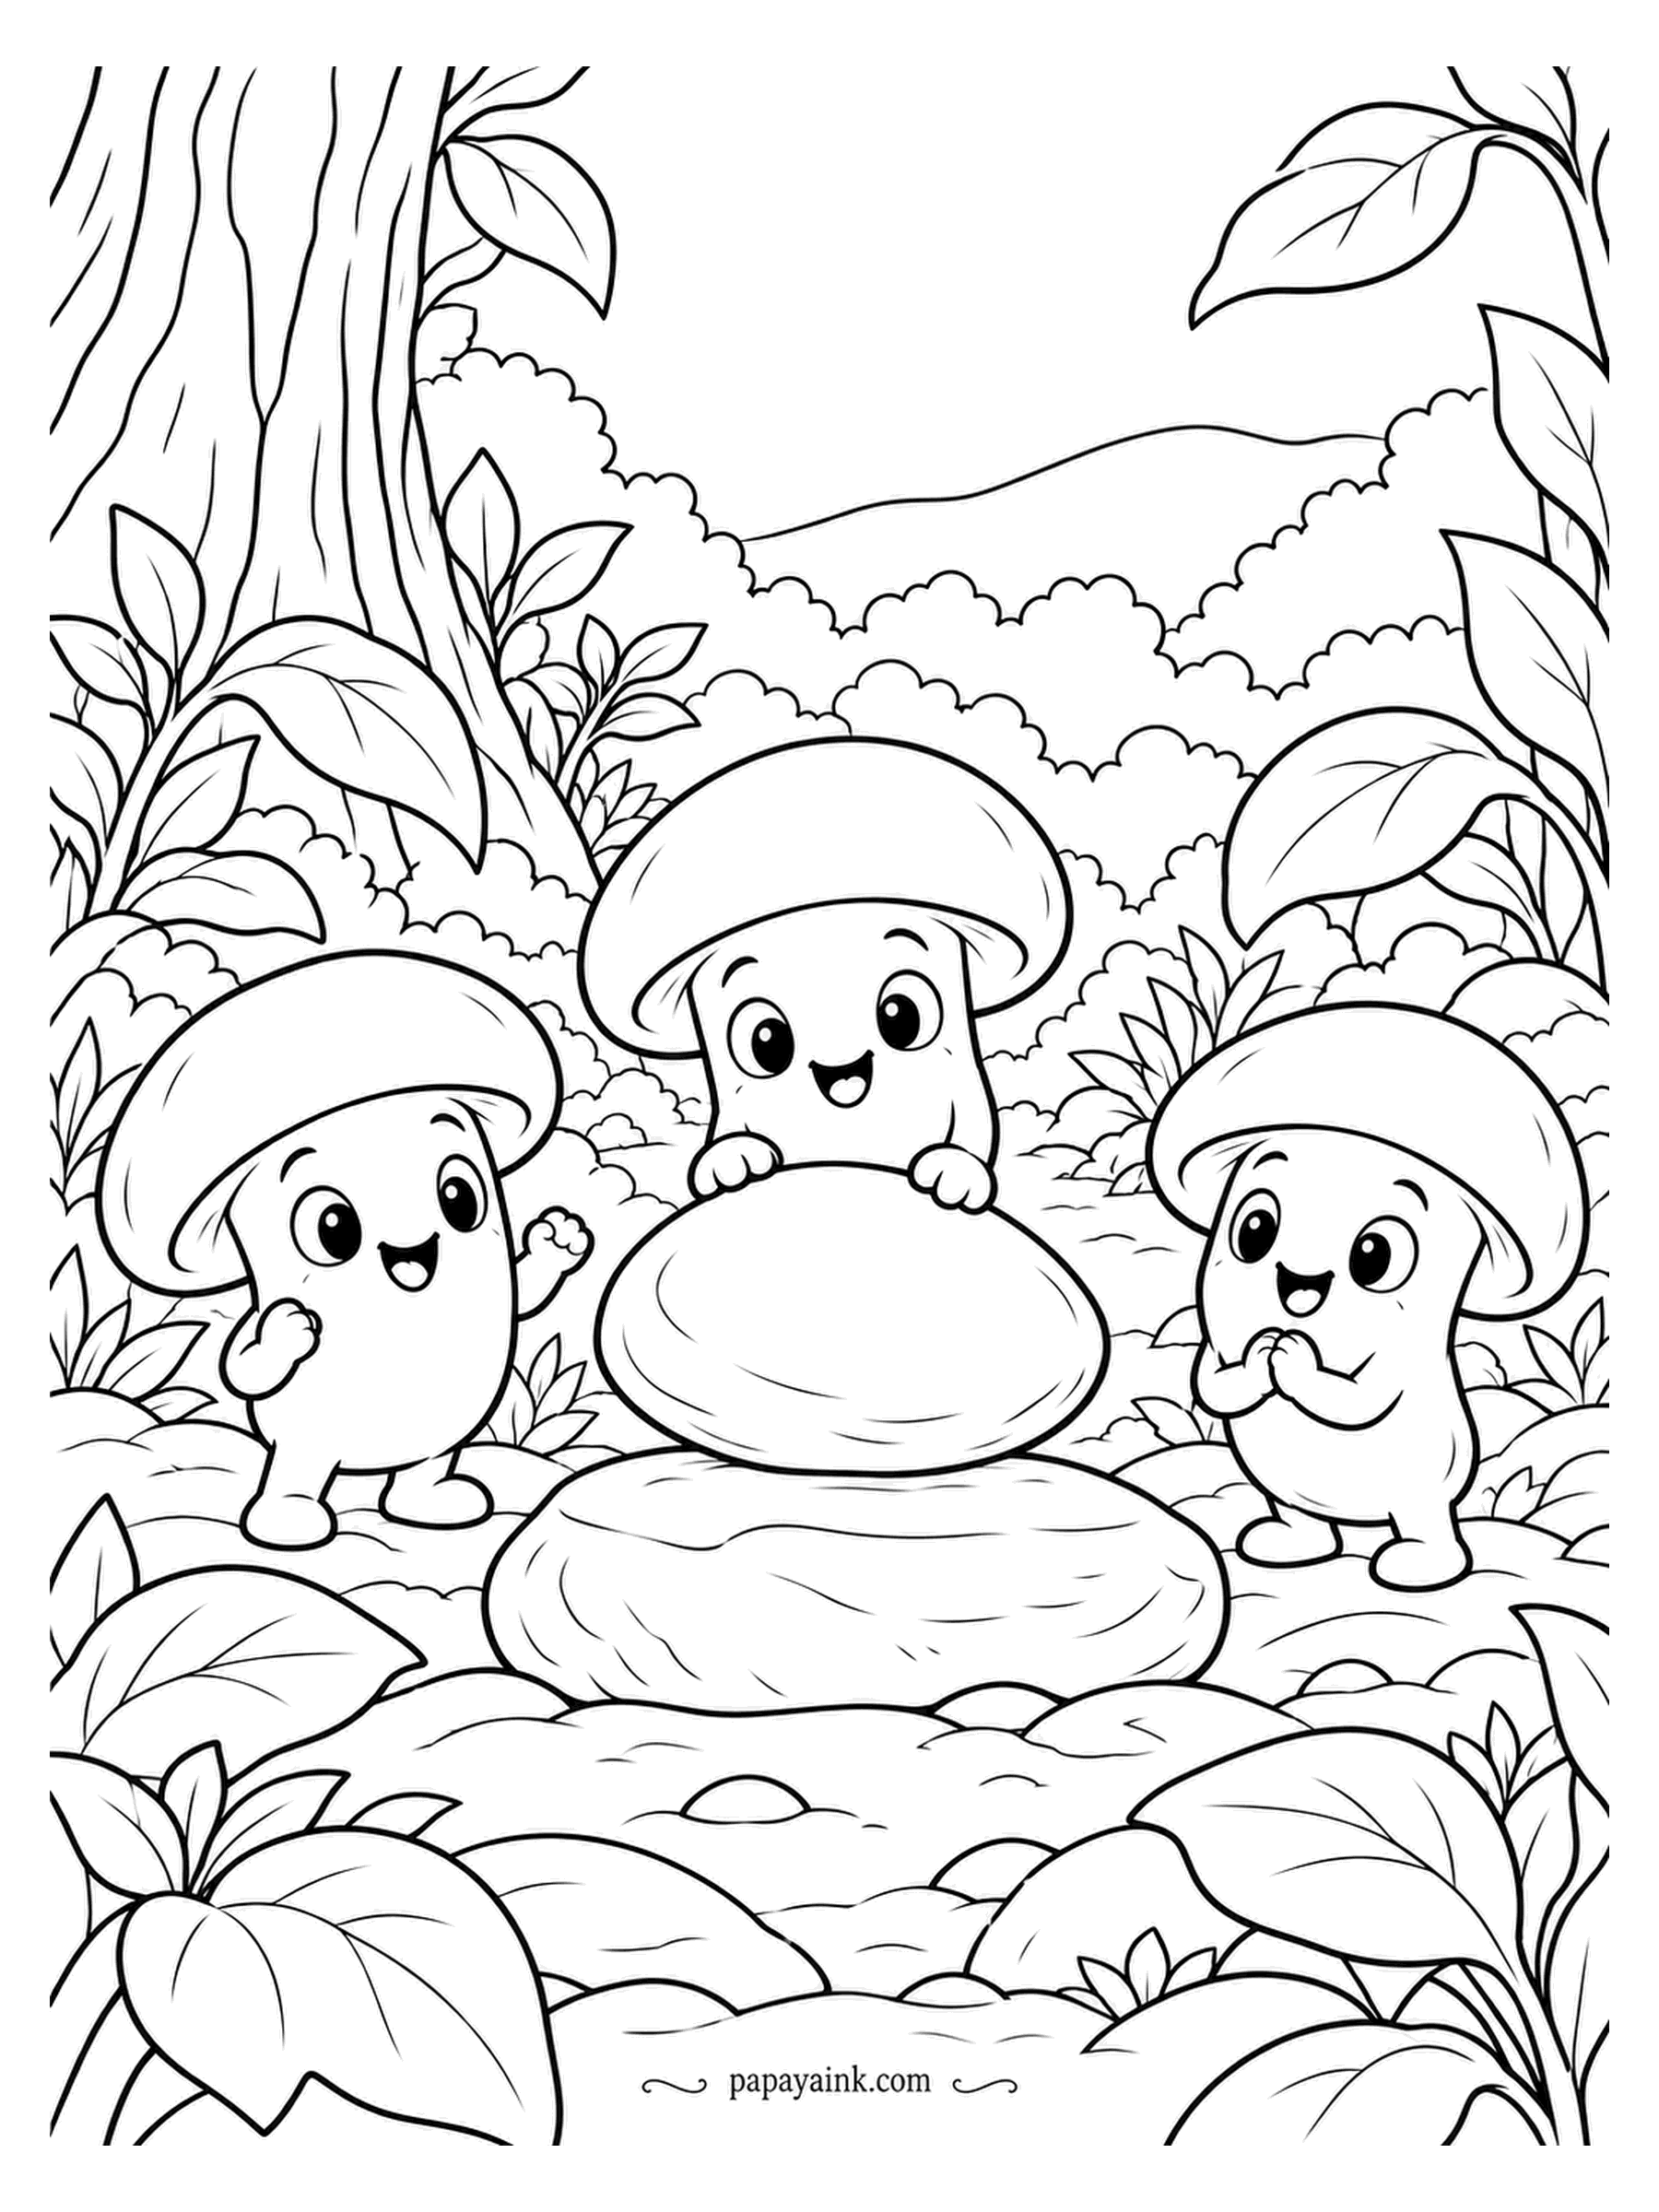
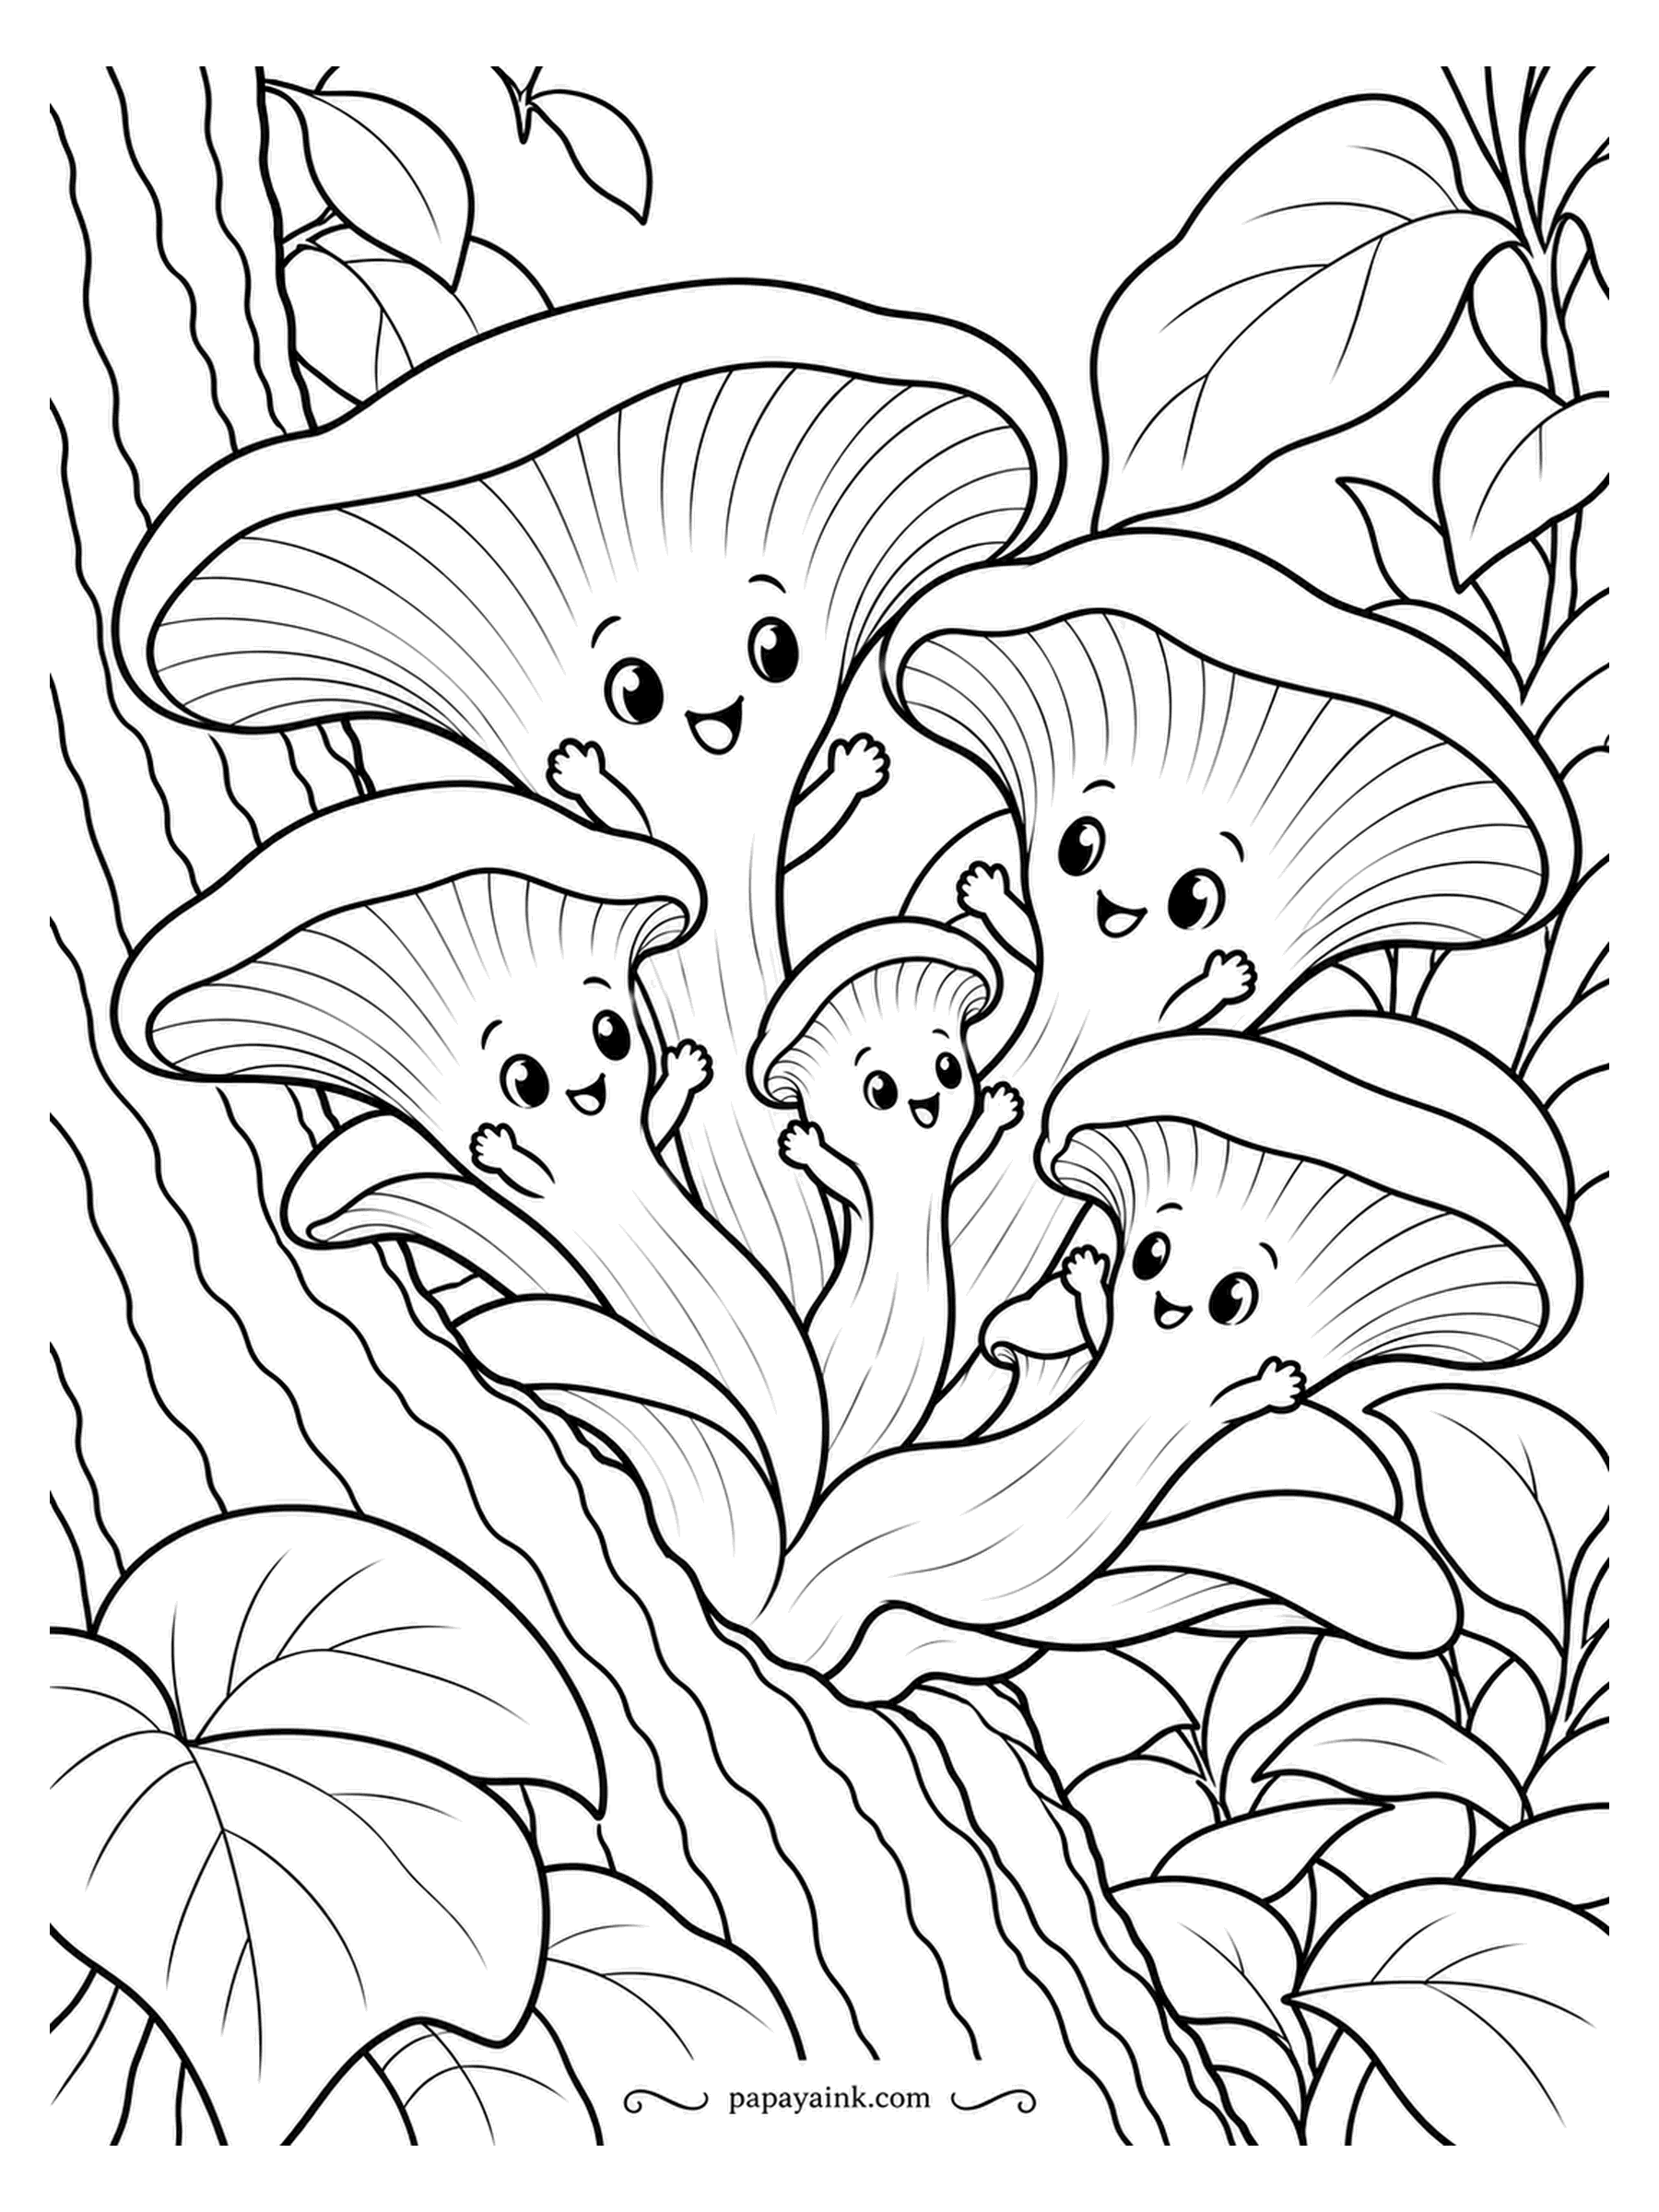





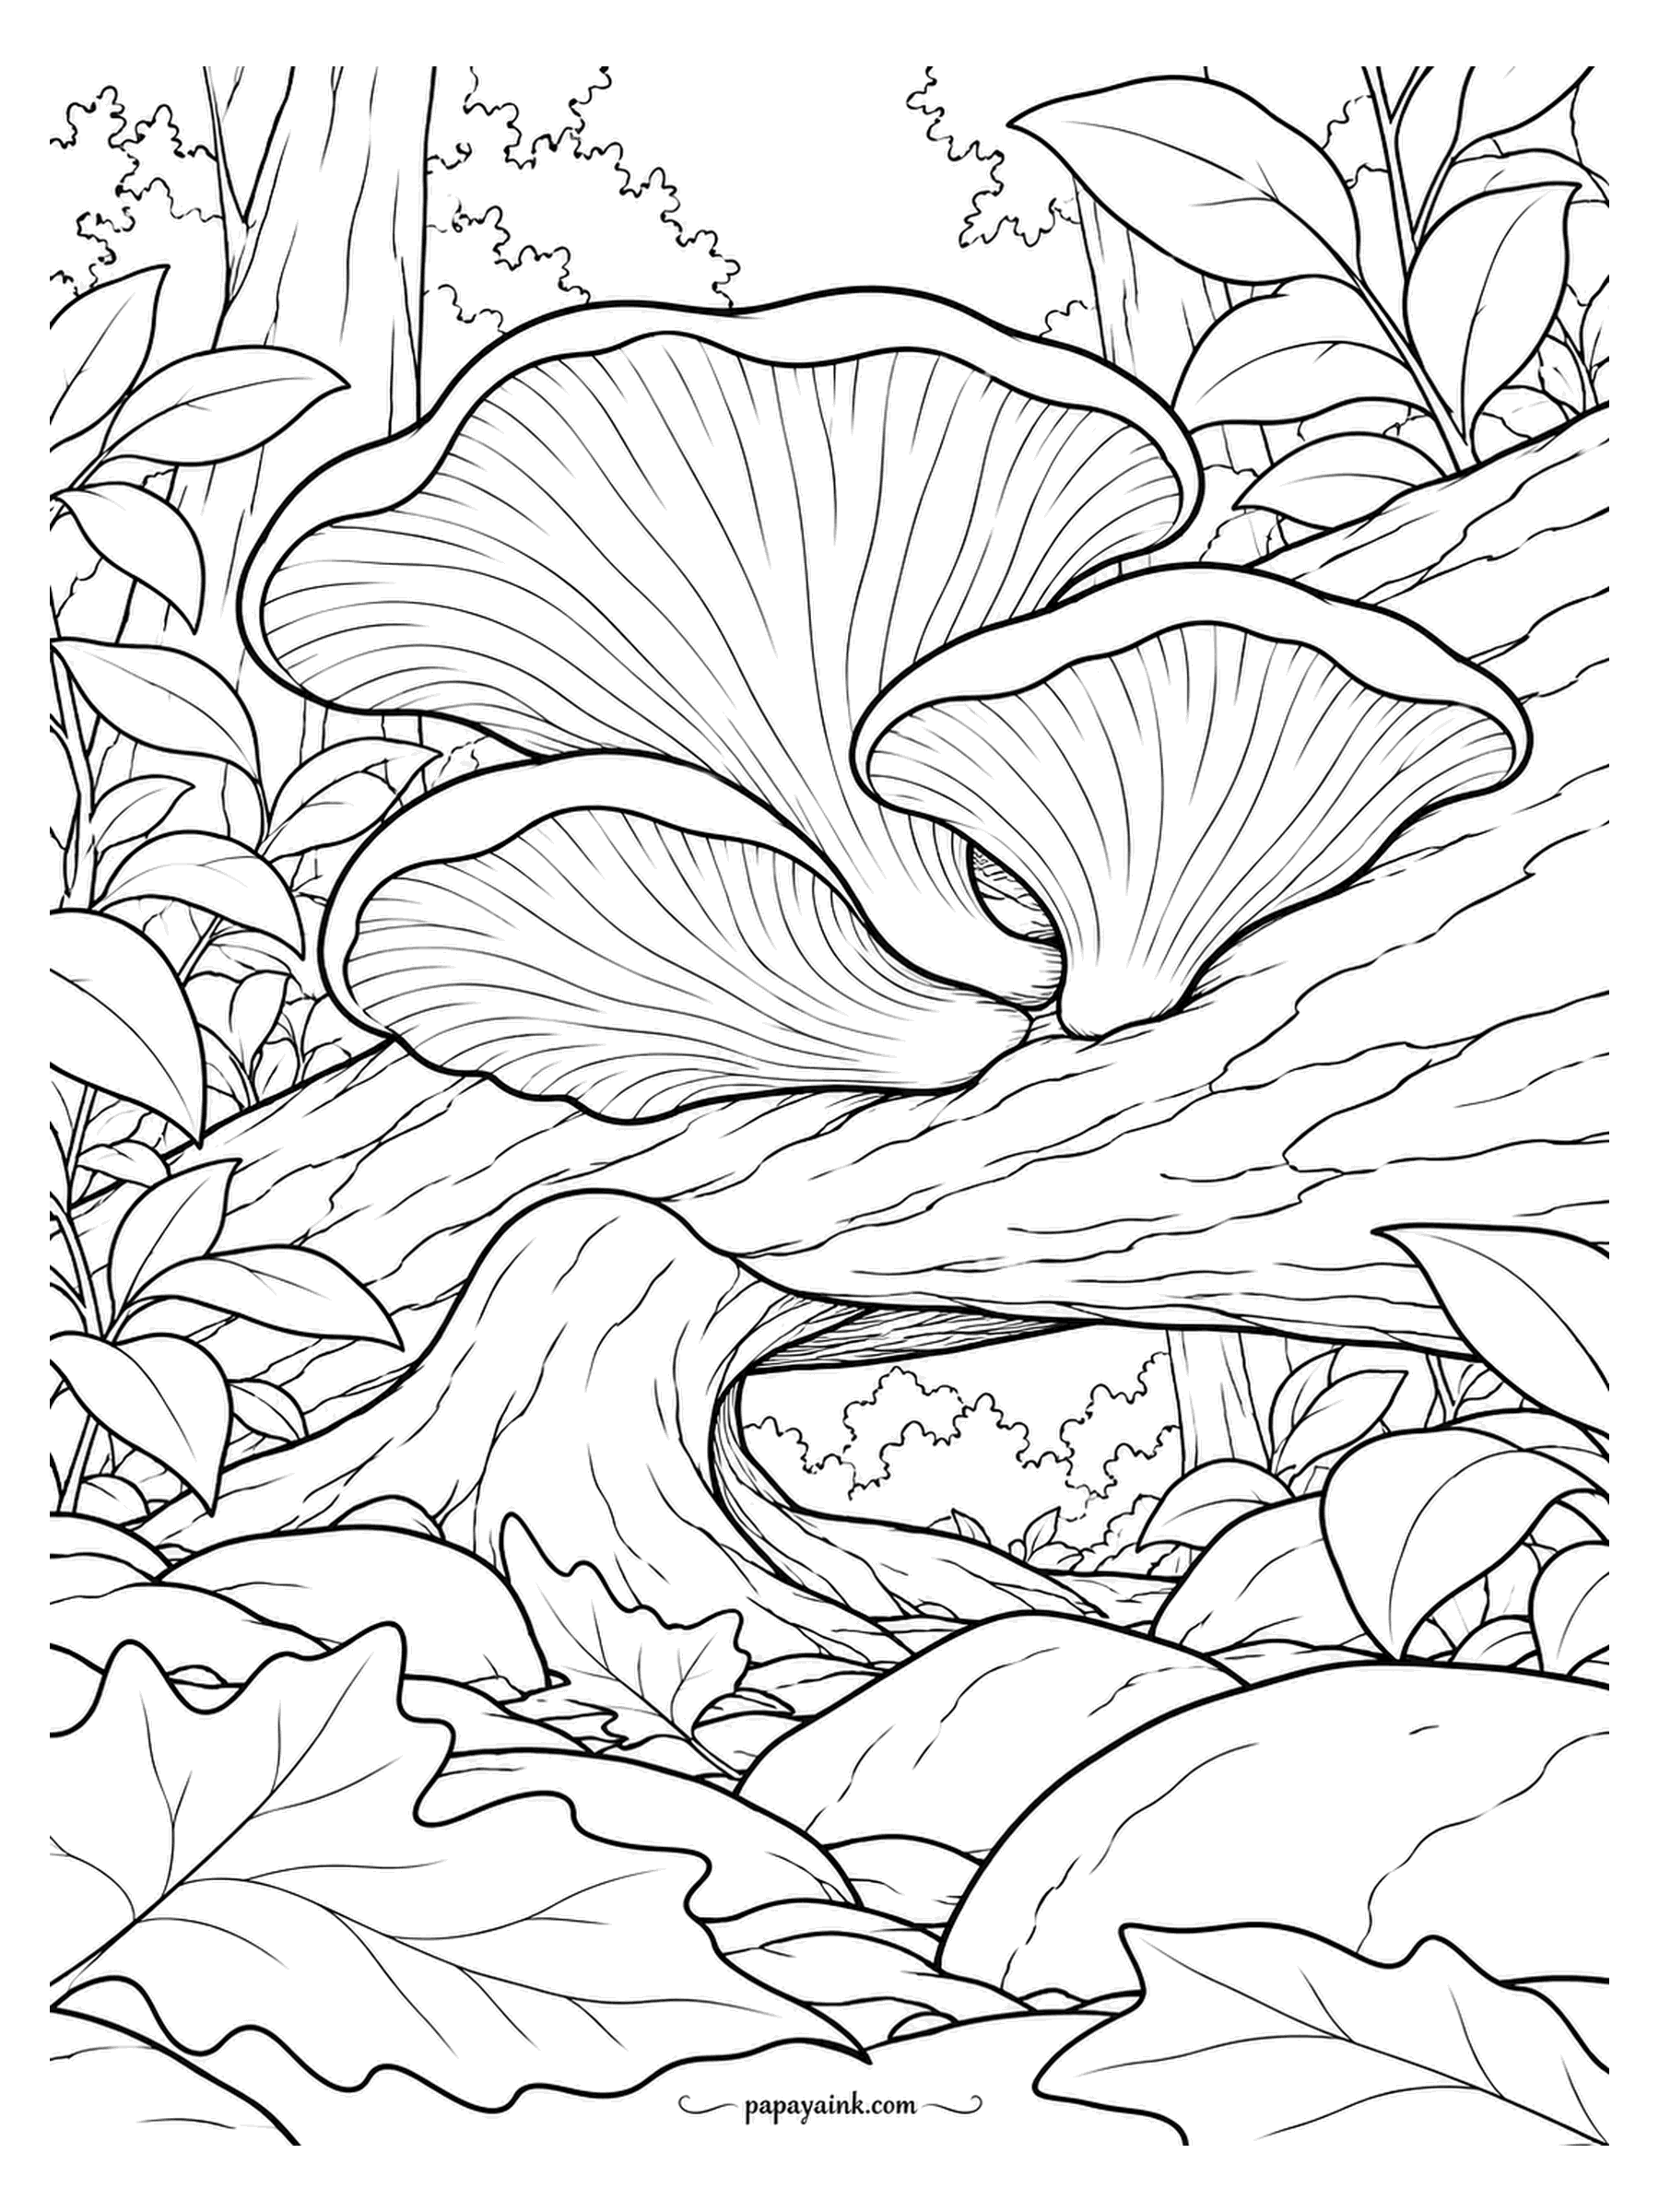
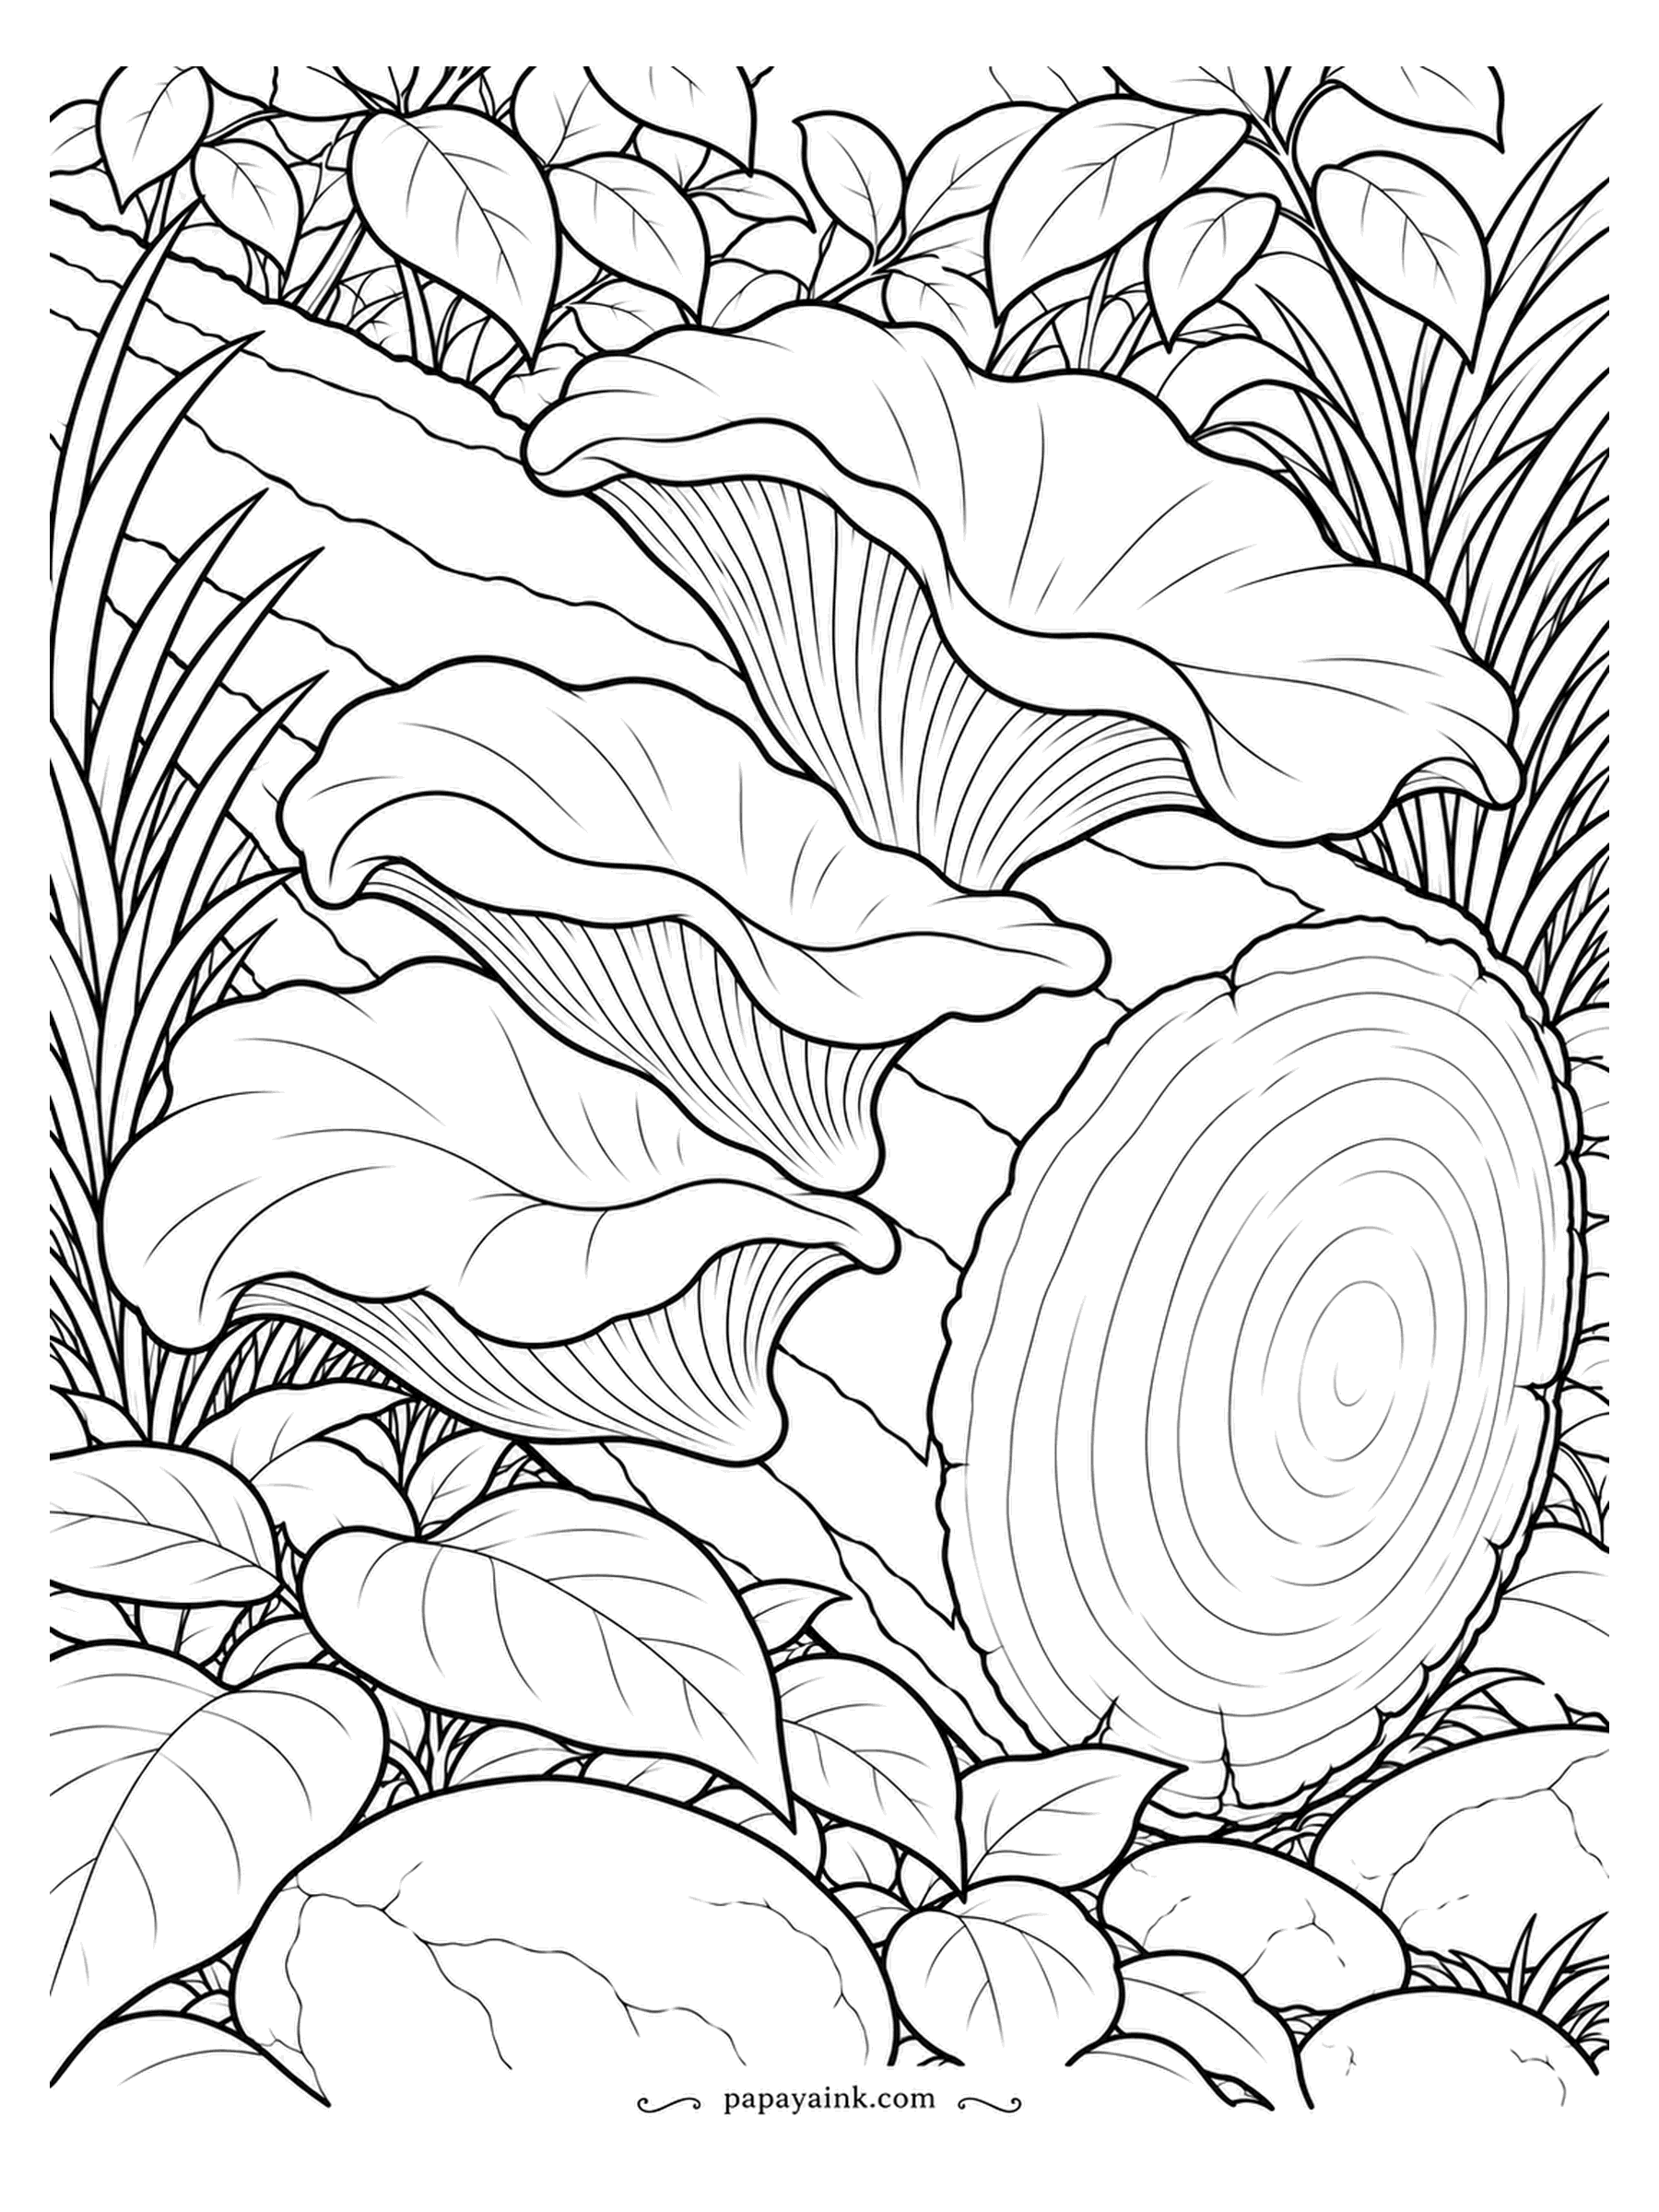
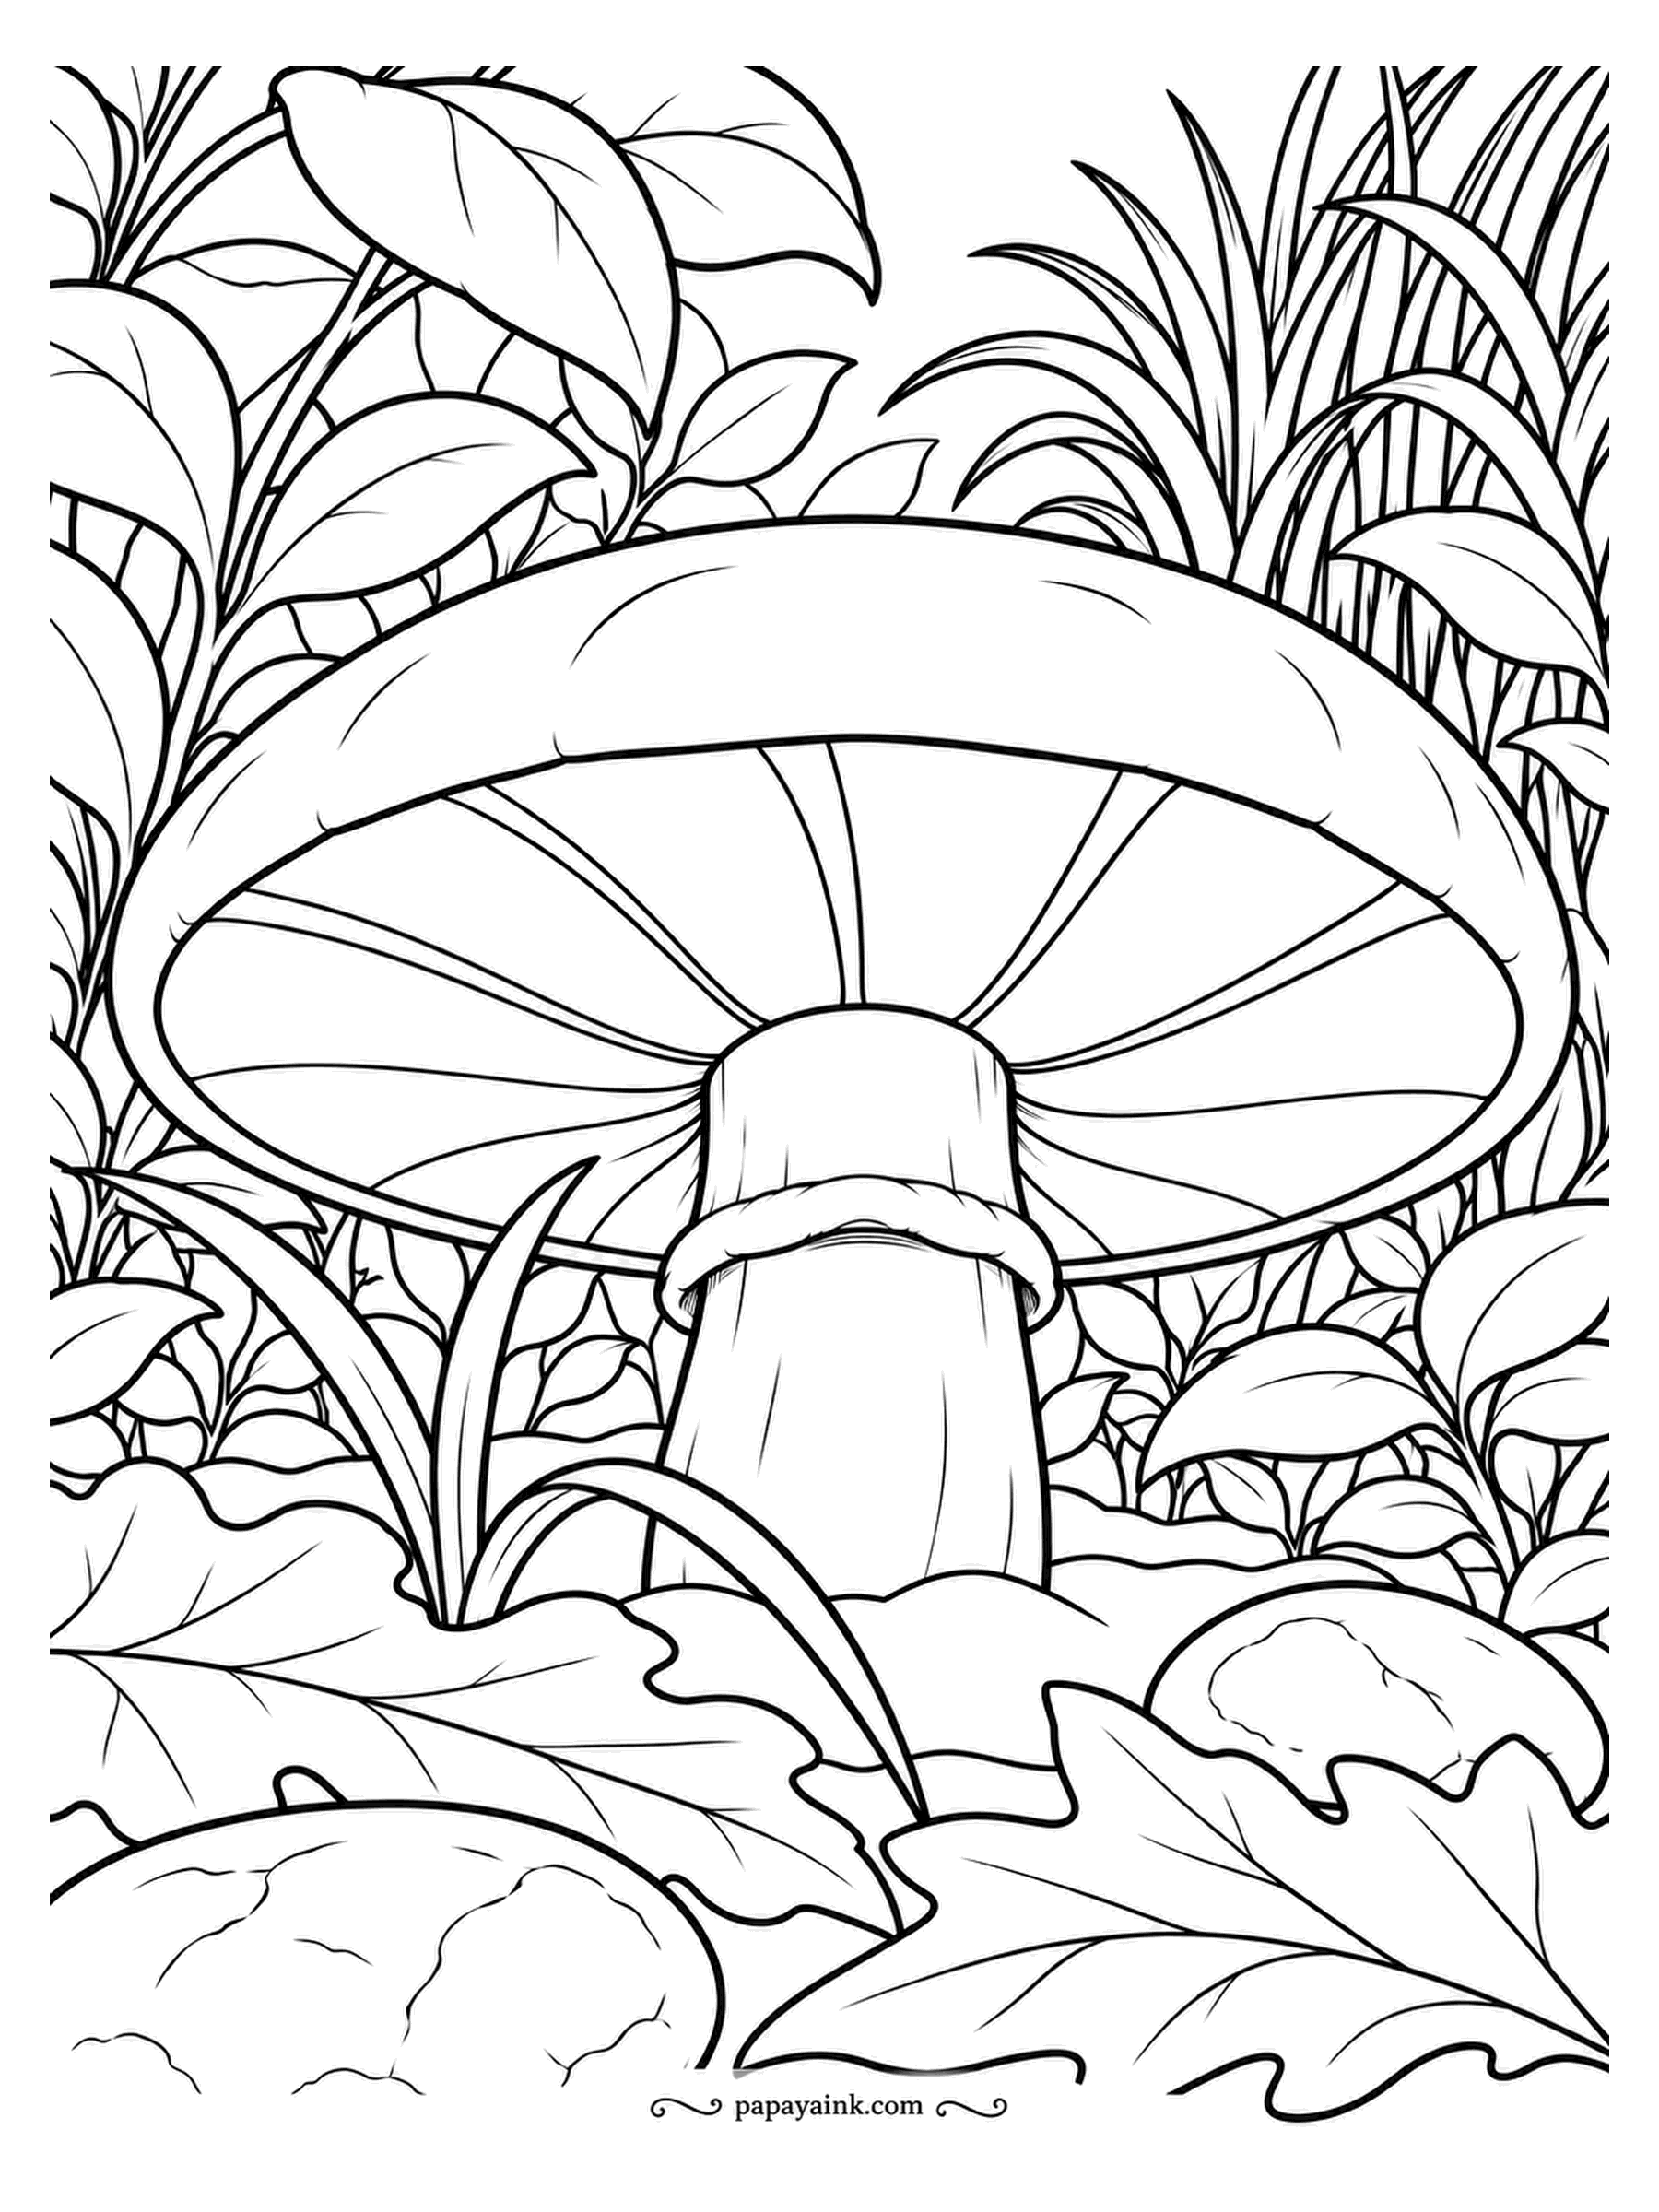
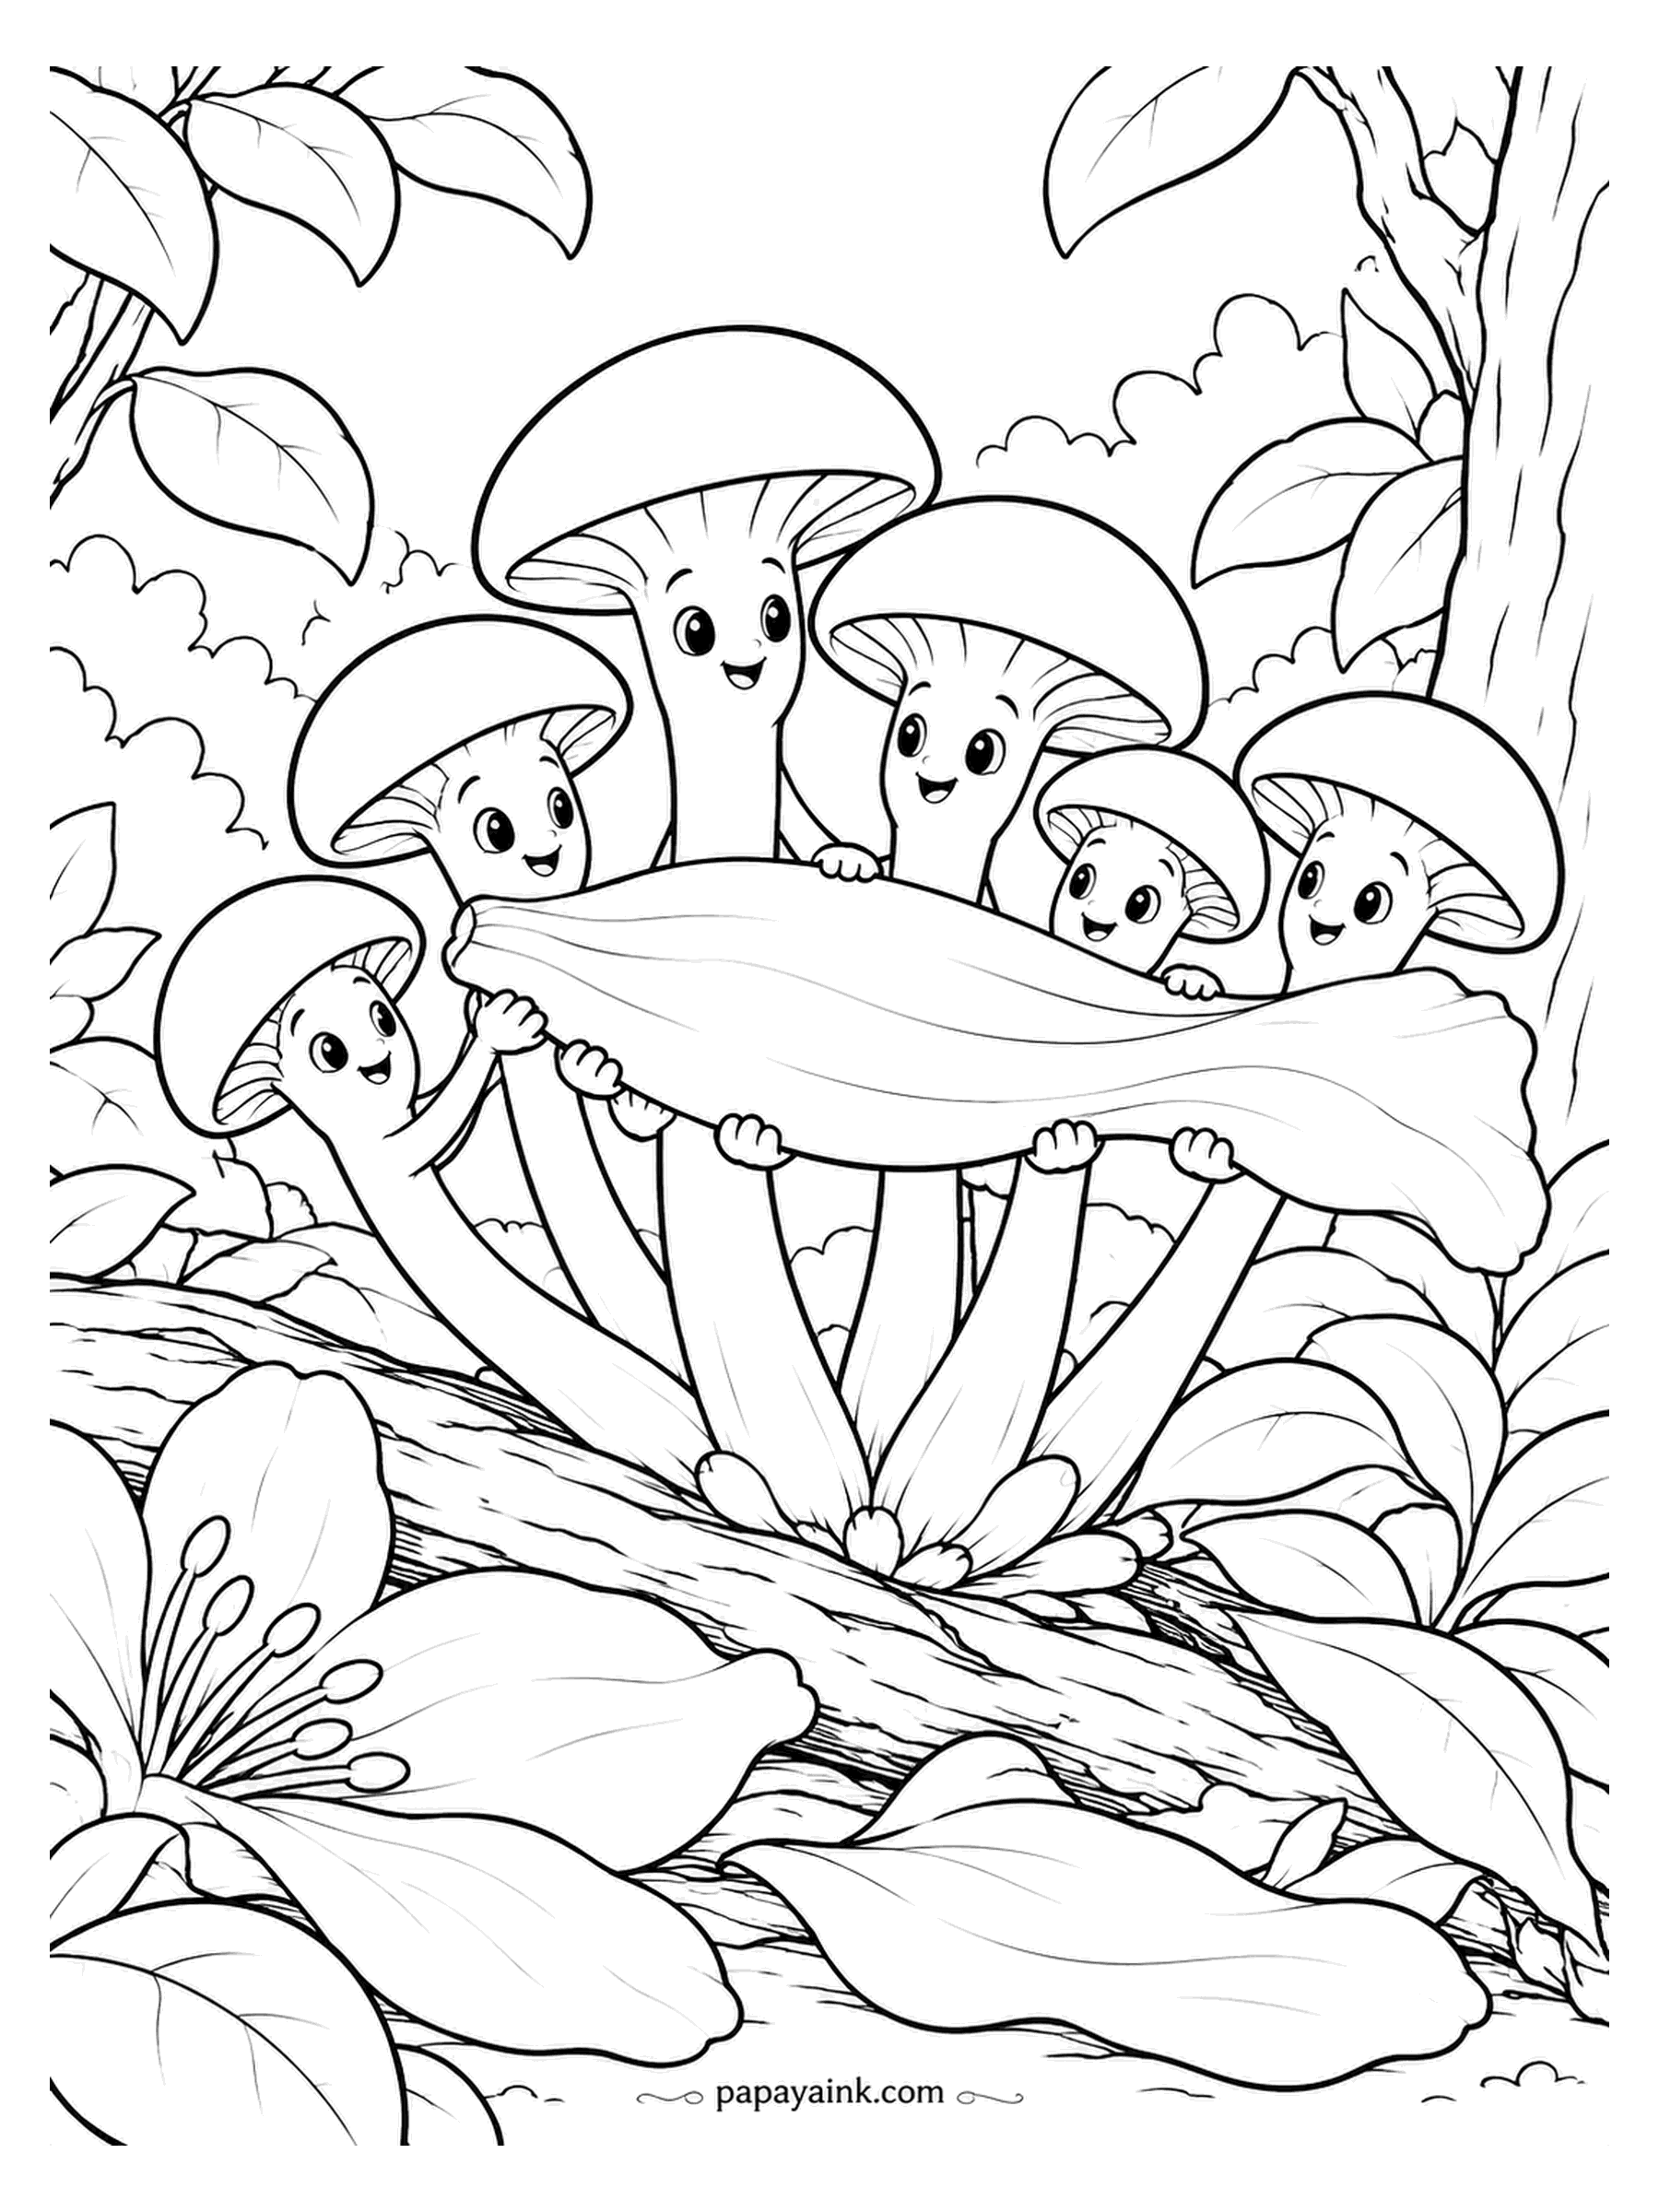


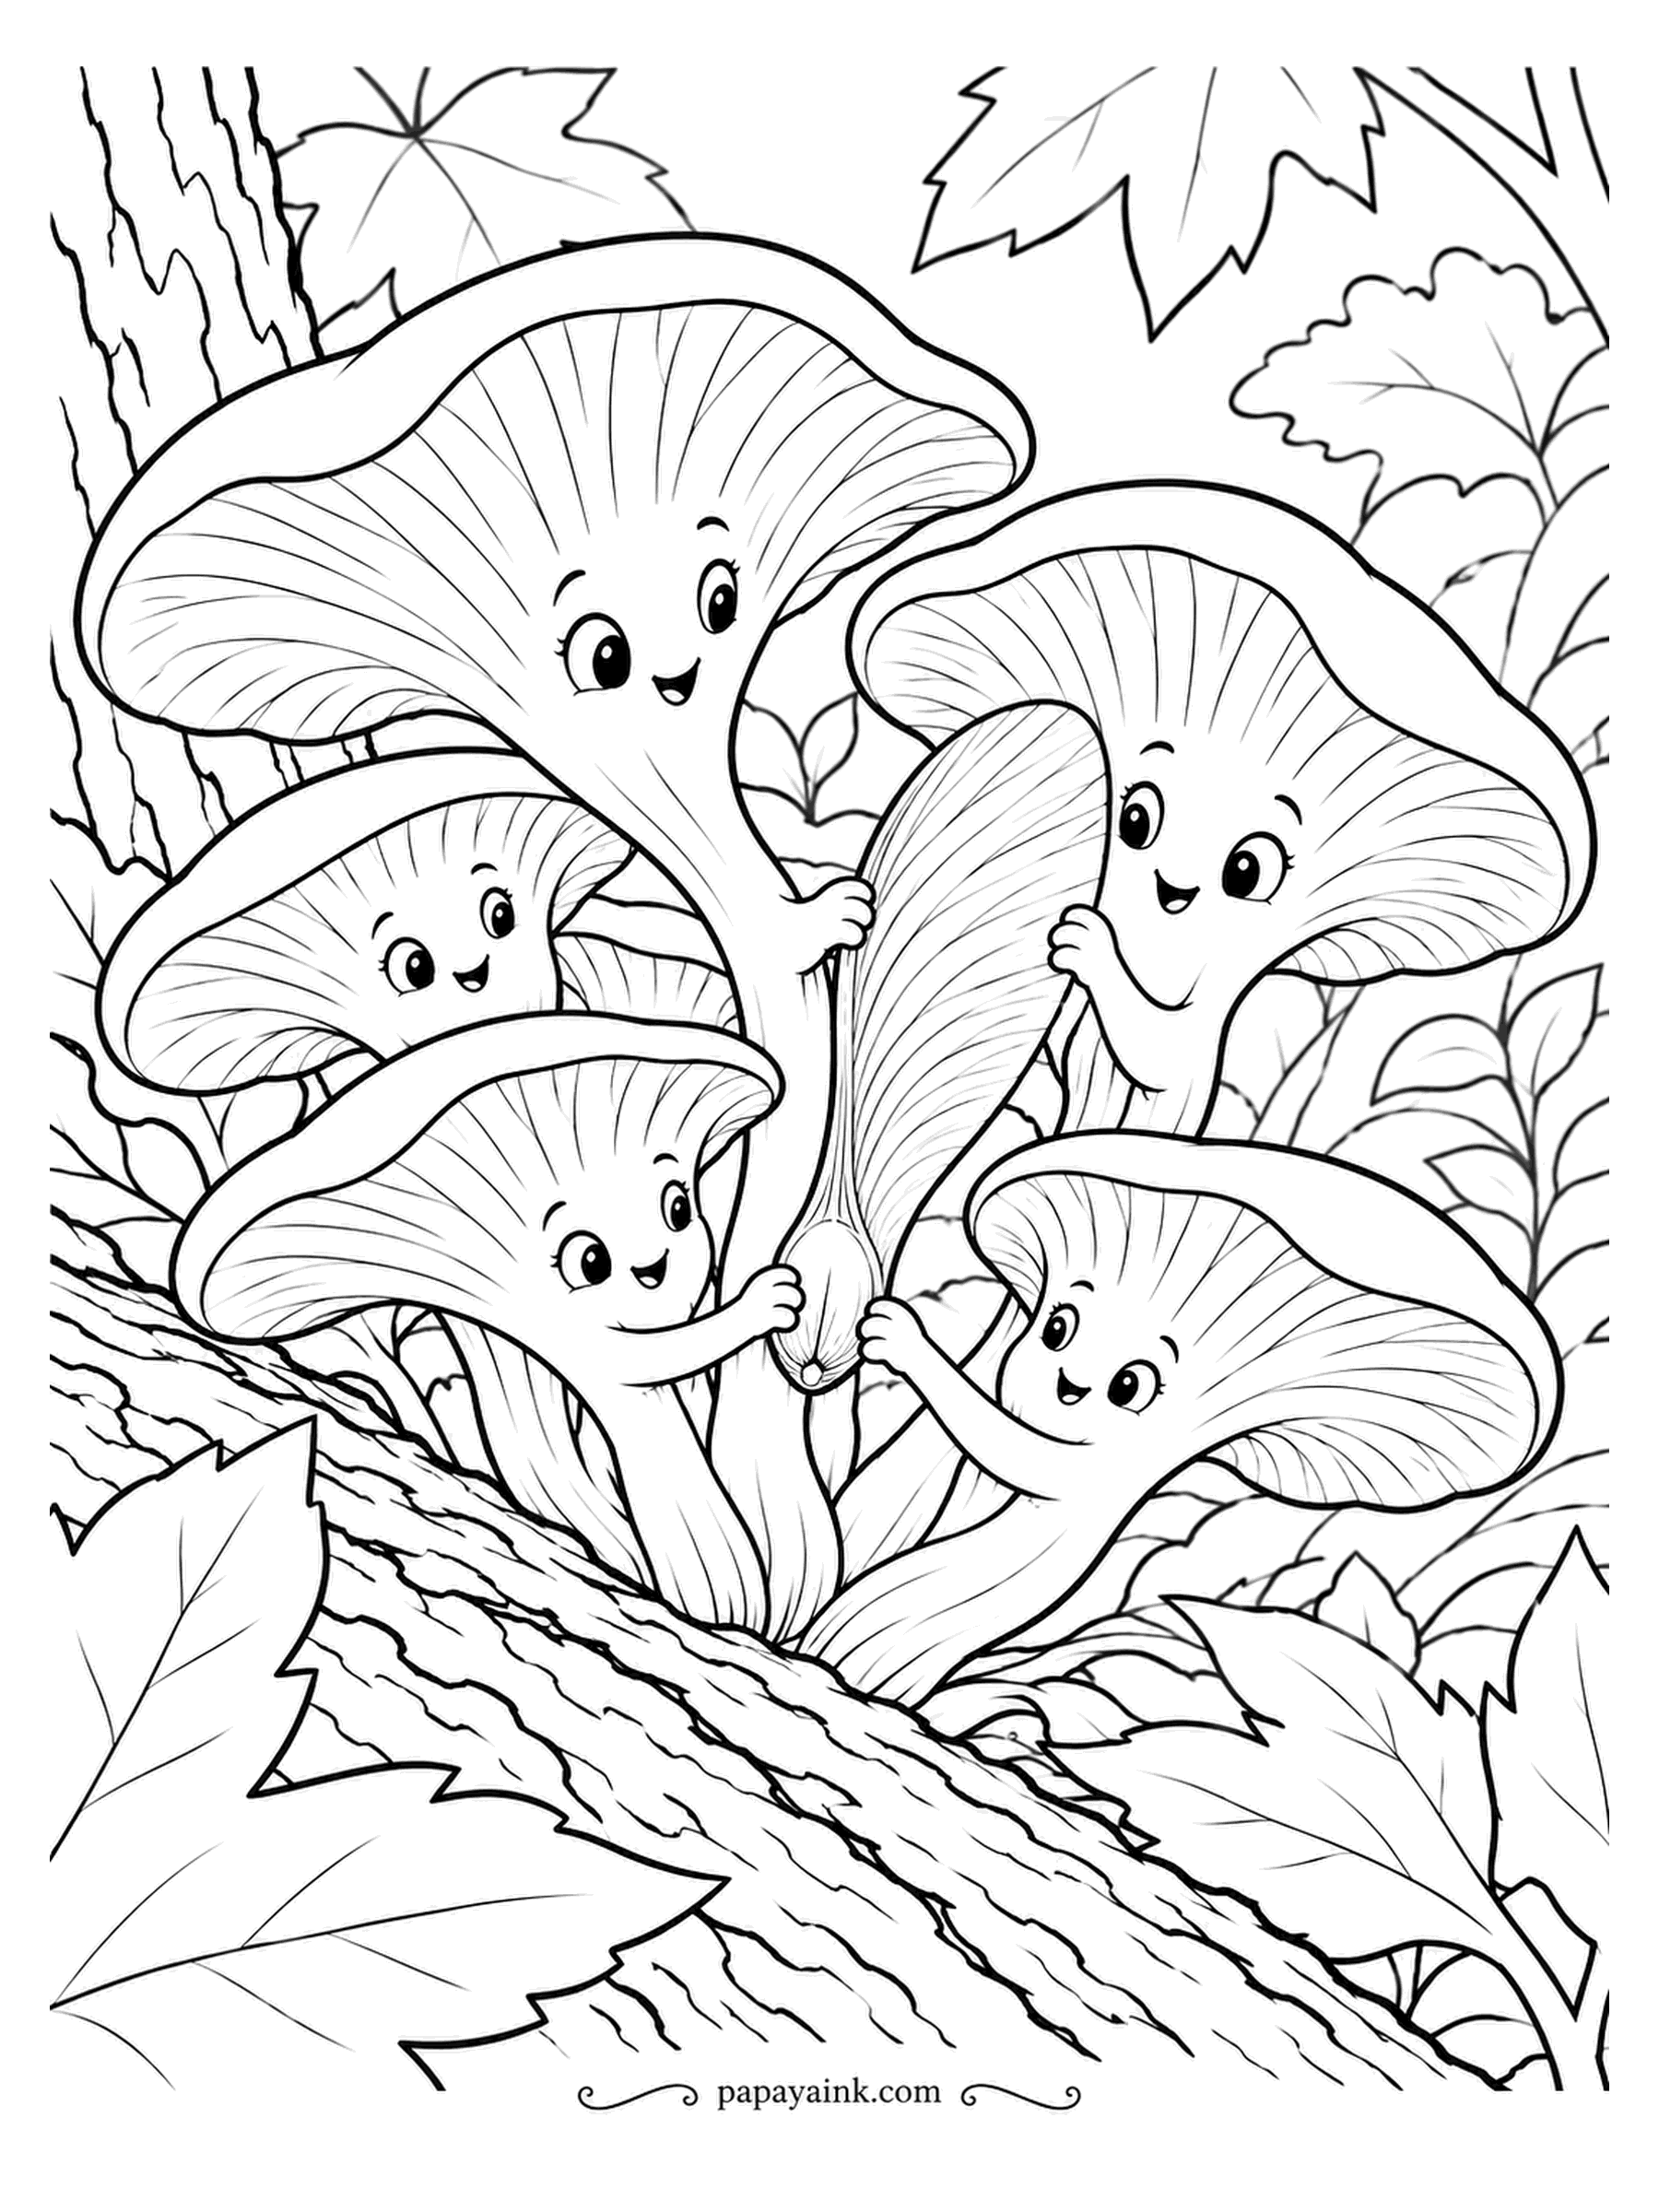
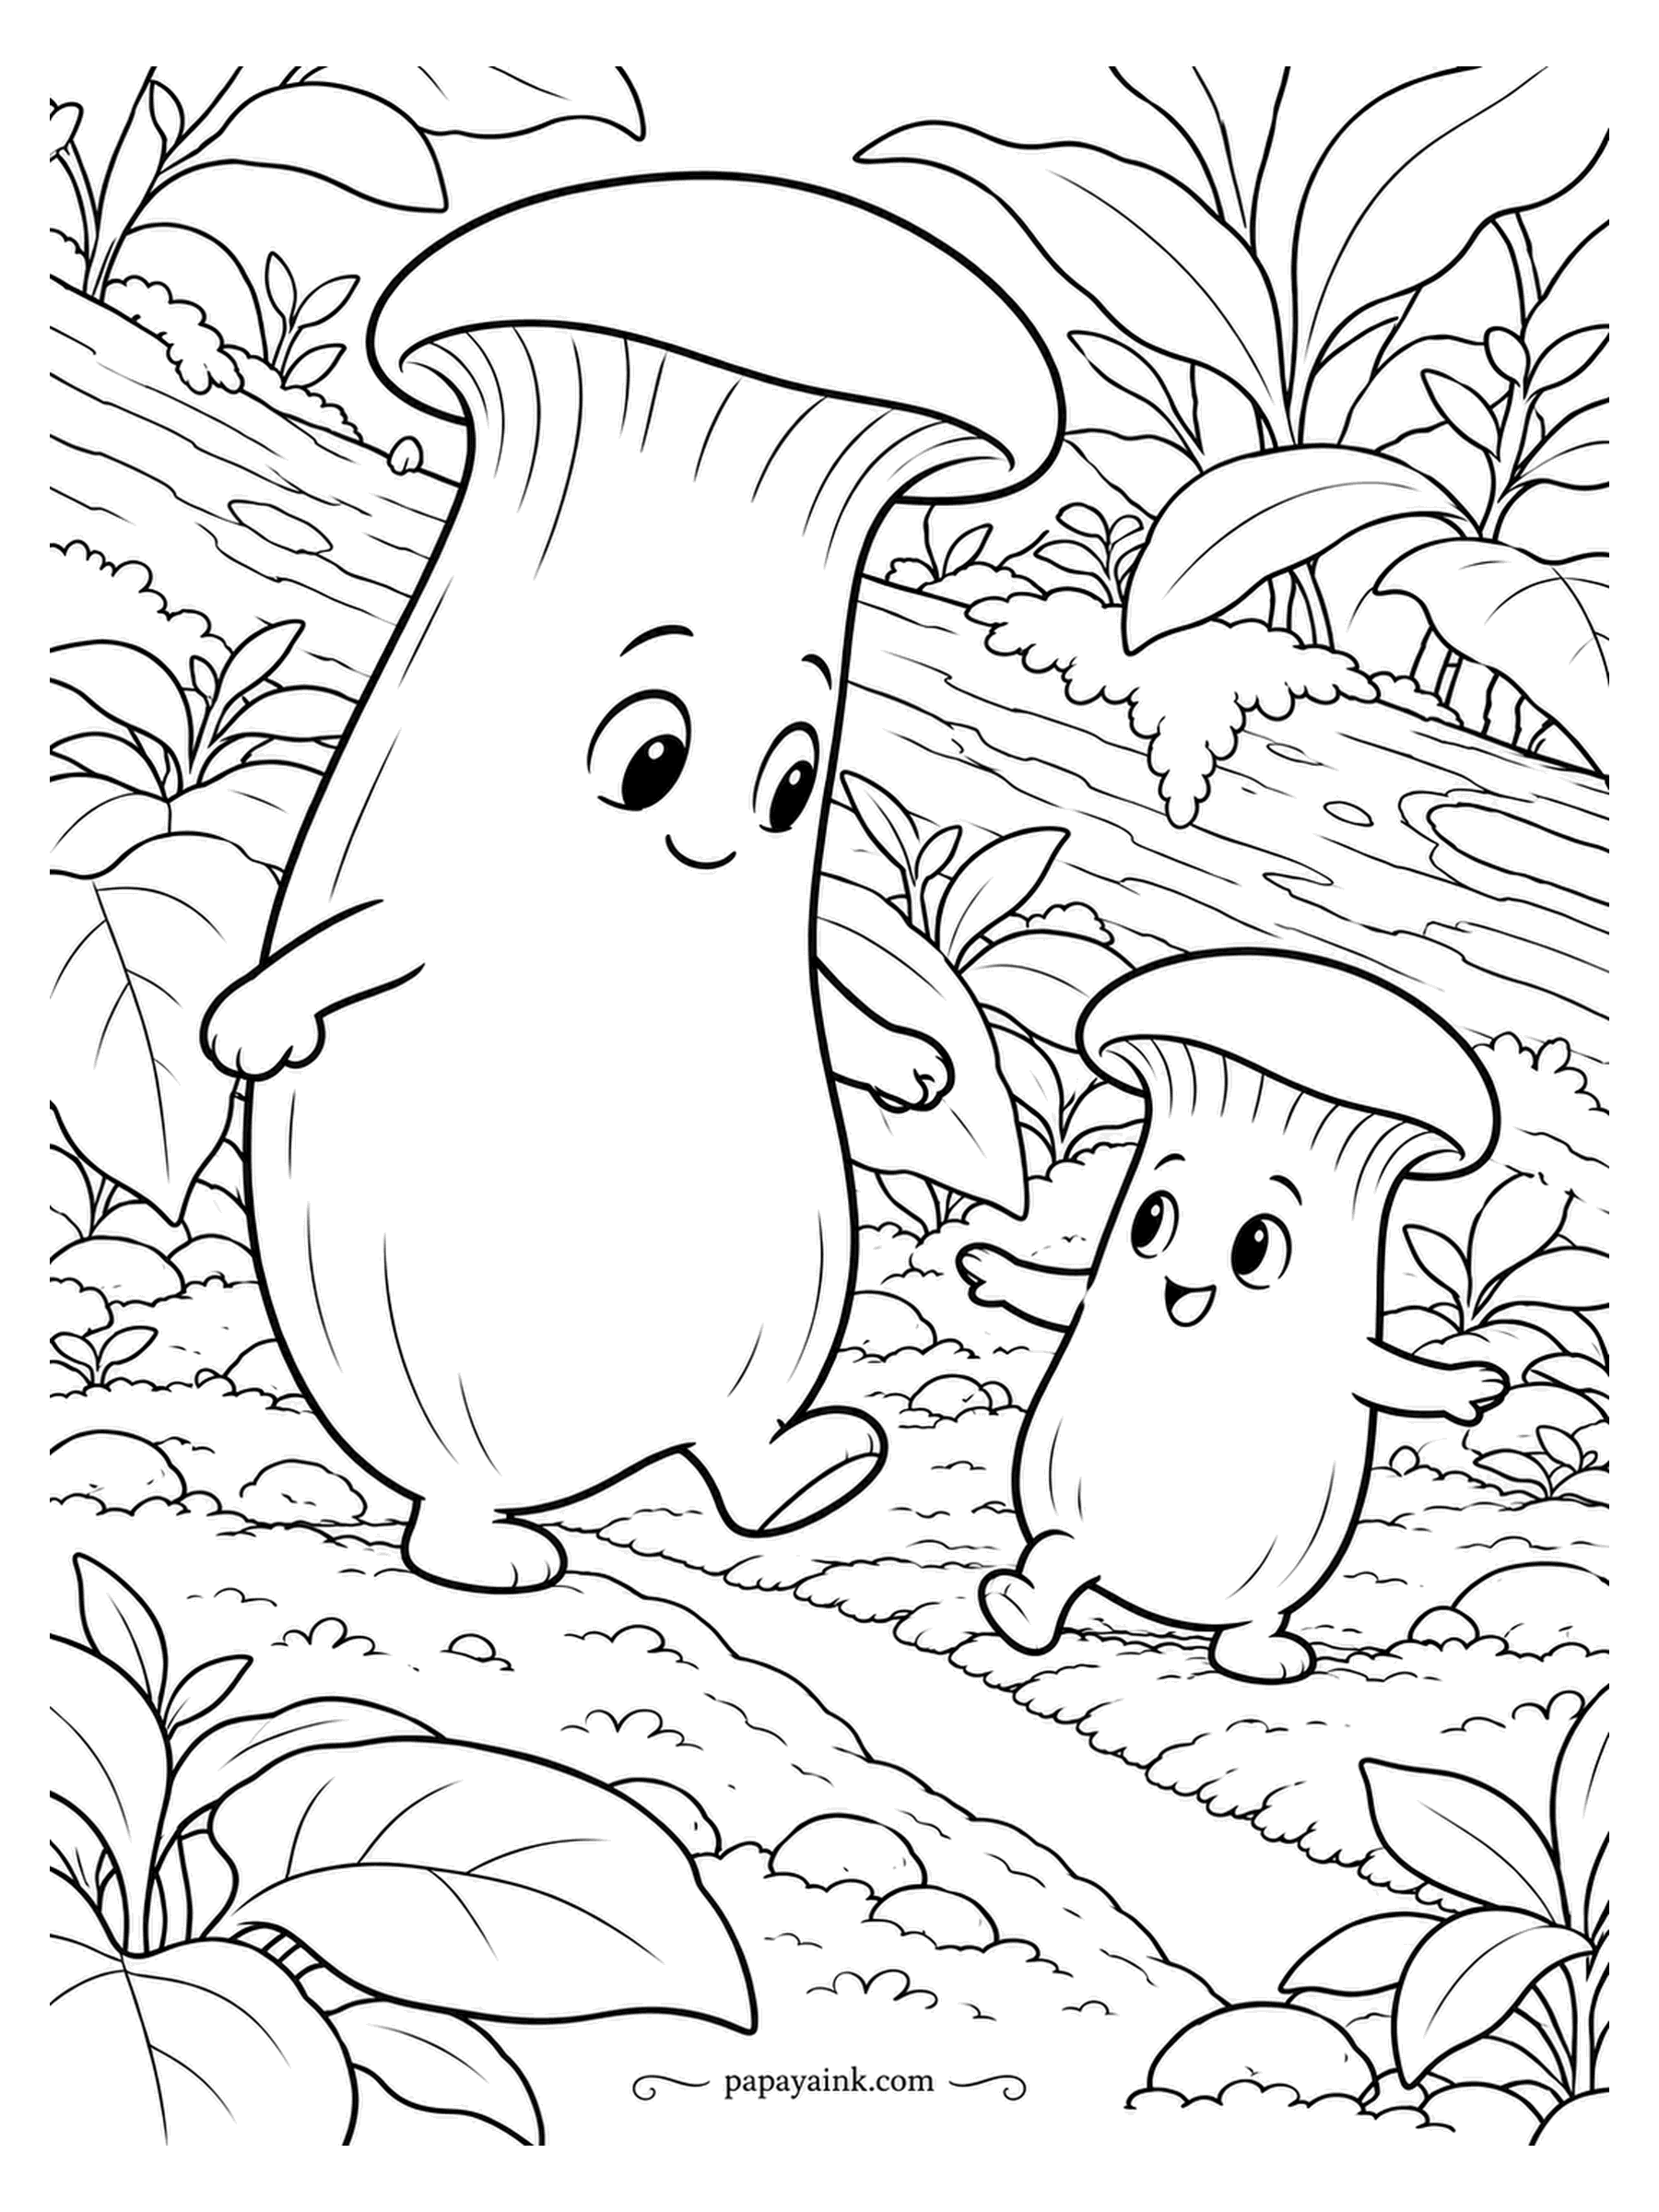

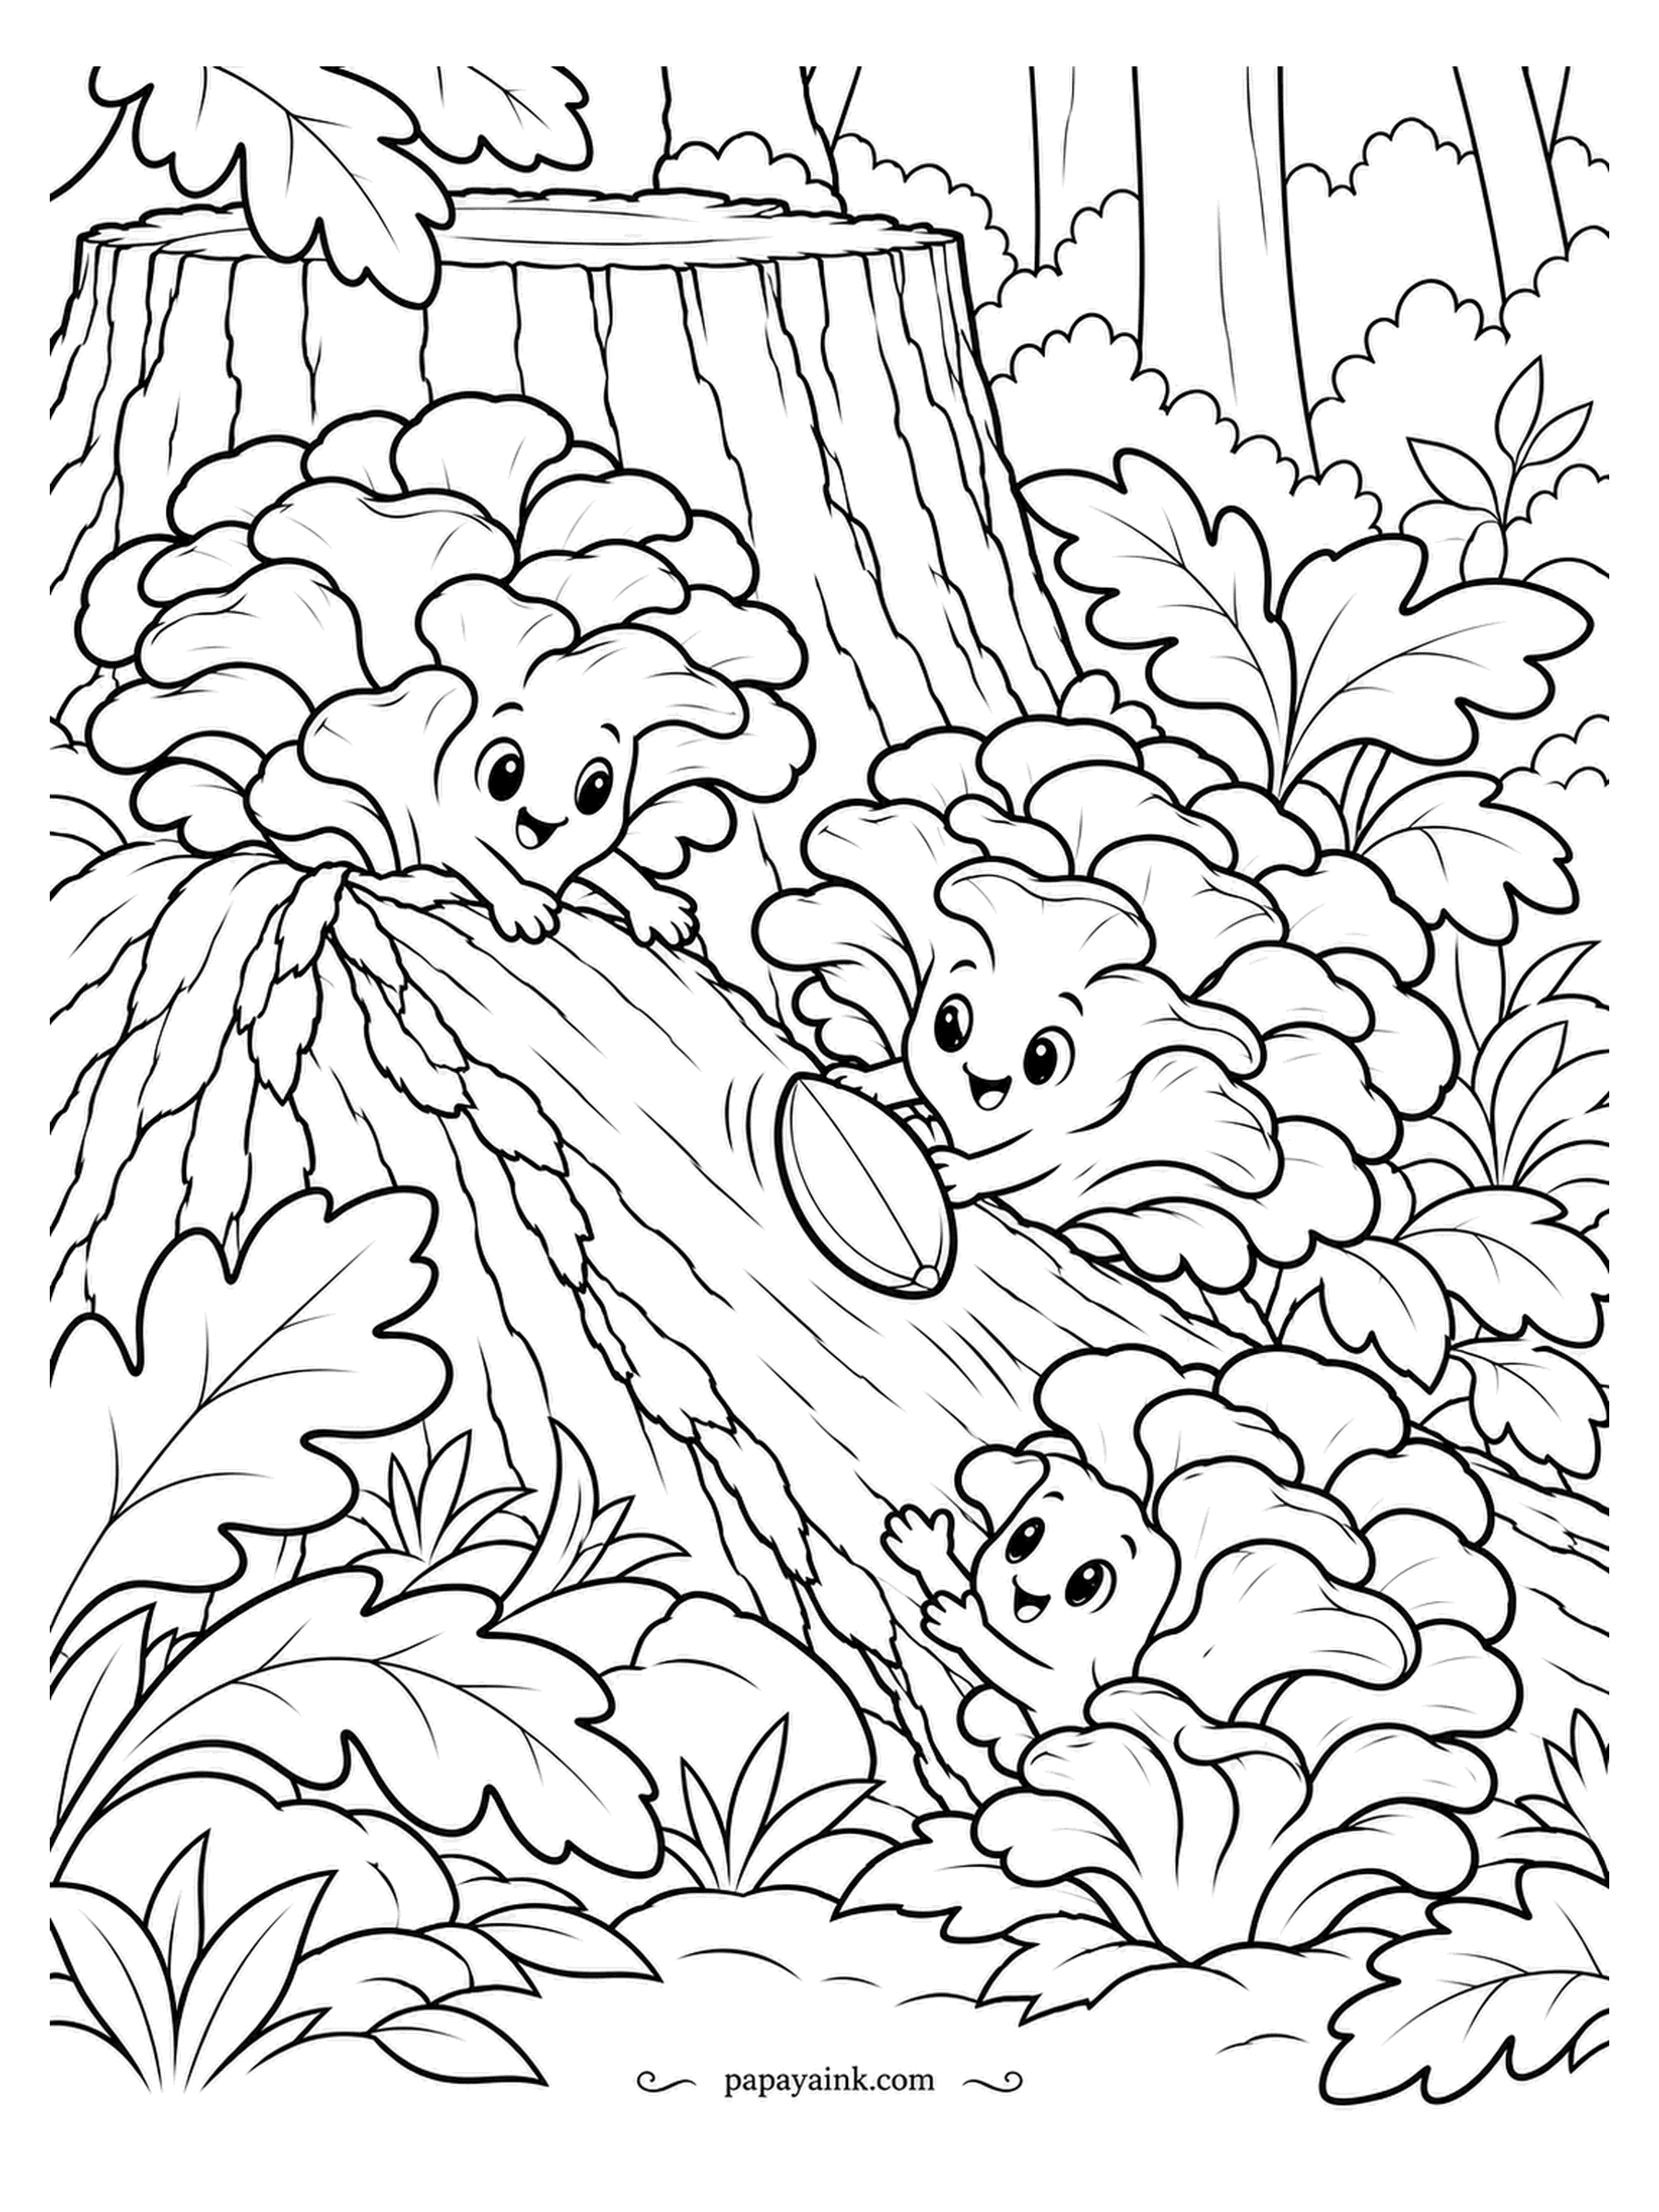
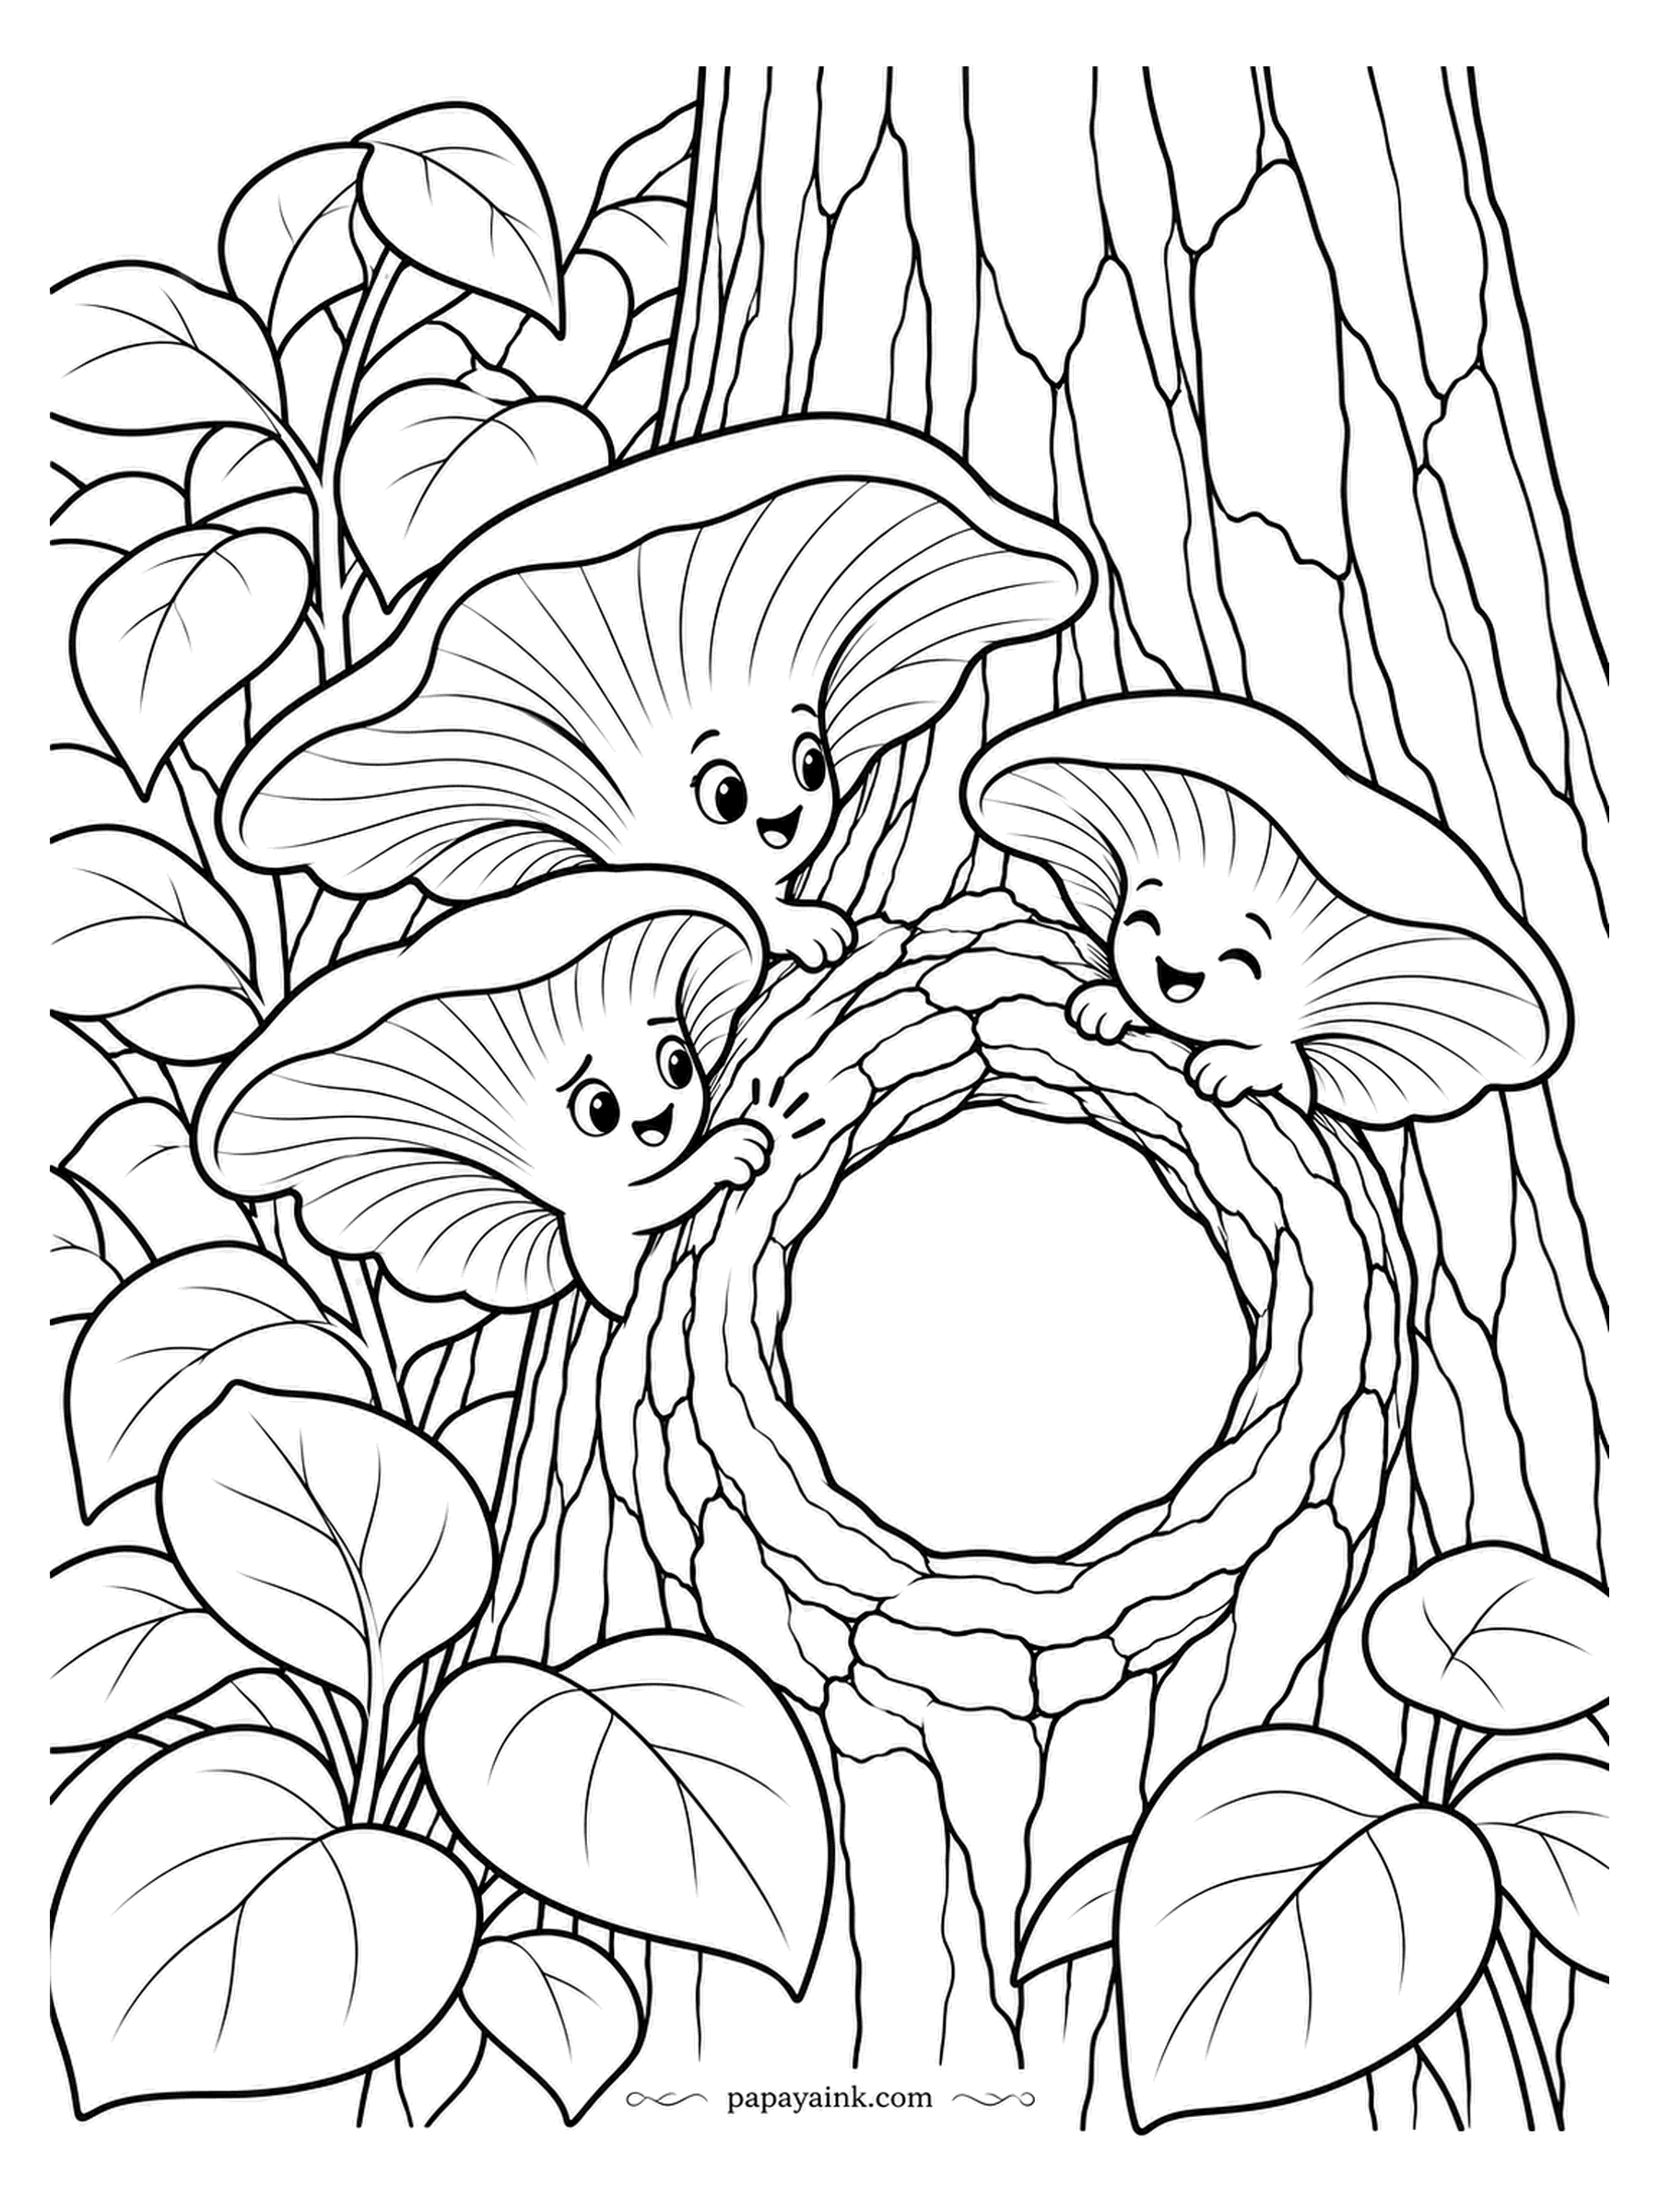





Fun Things to Make with These Coloring Pages
- Spore print – Buy a portobello, twist off the stem and set the cap gills-down on a sheet of white paper under a bowl overnight. In the morning lift it off: the gills leave a perfect brown fan of spores. Spray lightly with hairspray to fix it, then frame it next to a colored page.
- Mushroom cap bunting – Cut the colored caps out along their top curve, punch two holes near the edge and thread them onto string. A mix of brown buttons, pink oysters and yellow golden oysters makes a surprisingly cheerful garland for a kitchen.
- Field guide booklet – Fold three colored natural pages in half, staple the spine, and write the name and one true fact under each mushroom. The captions above give you a start. It ends up looking like a pocket guide from an old nature shop.
- Texture rubbings – Before coloring a natural page, lay it over tree bark, a wicker basket or a doormat and rub the side of a brown crayon over the log and ground areas. Then color the mushrooms normally on top. The texture does half the shading for you.
- Paper lantern – Color a cute page in warm tones, cut out the mushrooms, glue them around a glass jar and drop in a battery tea light. The light comes through the thin paper and the faces glow.
- Gradient practice – Mushroom caps are the easiest place to learn blending. Start with the lightest color at the rim and work darker toward the center of the cap, going over the join twice. Try it on one of the single-mushroom natural pages first.
- Window clings – Color a cute mushroom, trace it onto a sheet of clear contact paper, cut around the outline and stick it on a window. Rainy afternoons are better with a lion's mane looking in.
- Gift tags – Shrink a colored page on the copier to about a third size, cut out the smaller mushrooms, punch a hole in the stem and tie to a jar of jam or a bag of coffee. Portobellos and buttons read instantly as "mushroom" even at tag size.